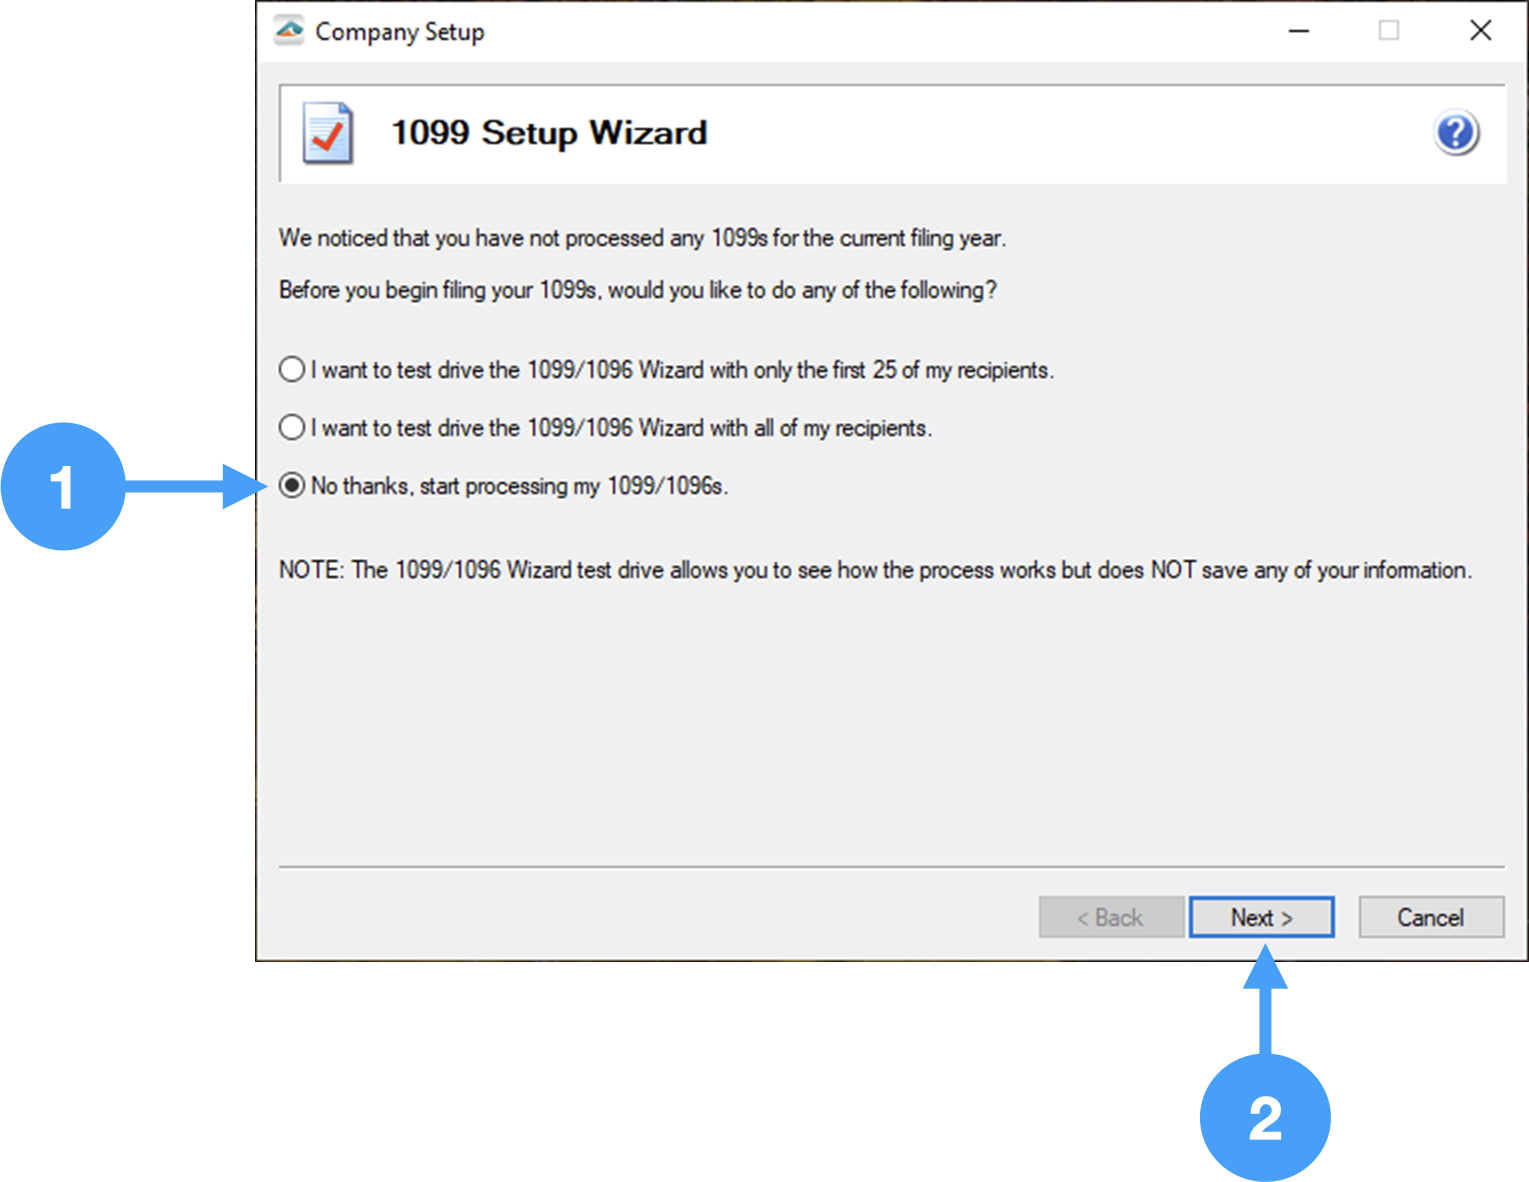
Determine how to proceed in printing 1099-NEC Forms
- 1099 Setup Wizard window opens, select the appropriate choice. In our example, we are selecting the third radio button down.
- Click Next.
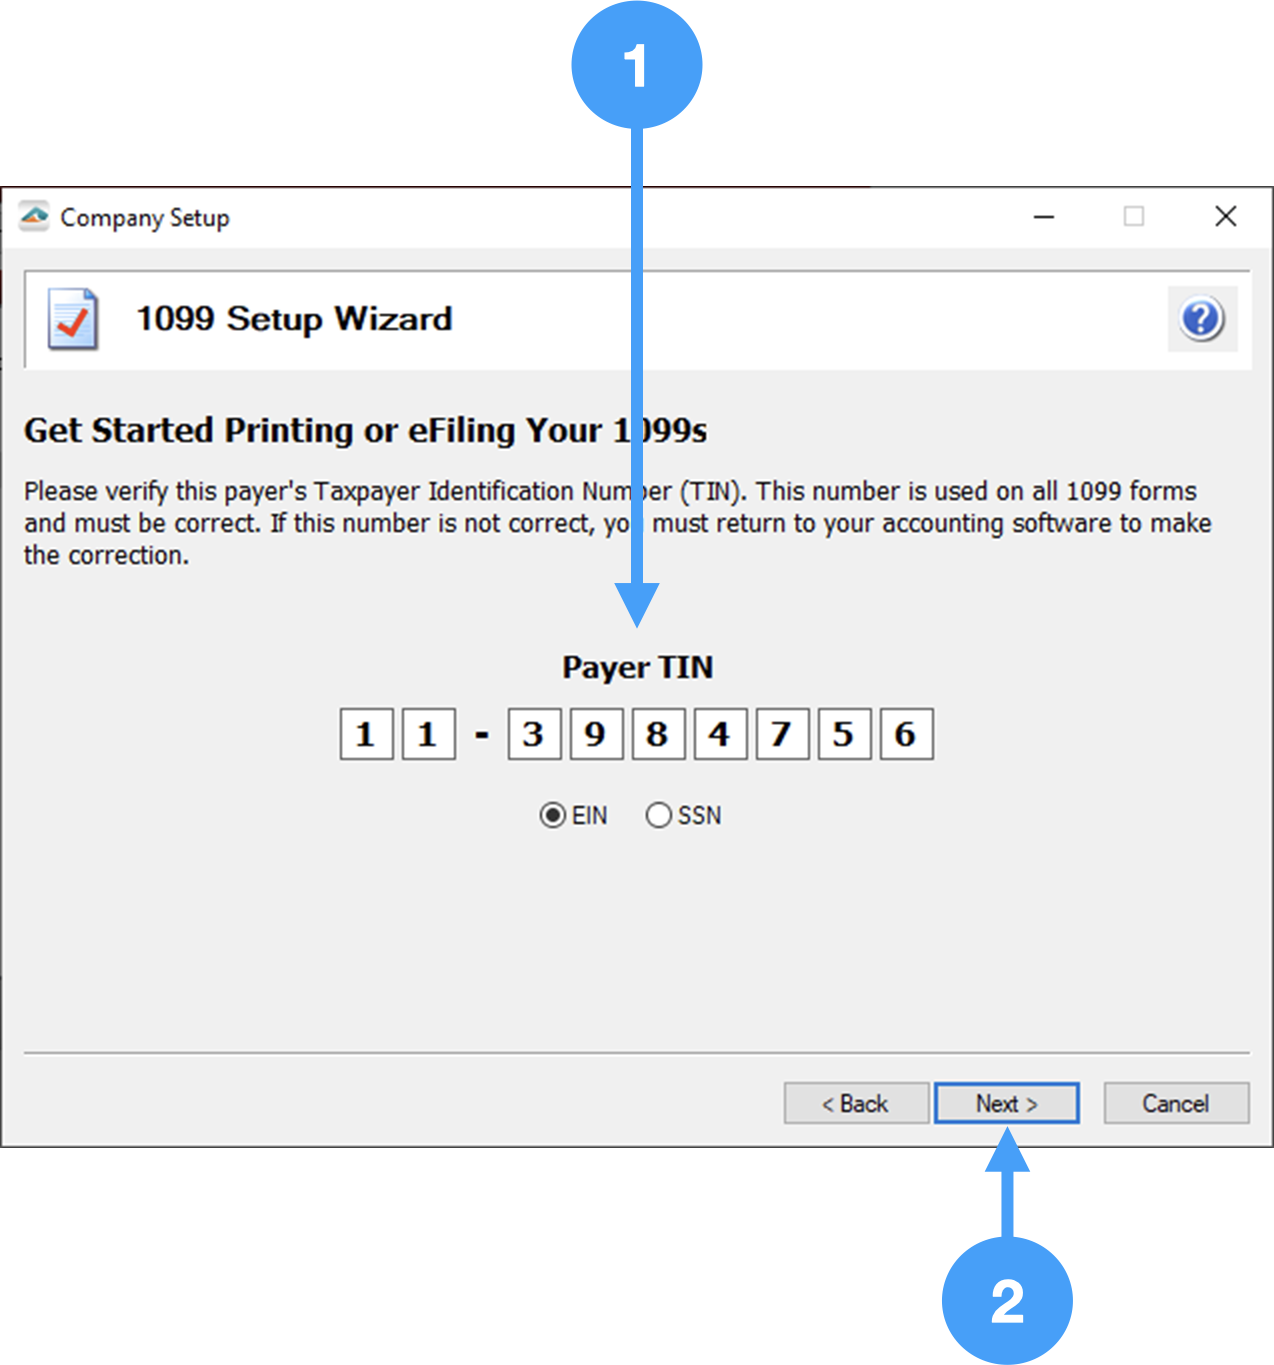
Review Payer Tax Identification Number (TIN)
- Ensure Payer TIN is correct.
- Click Next
Select the number of Data Files
- Typically, you would select the choice for a single 1099 data file. You would use more than one data file if you have more than one CDM+ database for different entities of your organization.
- Click Next
Payer Information
- Ensure Payer Information is correct. Changes will not be reflected in CDM+.
- Click Next

Tax Payer Type
- Select appropriate Tax Preparer choice. Typically, you would select the first radio button. Ask a Tax Specialist if you are unsure.
- Click Next

State and Local Tax Items
- State and Local Items can be ignored.
- Click Next

Data Verification
- If you have any Vendors who have requested to receive electronic copies of their 1099's, you must select Yes. Otherwise, select No.
- Click Next

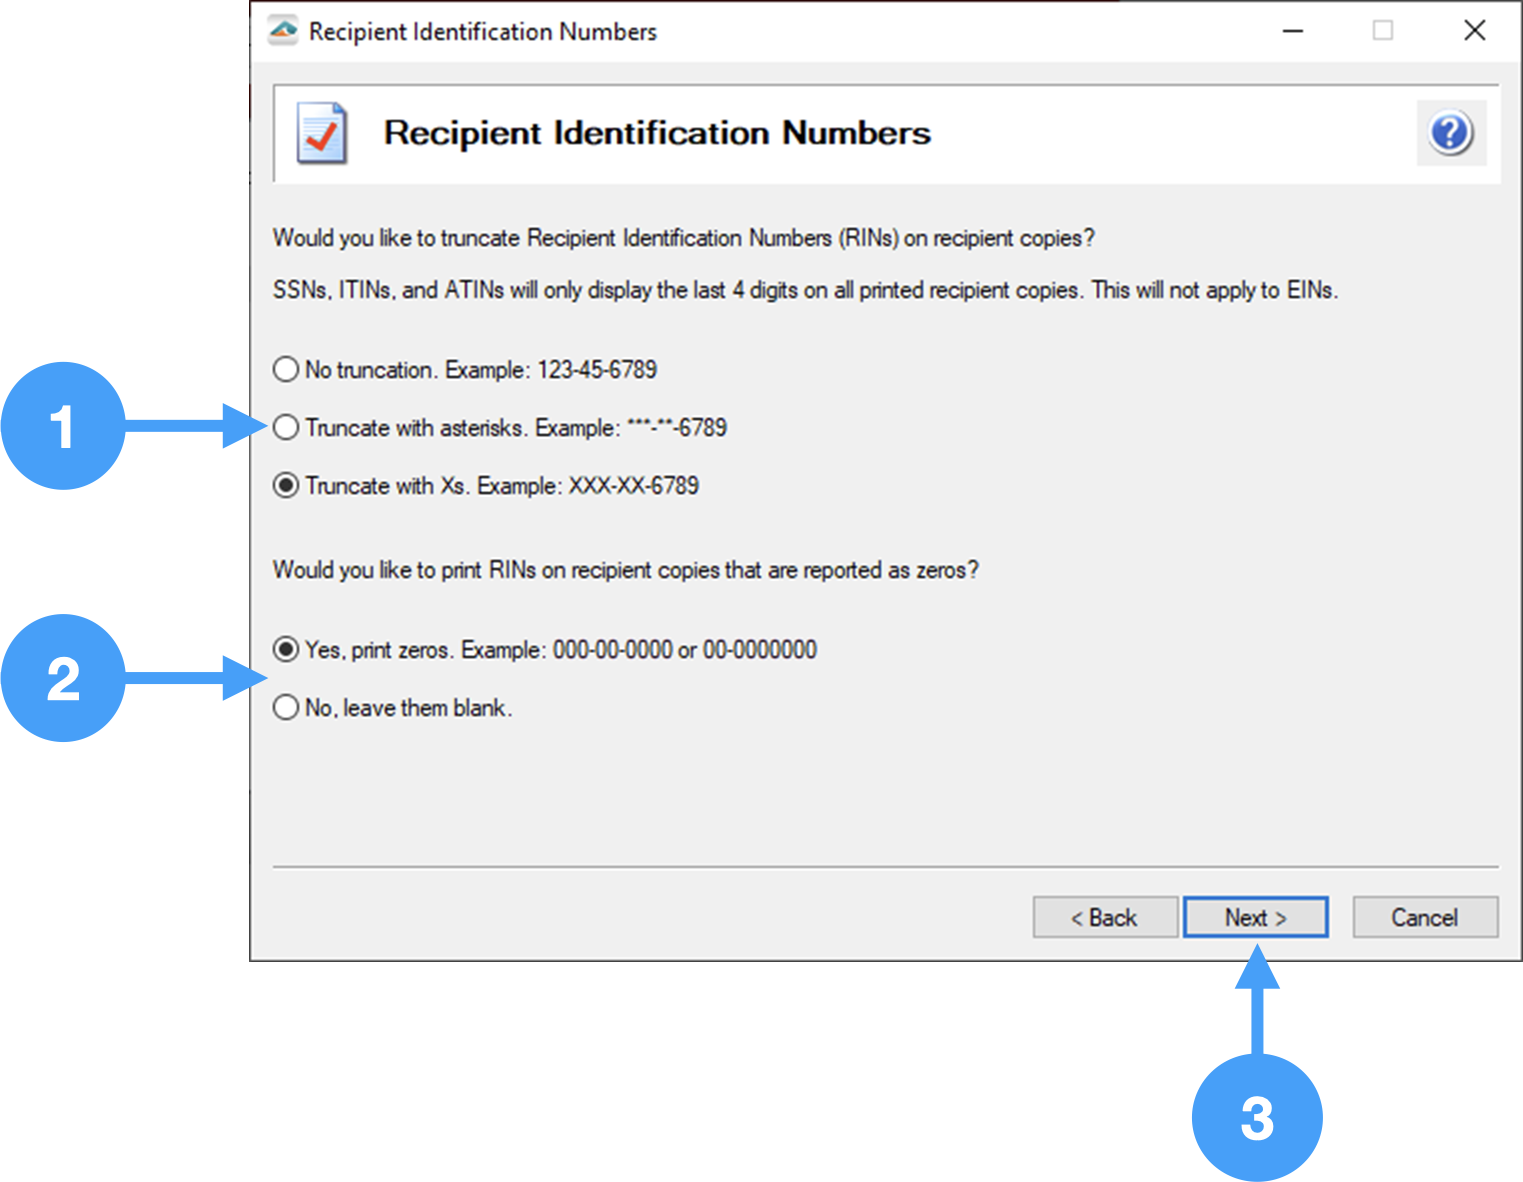
Recipient Identification Number
- Select how you want the Social Security, TIN and RIN numbers to be displayed. You can select to truncate Social Security or Individual Taxpayer Identification numbers using asterisks or 'X's'
- You have the option of printing Recipient Identification with zeros or leave them blank.
- Click Next