Emailing contribution statements requires that CDM+ is set up to send out emails. This is done in System Preferences > Sys Email > Manage SMTP Settings. For information on how to set up and manage SMTP settings, see Sys Email.
With the giving units marked to receive email statements and the SMTP settings set up, you are ready to email statements.
Open Contribution Statement Email report
| Doc path | ||
|---|---|---|
|
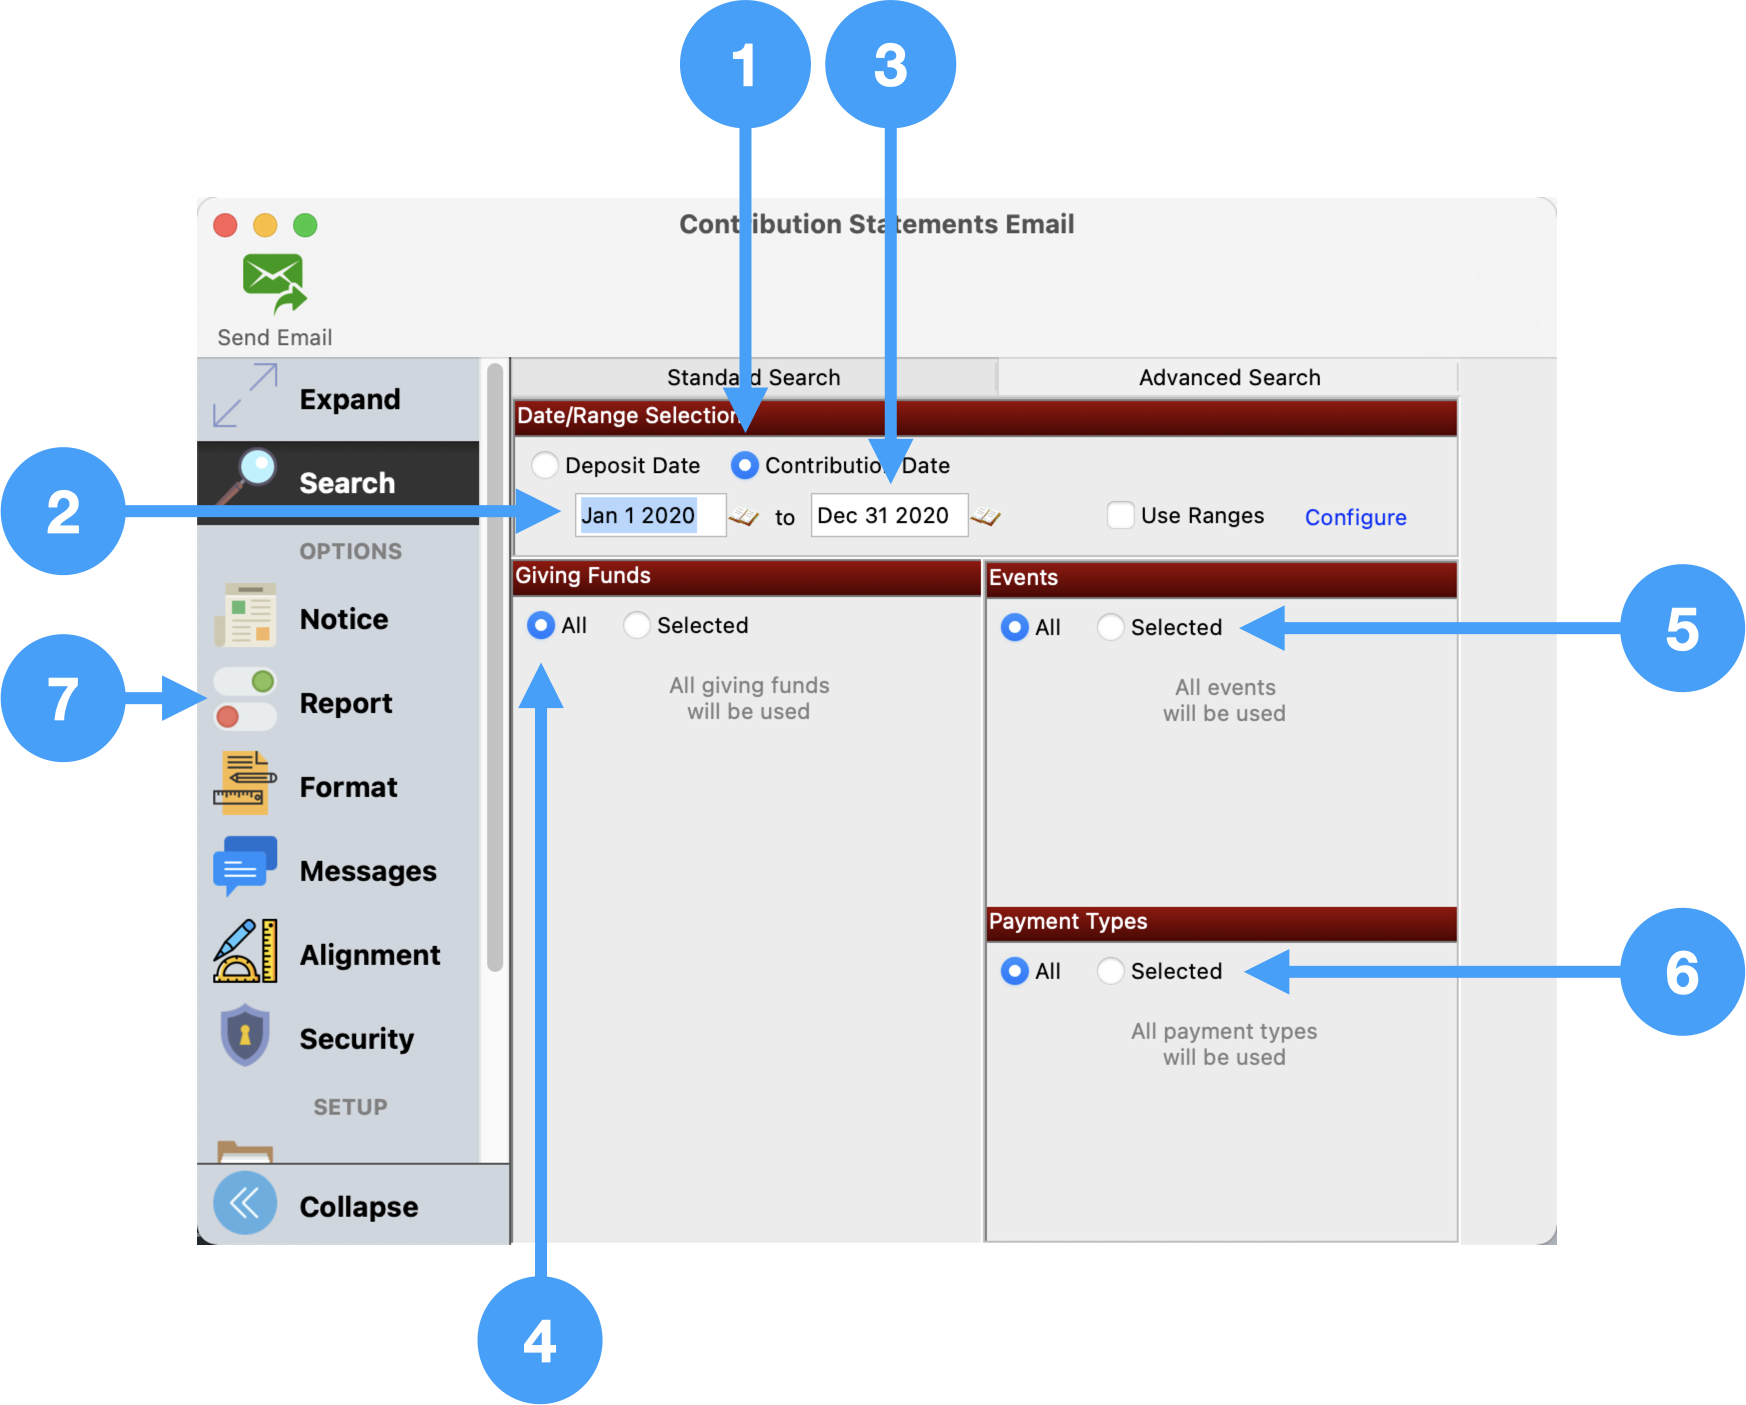
Setup Information under Search
- Select the appropriate date type (Deposit or Contribution) under the Date/Range Selection section. We're using the Contribution Date.
- Enter the beginning date for the date range.
- Enter the ending date of the date range.
- Under the Giving Funds section, either select the giving funds you wish to use ('Selected' radio button) or choose the 'All' radio button to include all giving funds including inactive ones.
- The next section to set up is the Events section. Once again, you can select the individual events under the 'Selected' radio button or choose all of them using the 'All' radio button.
- The final section to set up is Payment Types. You select individual payment types or choose all by selecting the 'All' radio button.
- Now, let's move on to the Report section, click Report under 'Options' in the left hand sidebar.
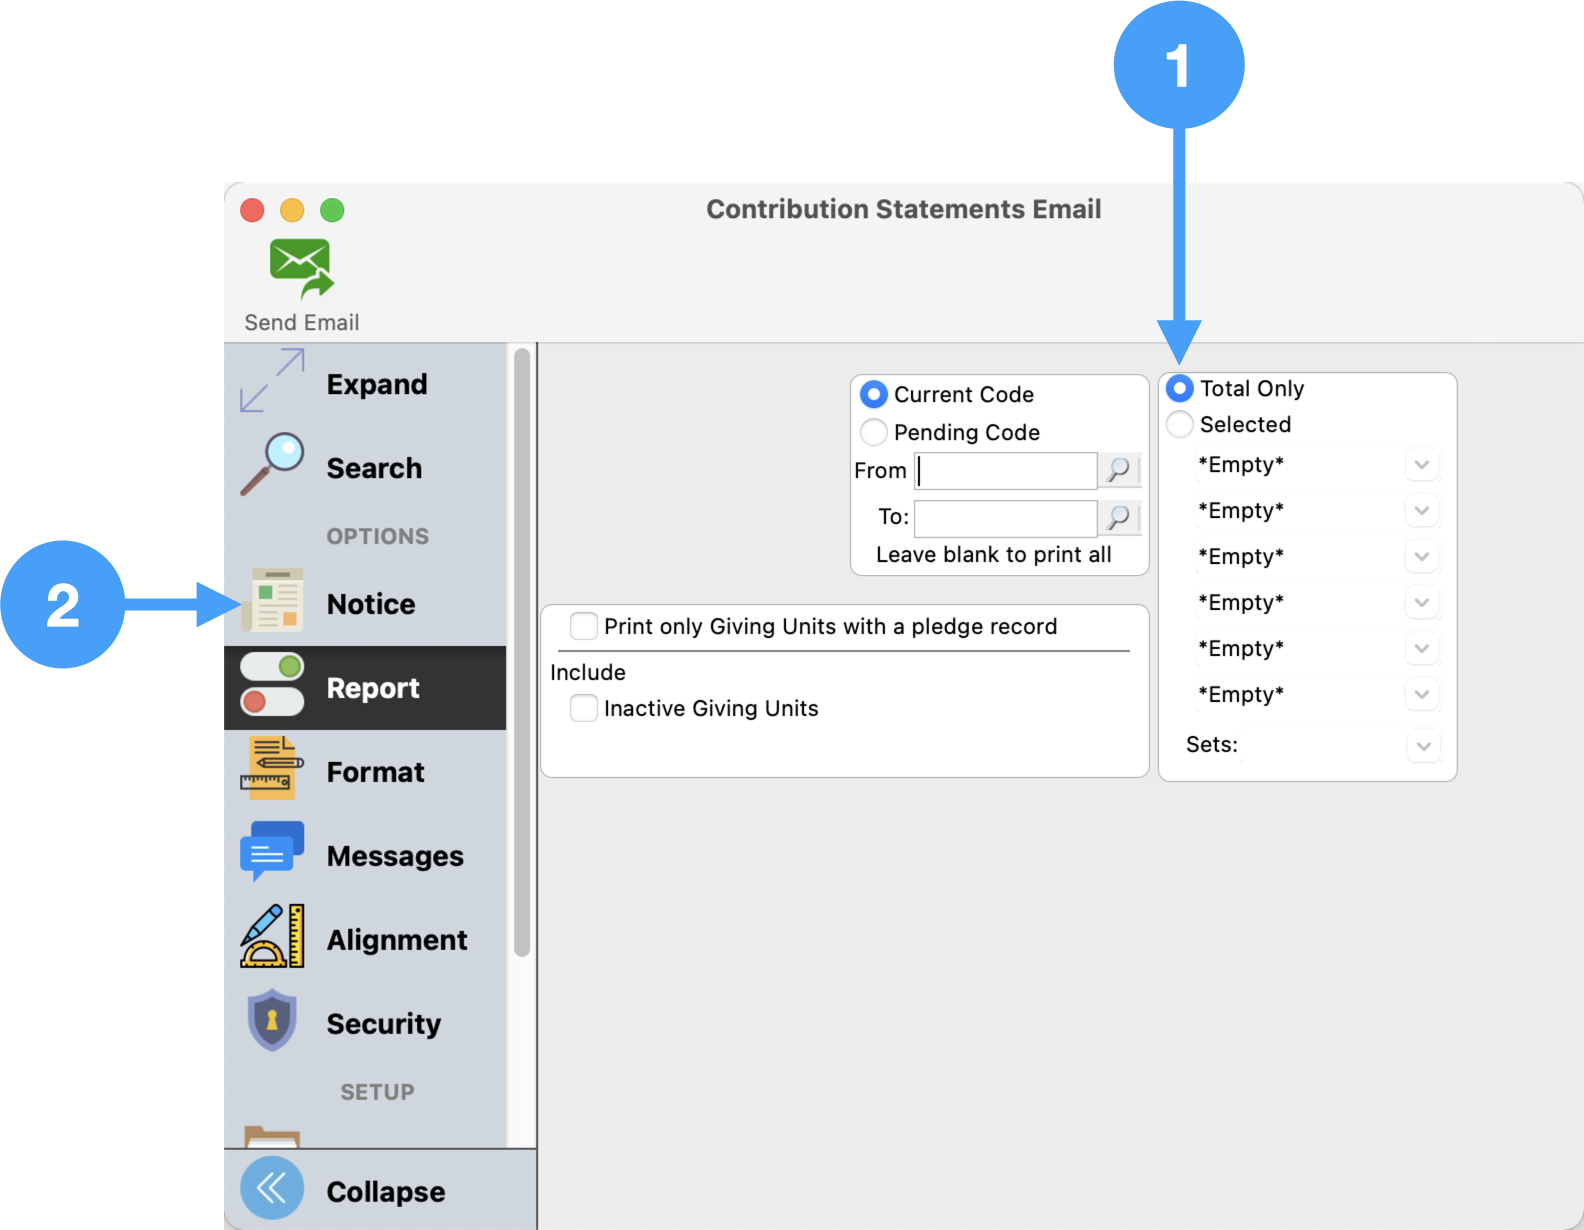
Setup Report options
Under this Option, you can select how you wish to print the statement giving.
- You can choose one giving unit or a range of giving units to email.
- You can select to print total giving ('Total Only') or select the giving funds to display in columns. You can select six giving funds with additional funds combined into an 'Other' column on the report.
- You can choose to print only giving units with a pledge, and
- you can choose to include inactive giving units.
- In our example, we are going to select Total Only. No other options will be changed.
- Now, select Notice
Setup of the email Notice
- Under the Notice option, click on the 'Select/Add' button.
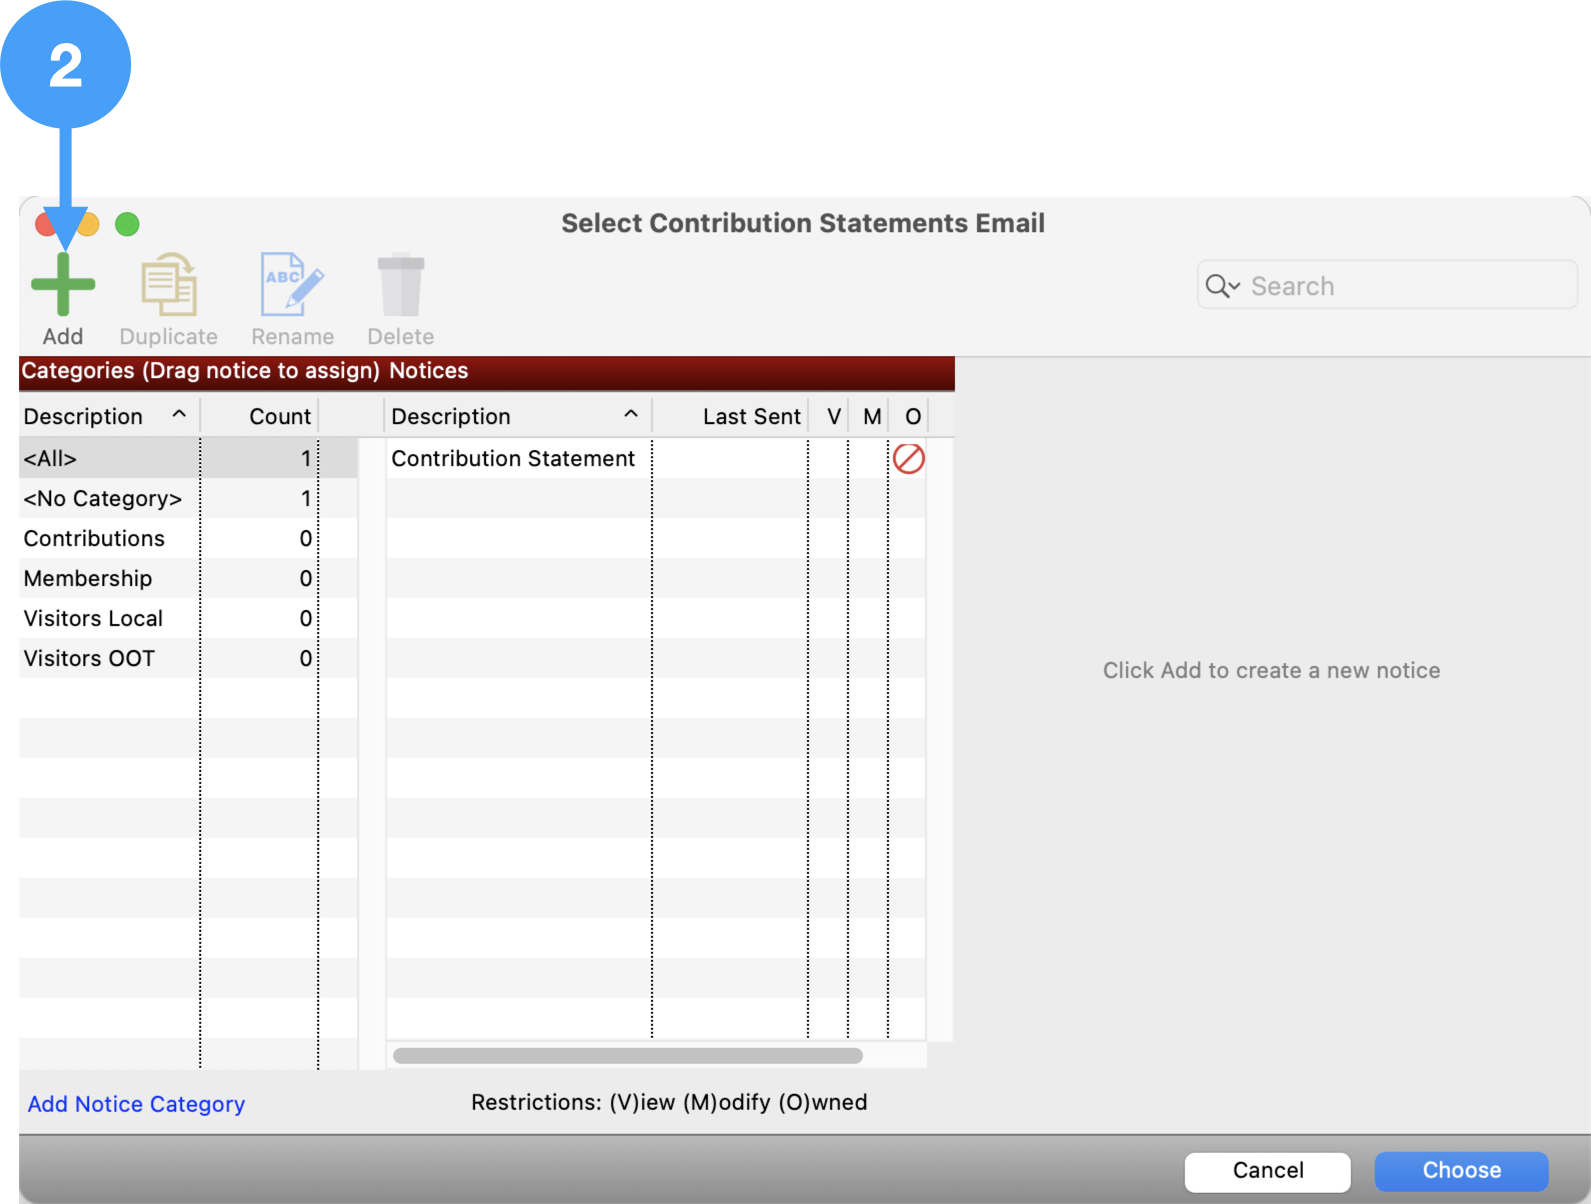
- Click Add
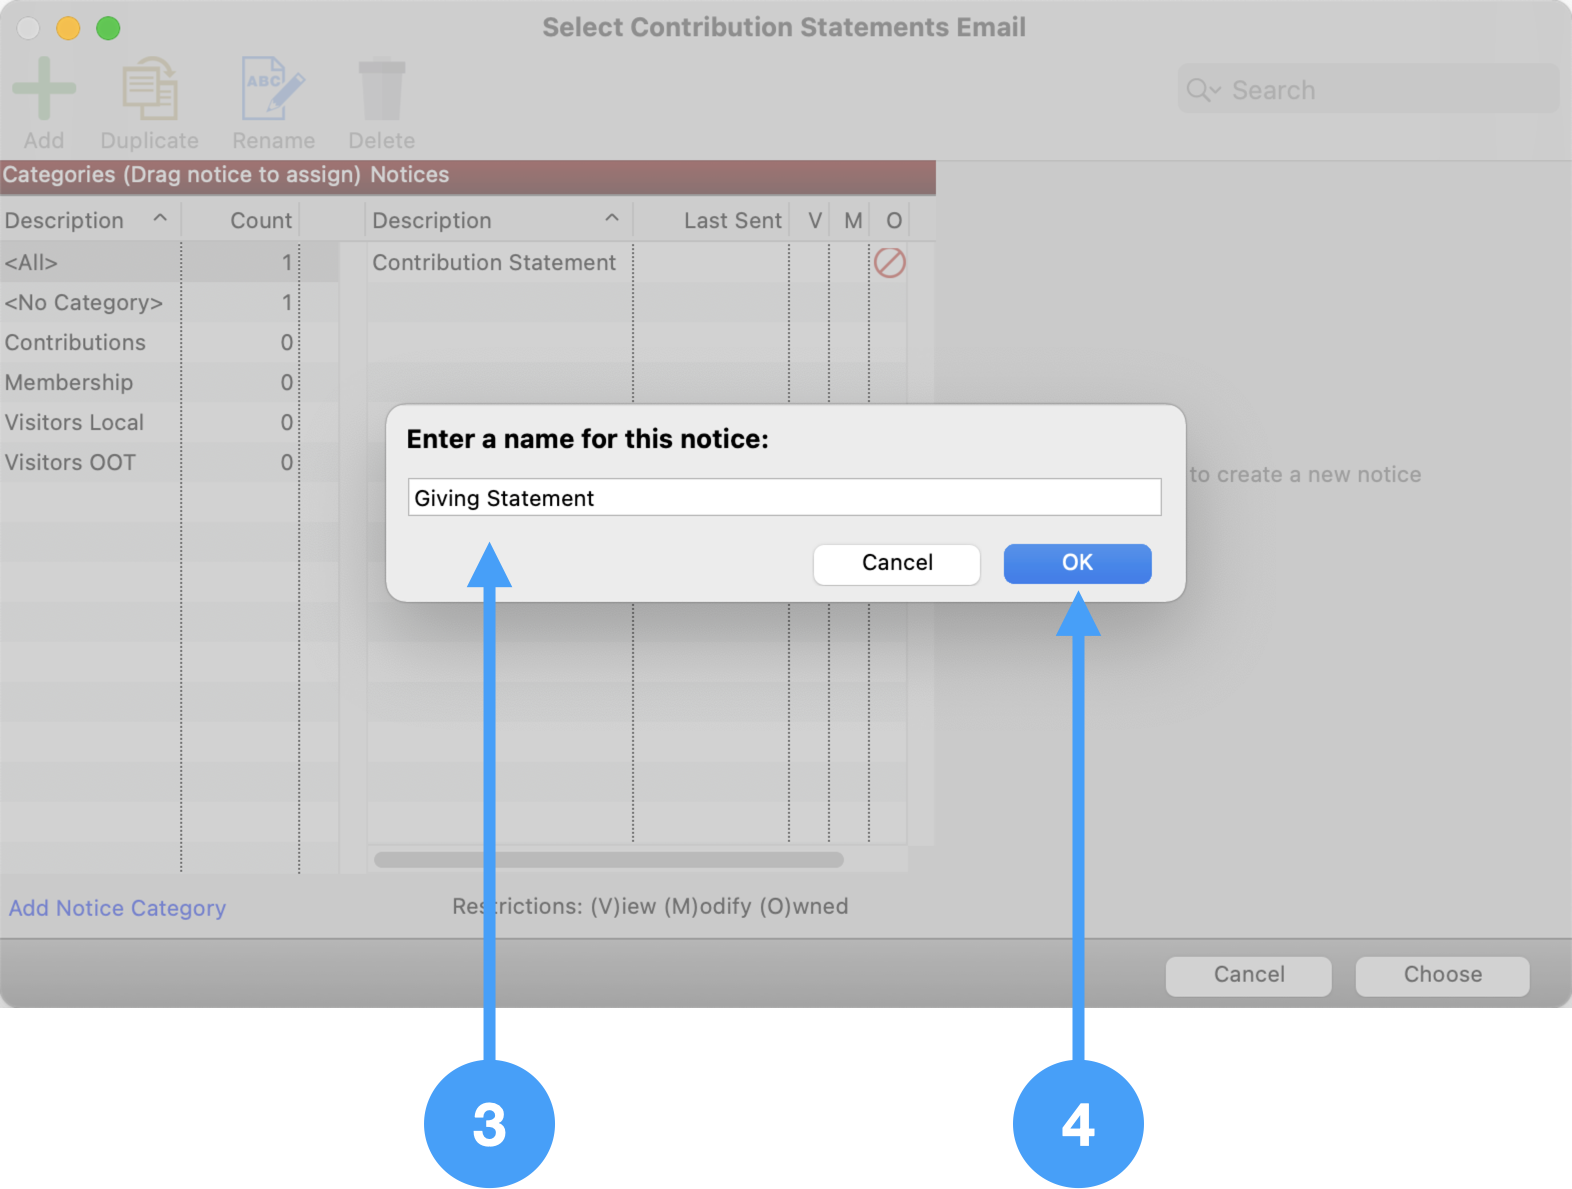
- Enter a name/description for the Notice.
- Click OK
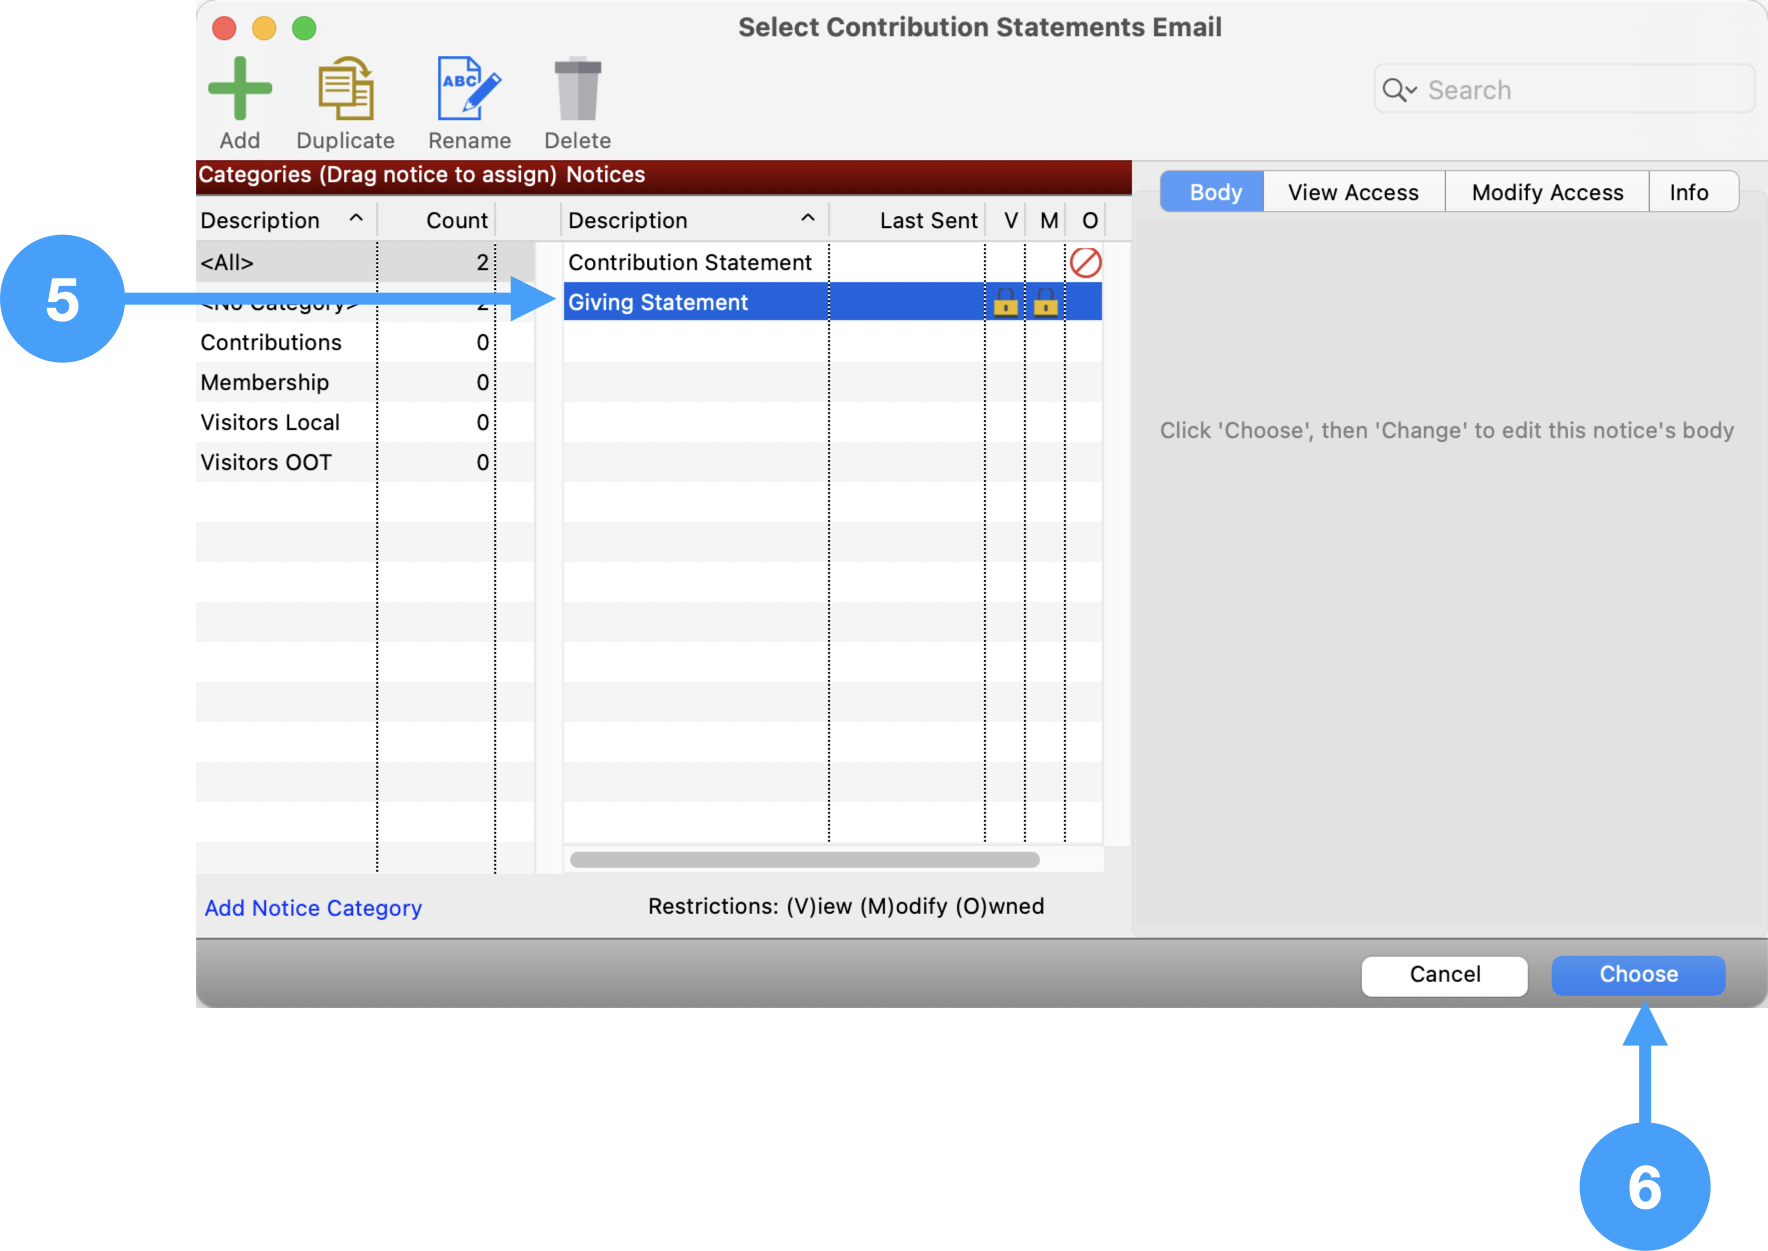
- Ensure the Notice you just added is selected.
- Click Choose
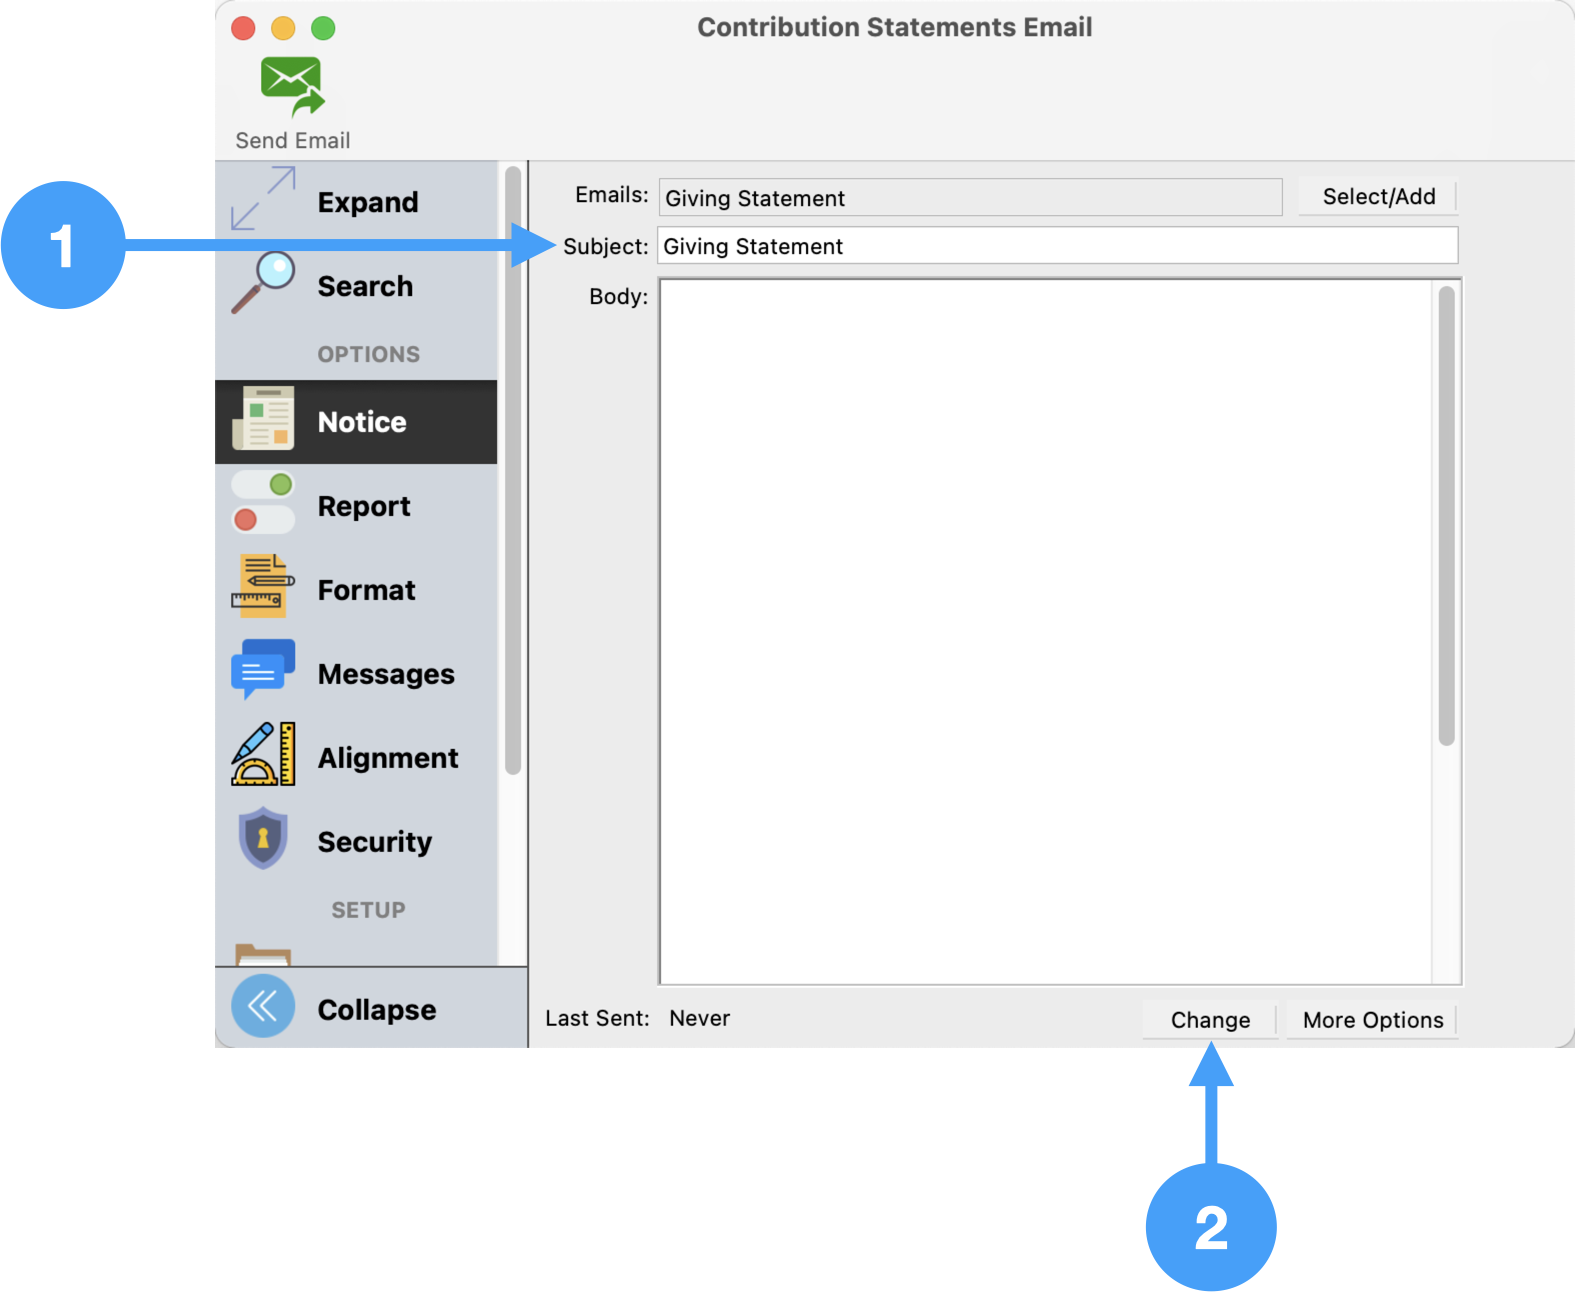
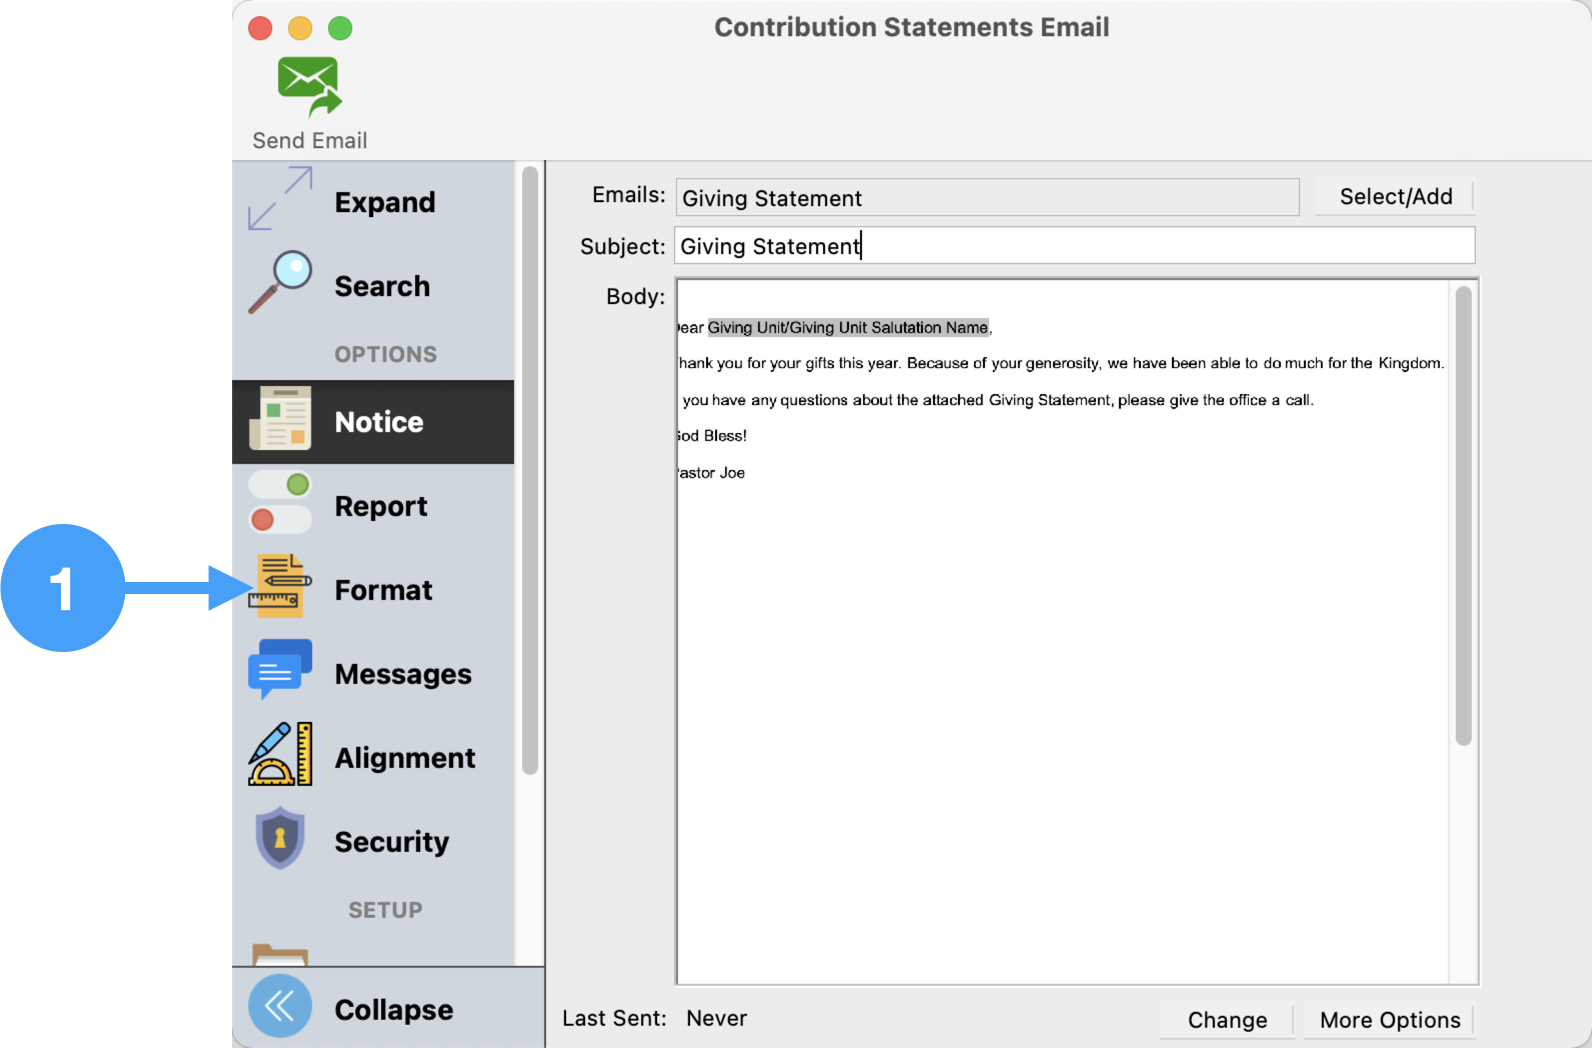
Subject of Email
- Enter the subject of the email on the line labeled as Subject.
- Click Change
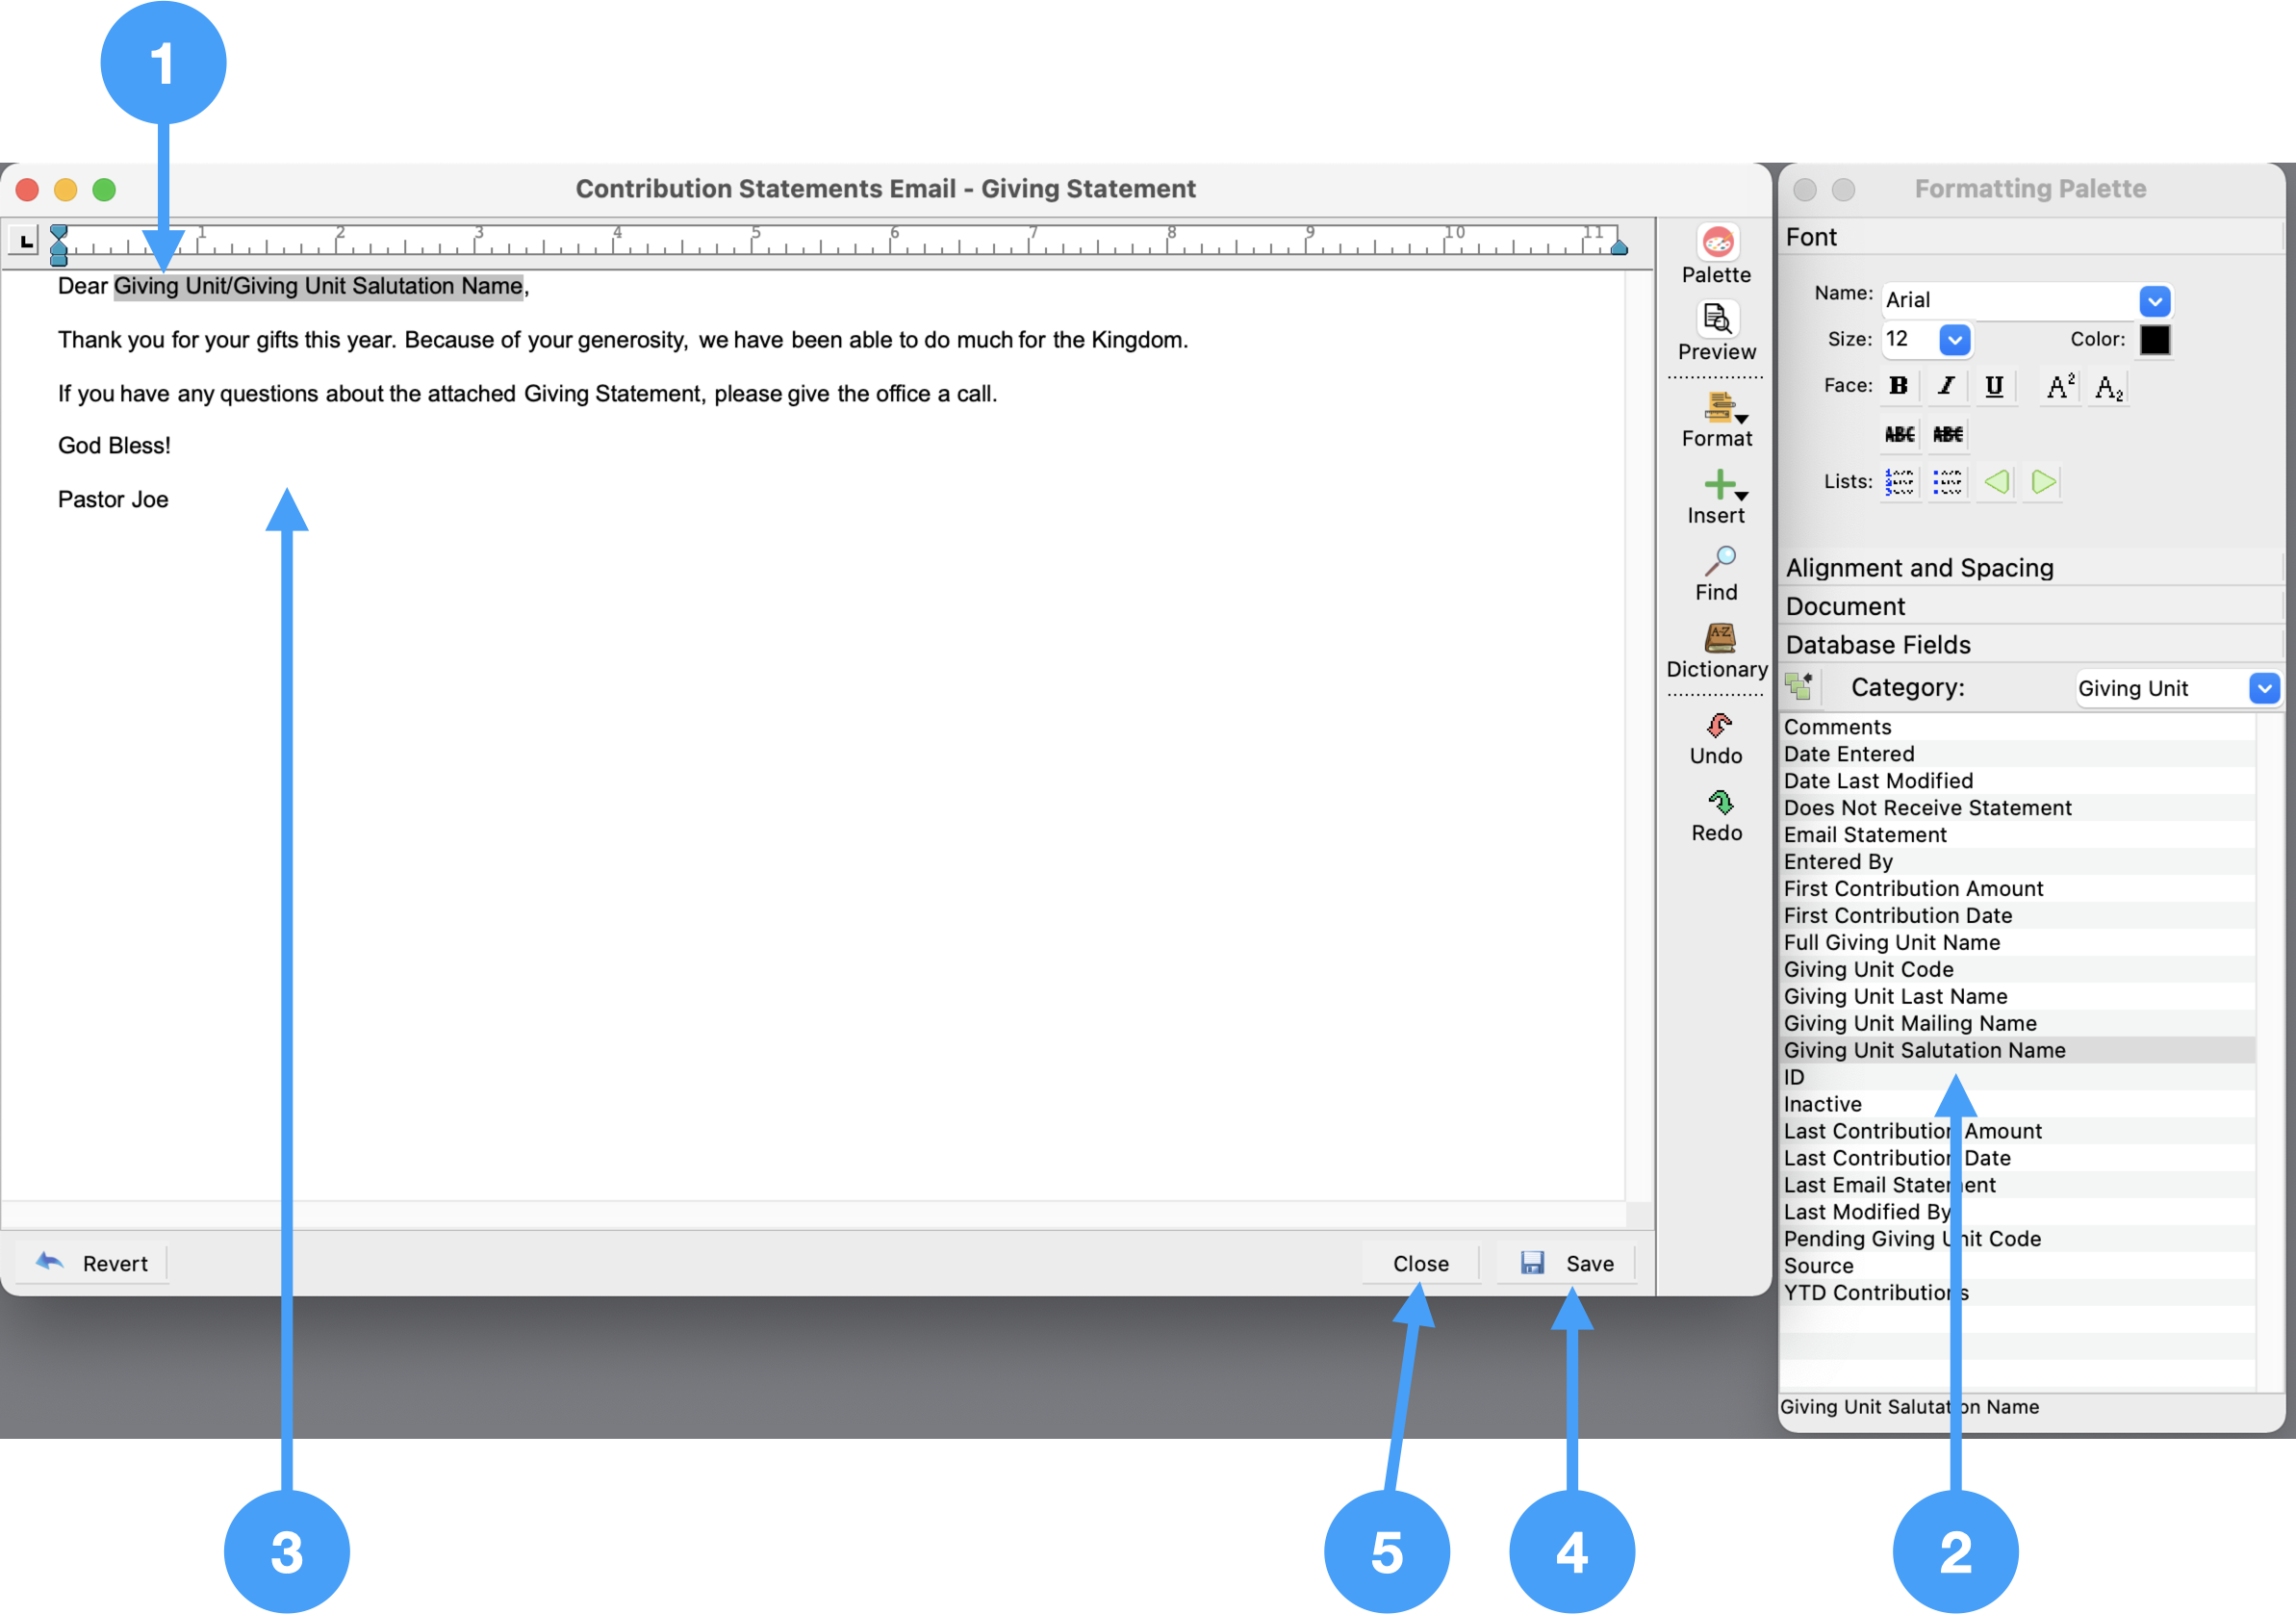
Body of Email
- Enter the salutation line beginning with 'Dear' or any salutation you want to use, then
- Under Database Fields of the Formatting Palette, double-click the 'Giving Unit Salutation Name' field. This will move the field to the position of the cursor, after the entered salutation from step 1.
- Continue writing the body of the email.
- When completed, click Save.
- Then, click Close.
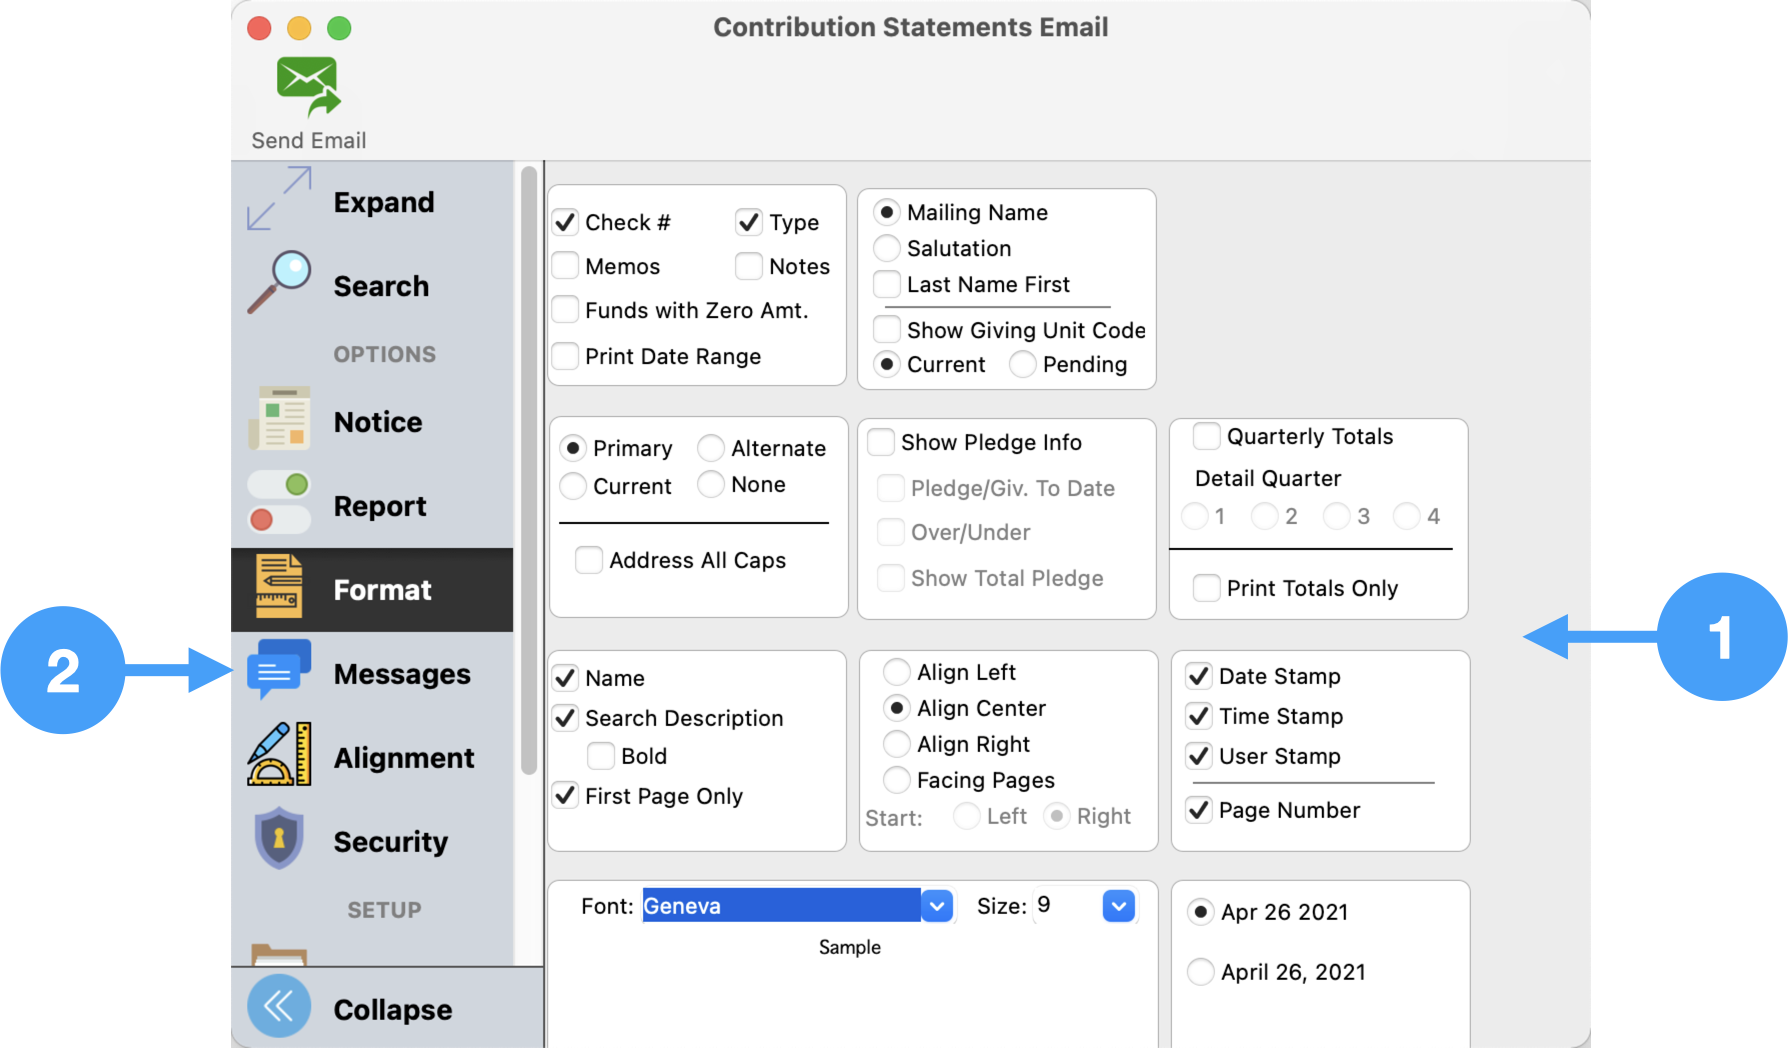
Move to Format Option
- Click Format
Review Format Options
- The selections in this window allow you set up how your statements will be printed.
- Make the changes you wish in this window, then click Messages.
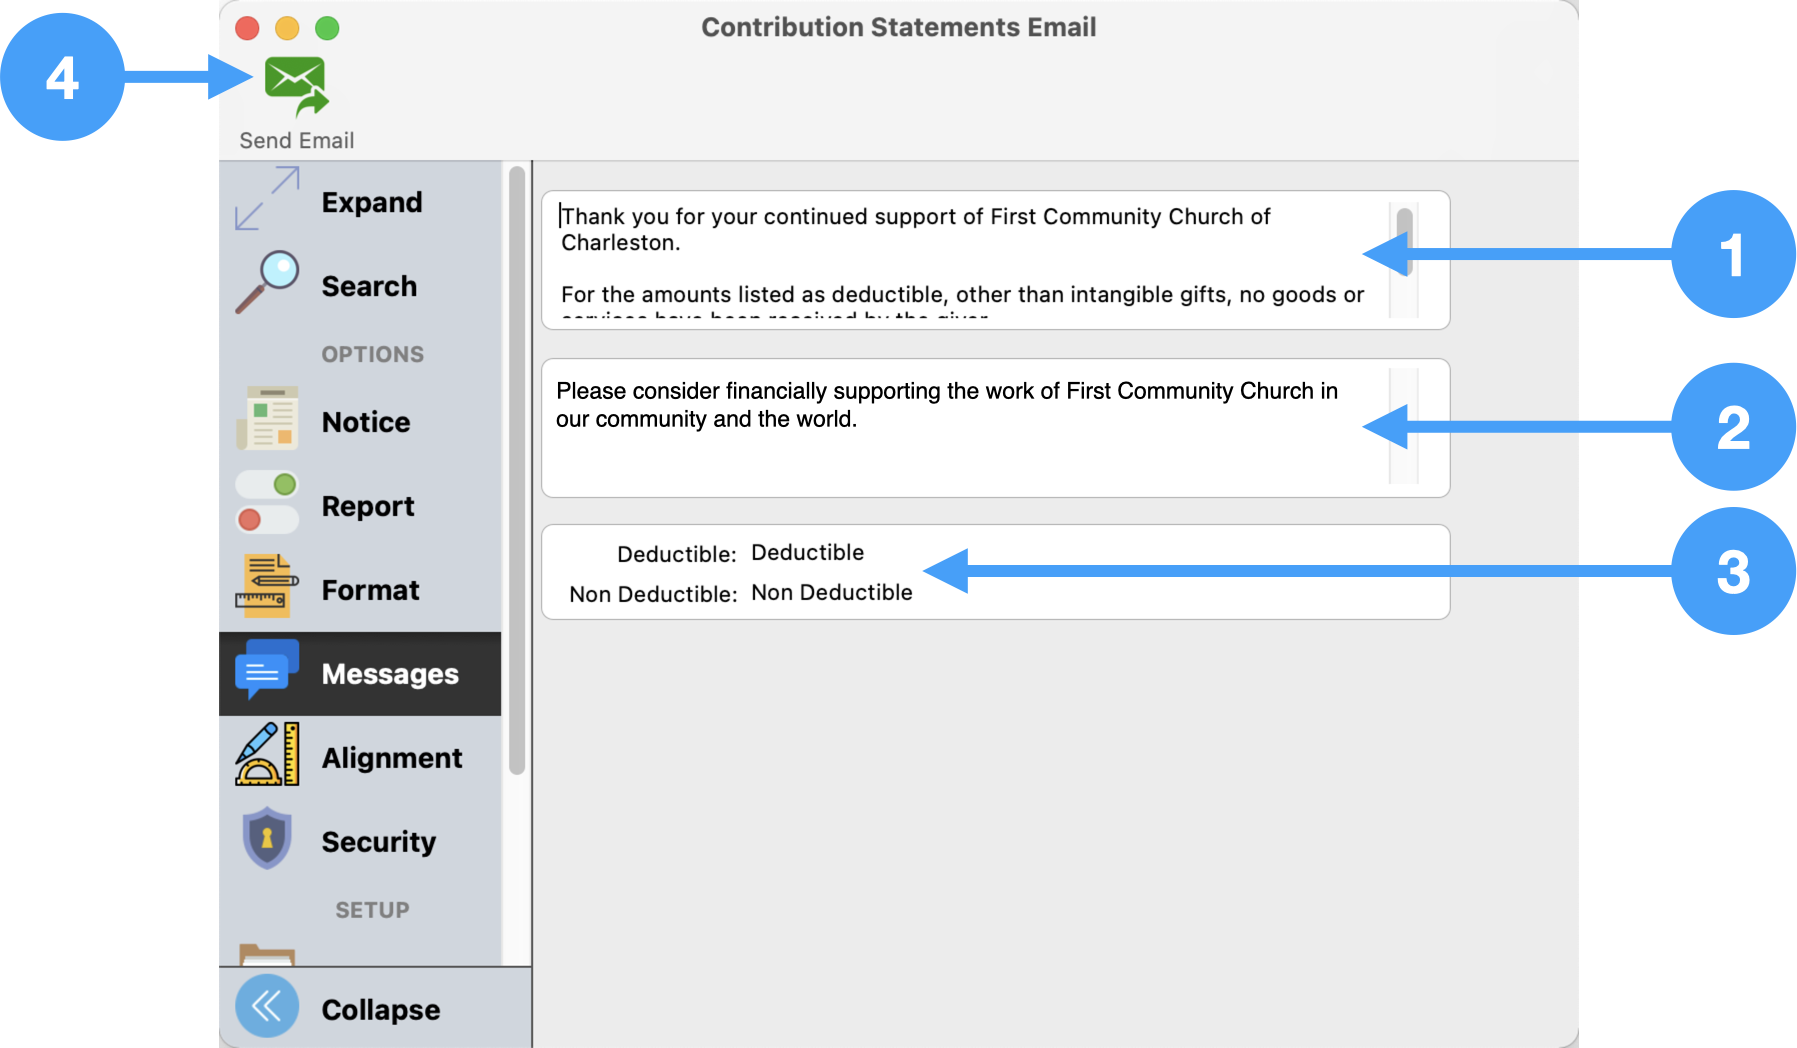
Messages Option
- Enter Giver Message
- Enter Non-Giver Message
- Enter the term descriptions for the Total Descriptions (deductible and non-deductible terms).
- Now you are ready to send the statements, click Send in the upper lefthand corner.
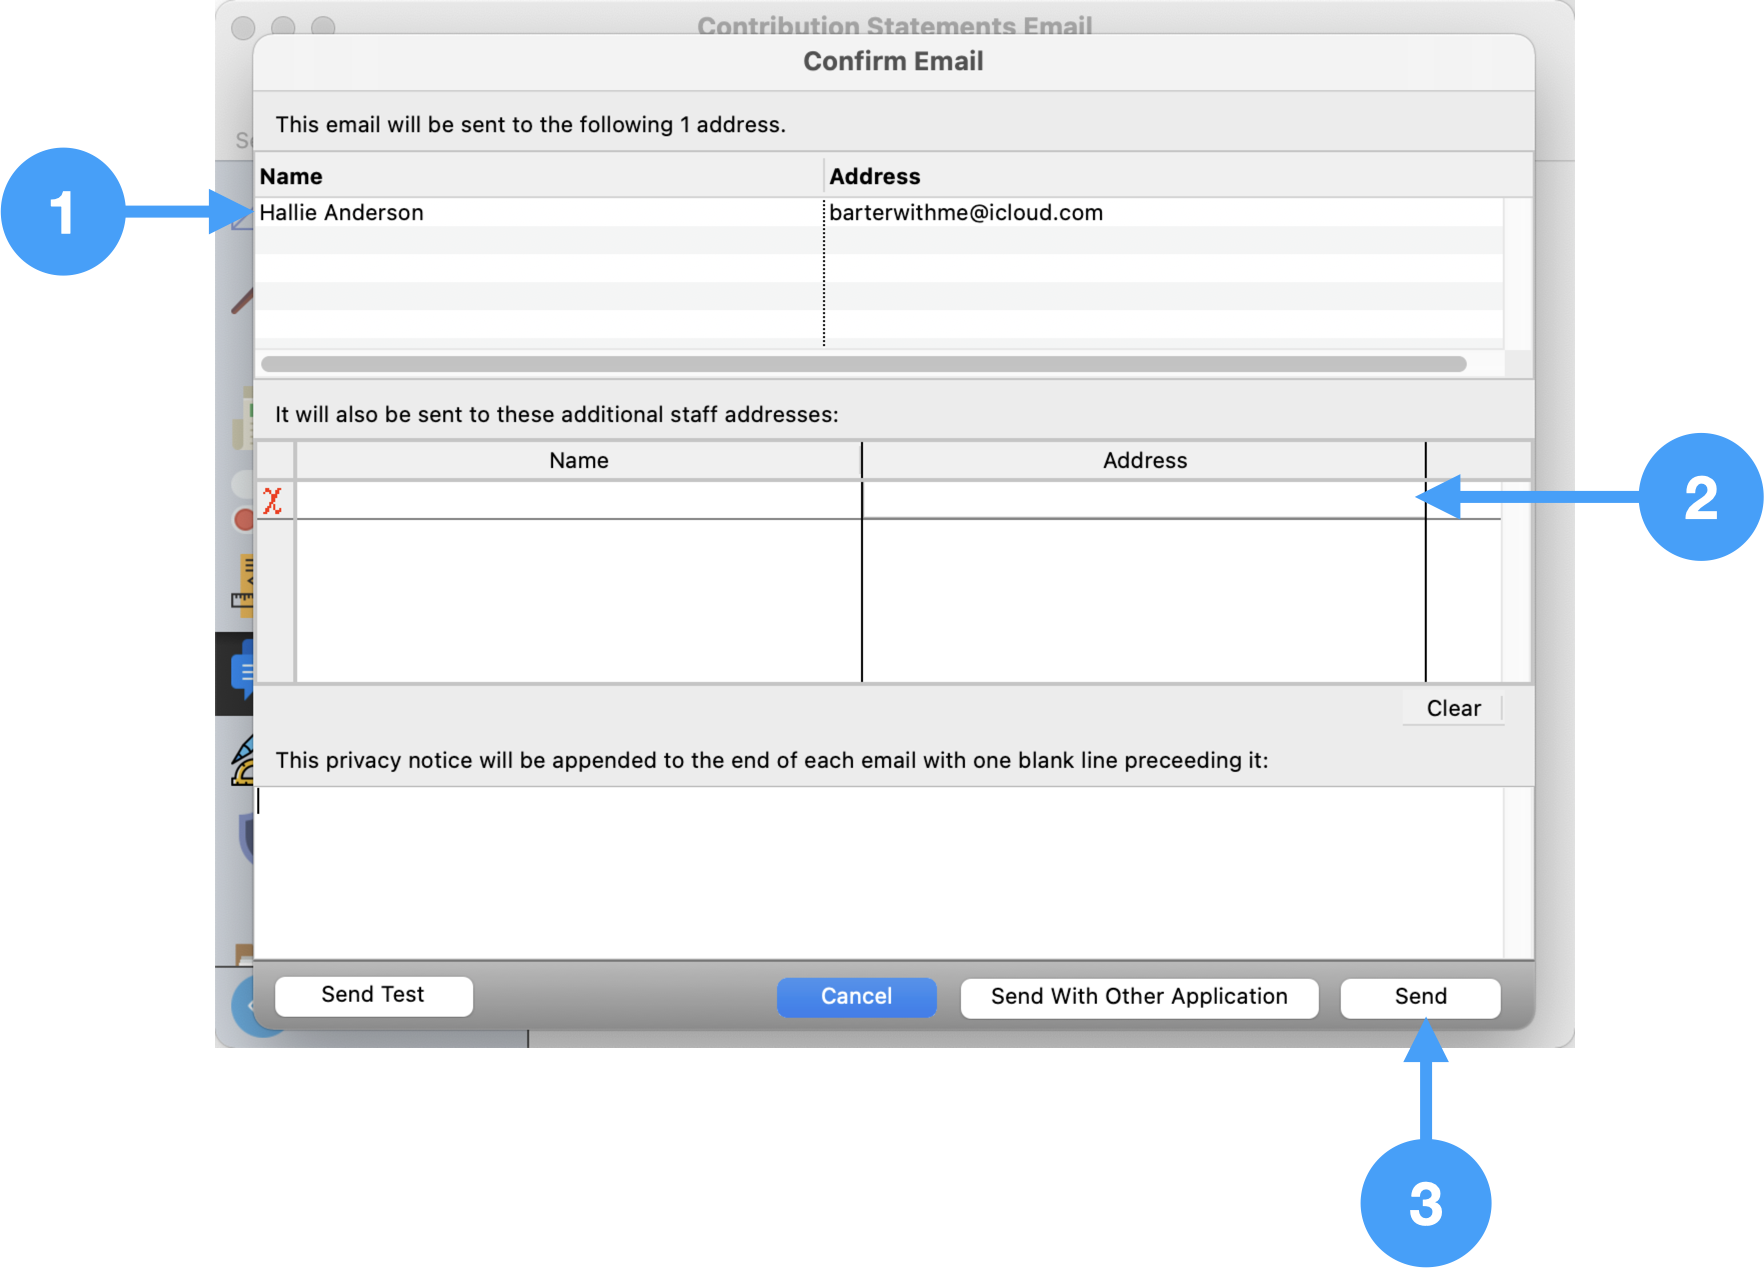
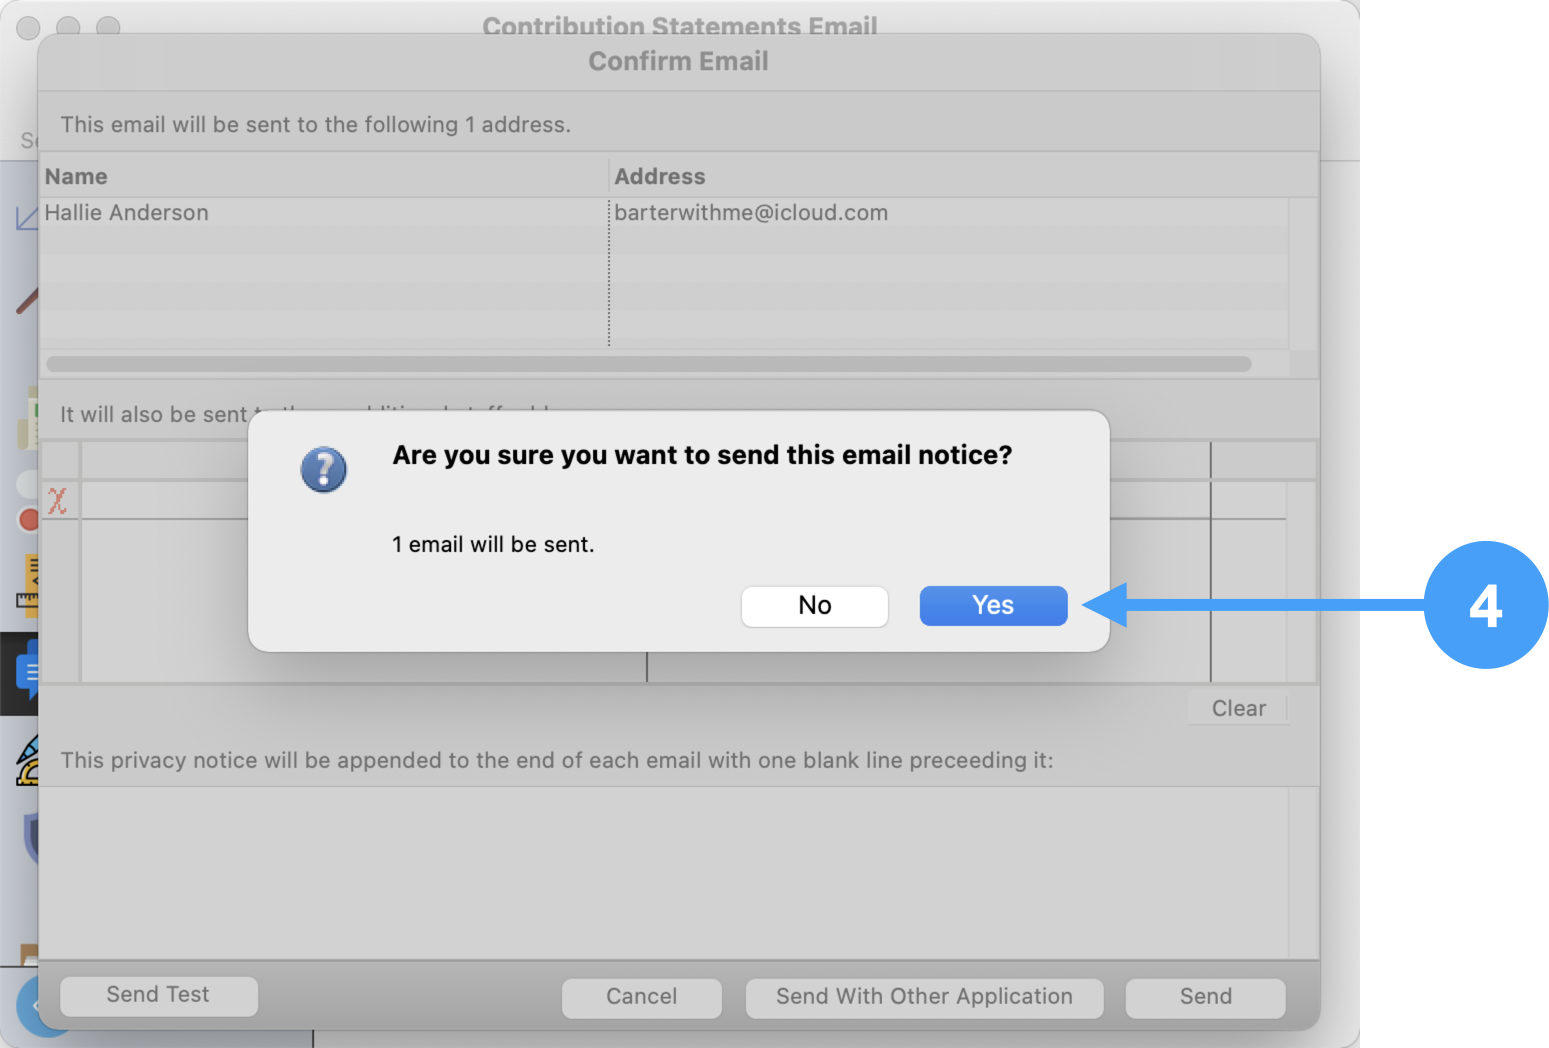
Confirm Email
- Review the list of emails to be sent. In our example, we are only sending a statement to one giver.
- If you wish to send emails to staff members, enter their names and email addresses in this section.
- Click Send
- Verify you wish to send an email notice by clicking Yes.
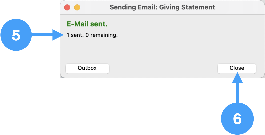
- You can watch the progress of the sending of the giving statements in this window.
- When it is complete, click Close. All of your statements have been emailed!
Video of Emailing Contribution Statements
| Widget Connector | ||||||
|---|---|---|---|---|---|---|
|