Printing of W-2 forms
During the eFile process, the following forms will be printed:
- Employer W-2 (Final copy)
- Federal W-2 (office copy)
- 941 Federal W-3 (office copy)
- State W-2 (office copy)
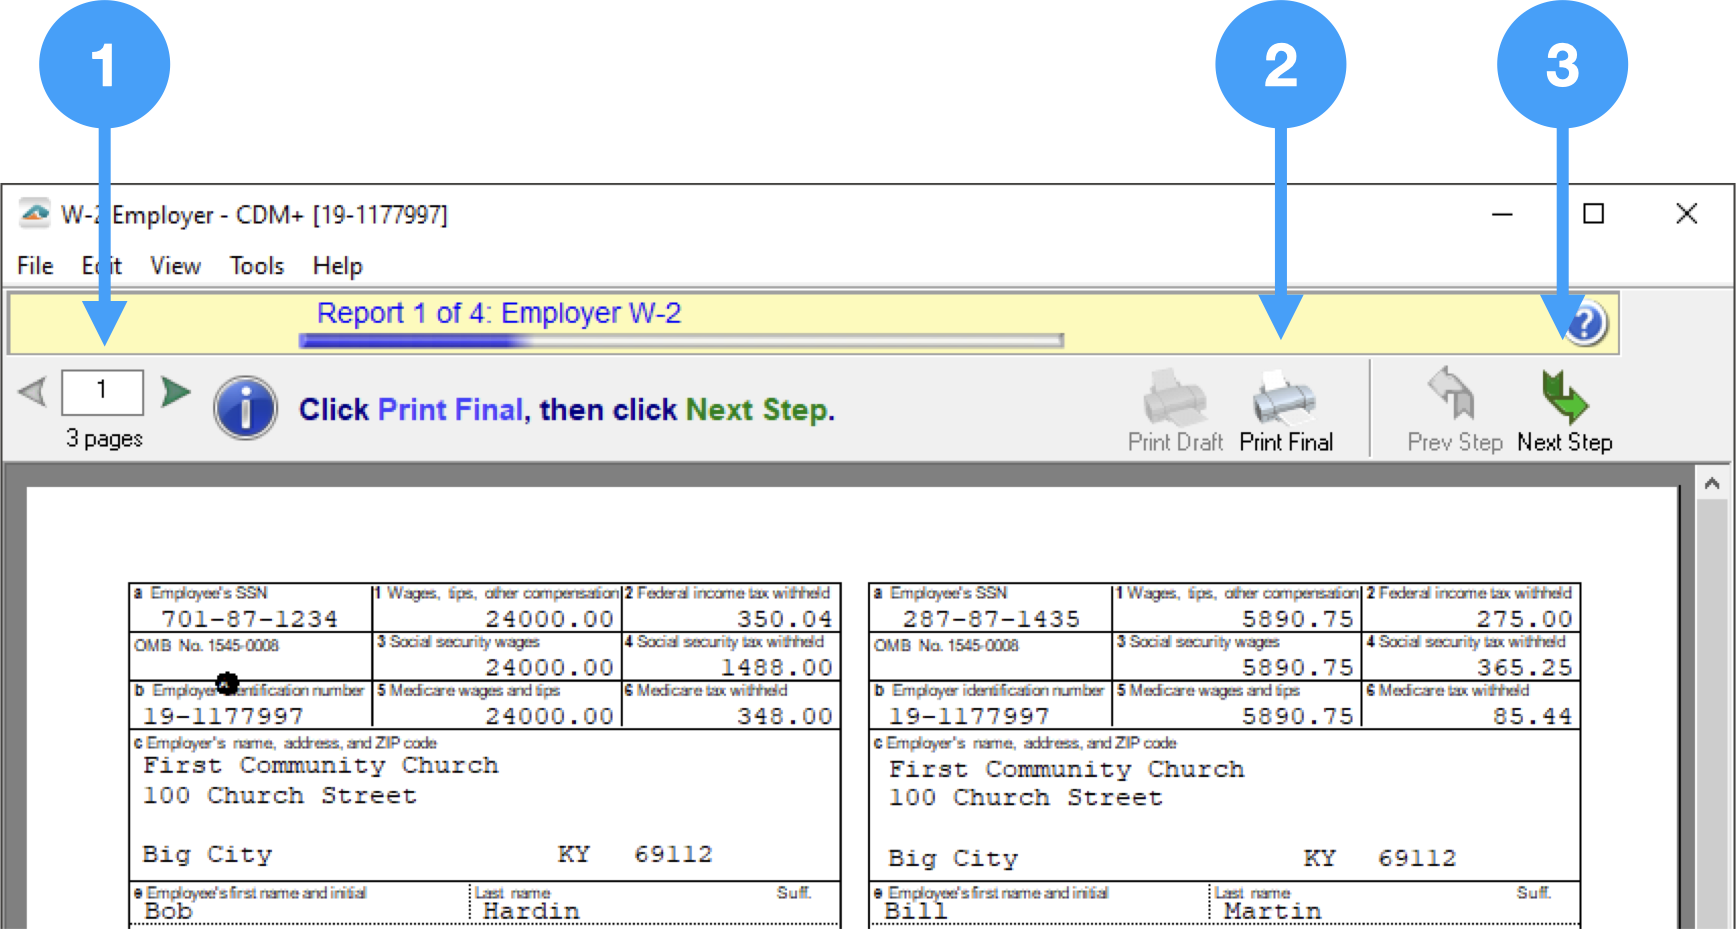
You move through the printing process by doing the following:
- The page navigation tool is in the upper lefthand corner of the form. The left and right arrows adjacent to the number field are the way you navigate through the pages.
- When you have reviewed the form's pages click on the Print Final (or Print Copy) icons.
- After the form has printed, click on the Next Step option to move to the next form.
These steps will be continued until all of the forms are printed and you are at the eFile Login window.
Video of Printing Forms
| Widget Connector | ||||||
|---|---|---|---|---|---|---|
|
Sign into Aatrix eFile System
| Note |
|---|
An Aatrix eFile account is needed for this step. An account can be created at the Aatrix eFile site. |
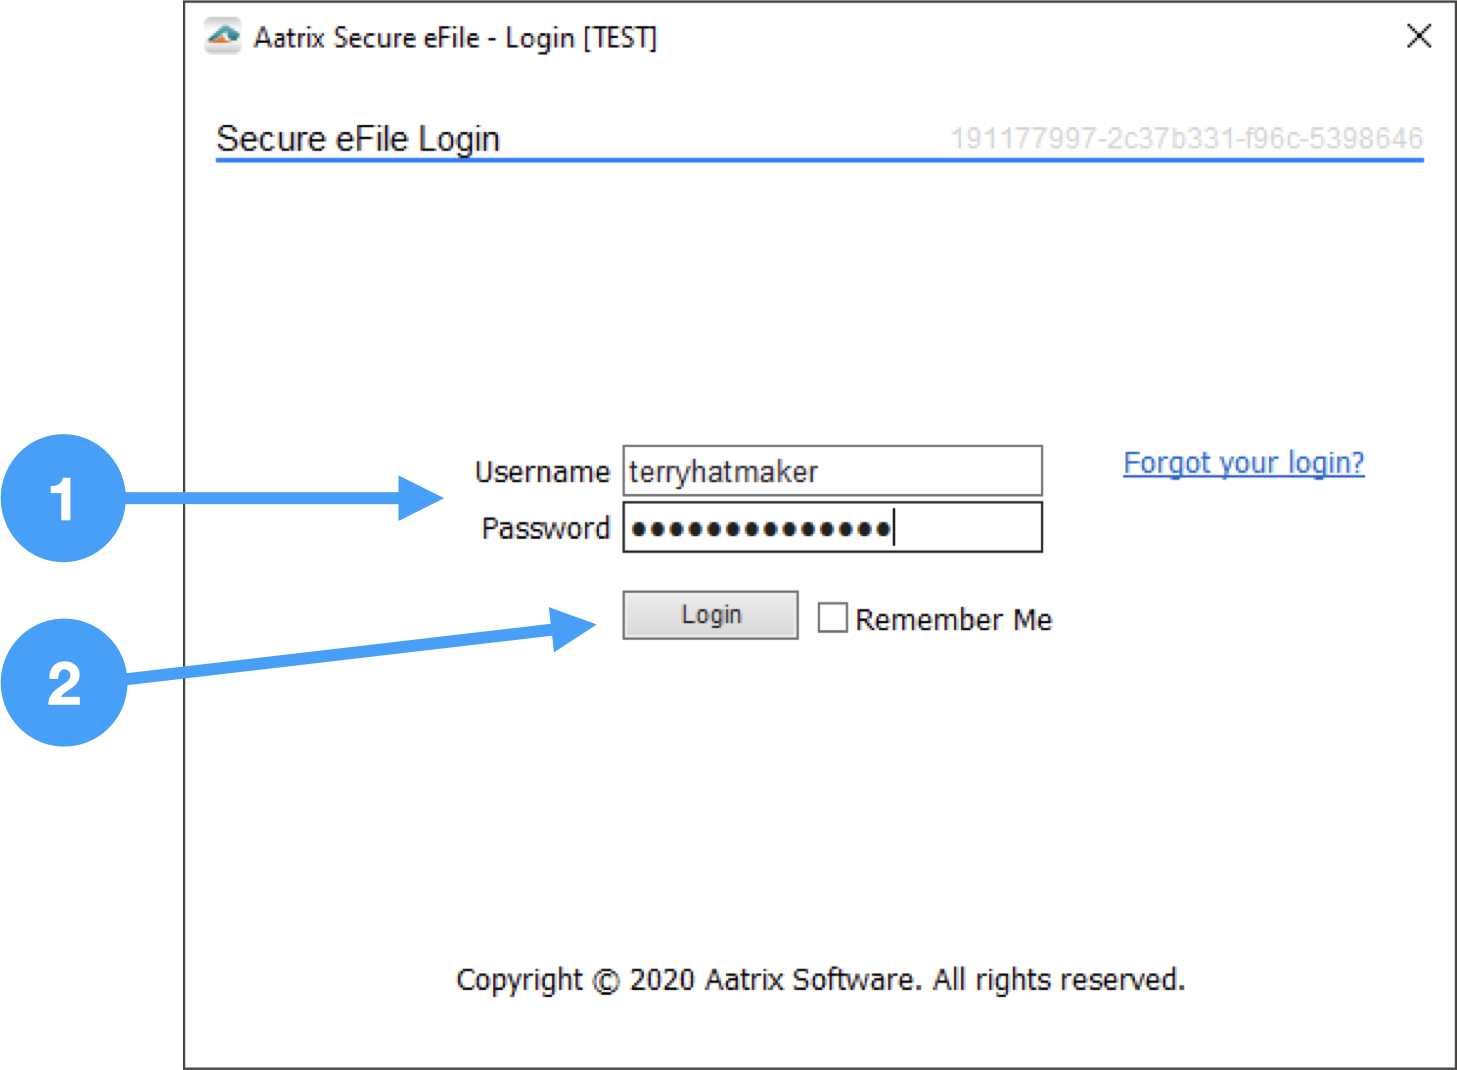
After you have enrolled in the Aatrix eFile system, you will log in.
- Enter Username and Password
- Click 'Login' to begin the process.
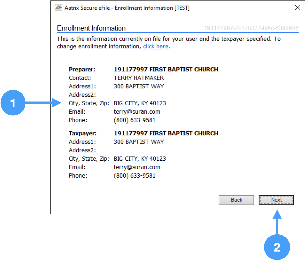
Review Enrollment Information
- Review the information on file and if any changes are needed, click on the link in the window.
- Click Next to move to the next window.
| Note |
|---|
If any of this information needs to be changed, you will need to exit the eFiling process and log into the Aatrix eFile site. |
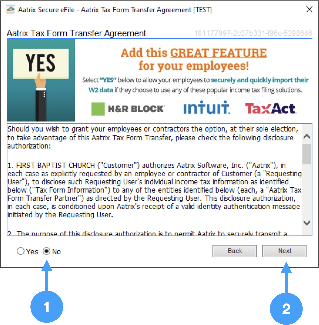
Aatrix Tax Form Transfer Agreement
- Read the information and determine whether you wish for your employees to securely import their W-2 data into their income tax filing solutions. In our example, we are selecting 'No'.
- Click Next to move to the next window.
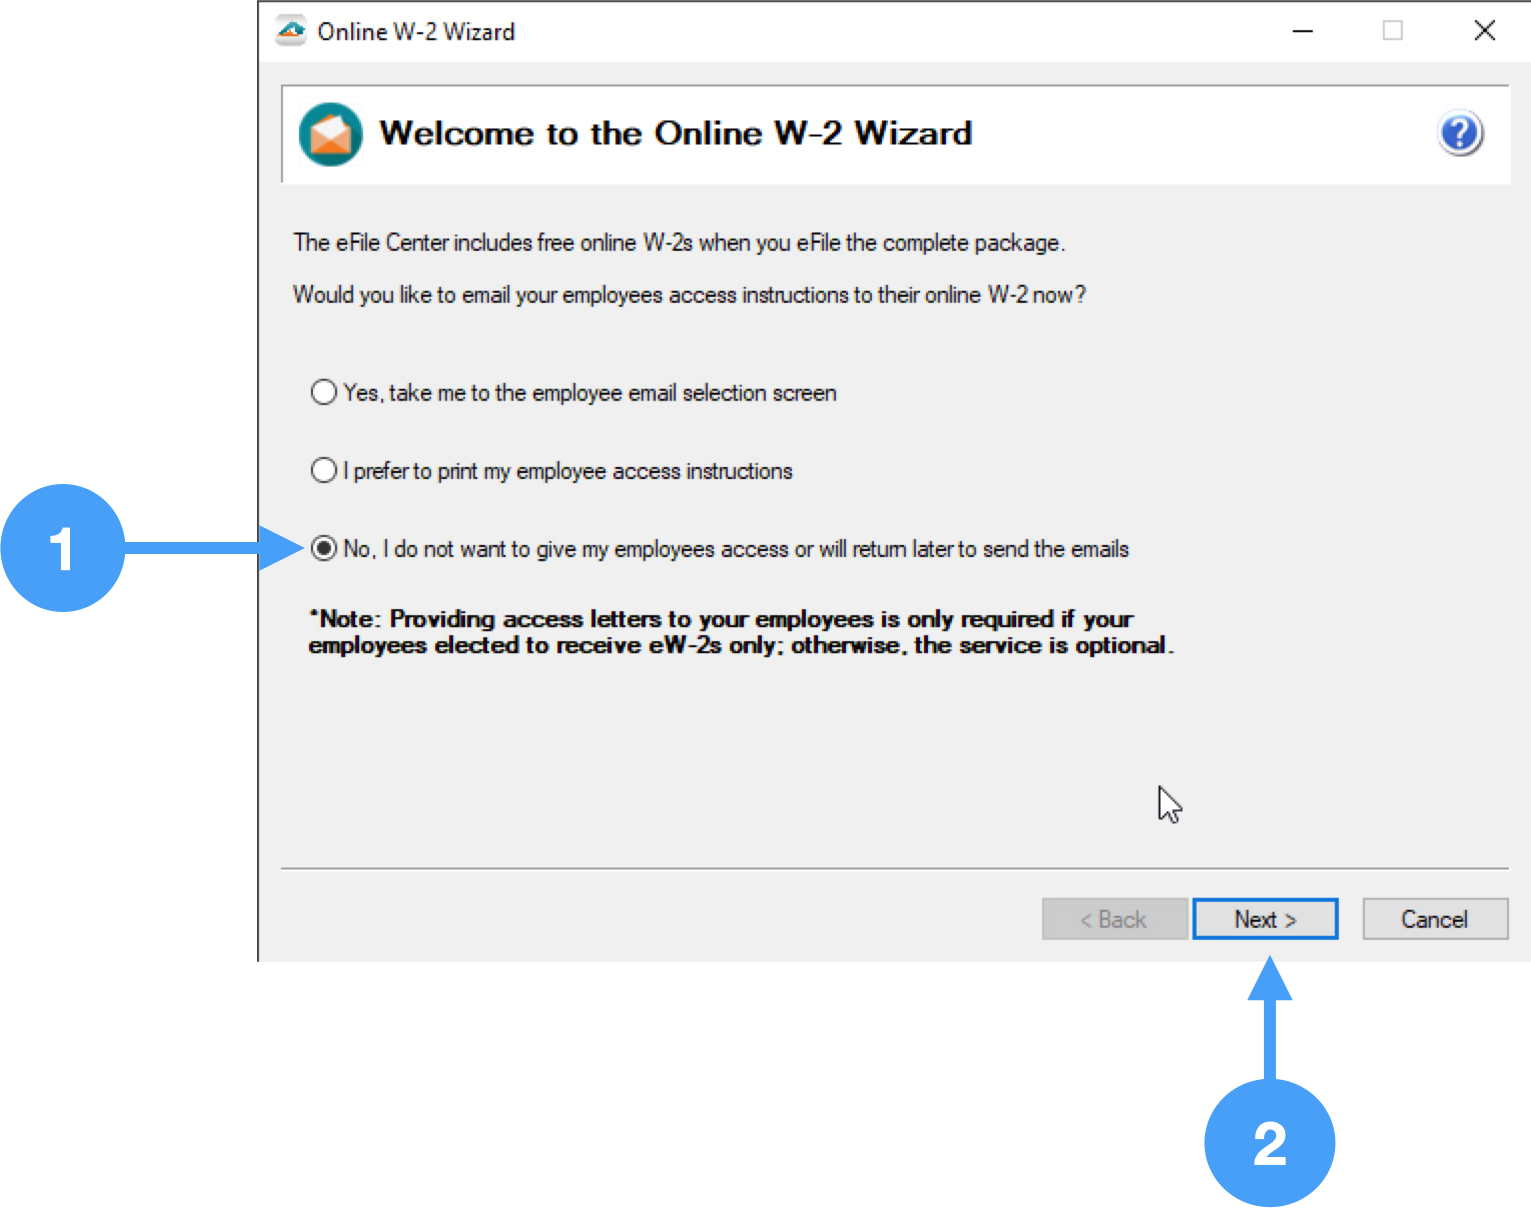
Online Access to W-2's
- Select the option you want to use. If you select the last option, you will be able to return later to set this access.
- Click Next.
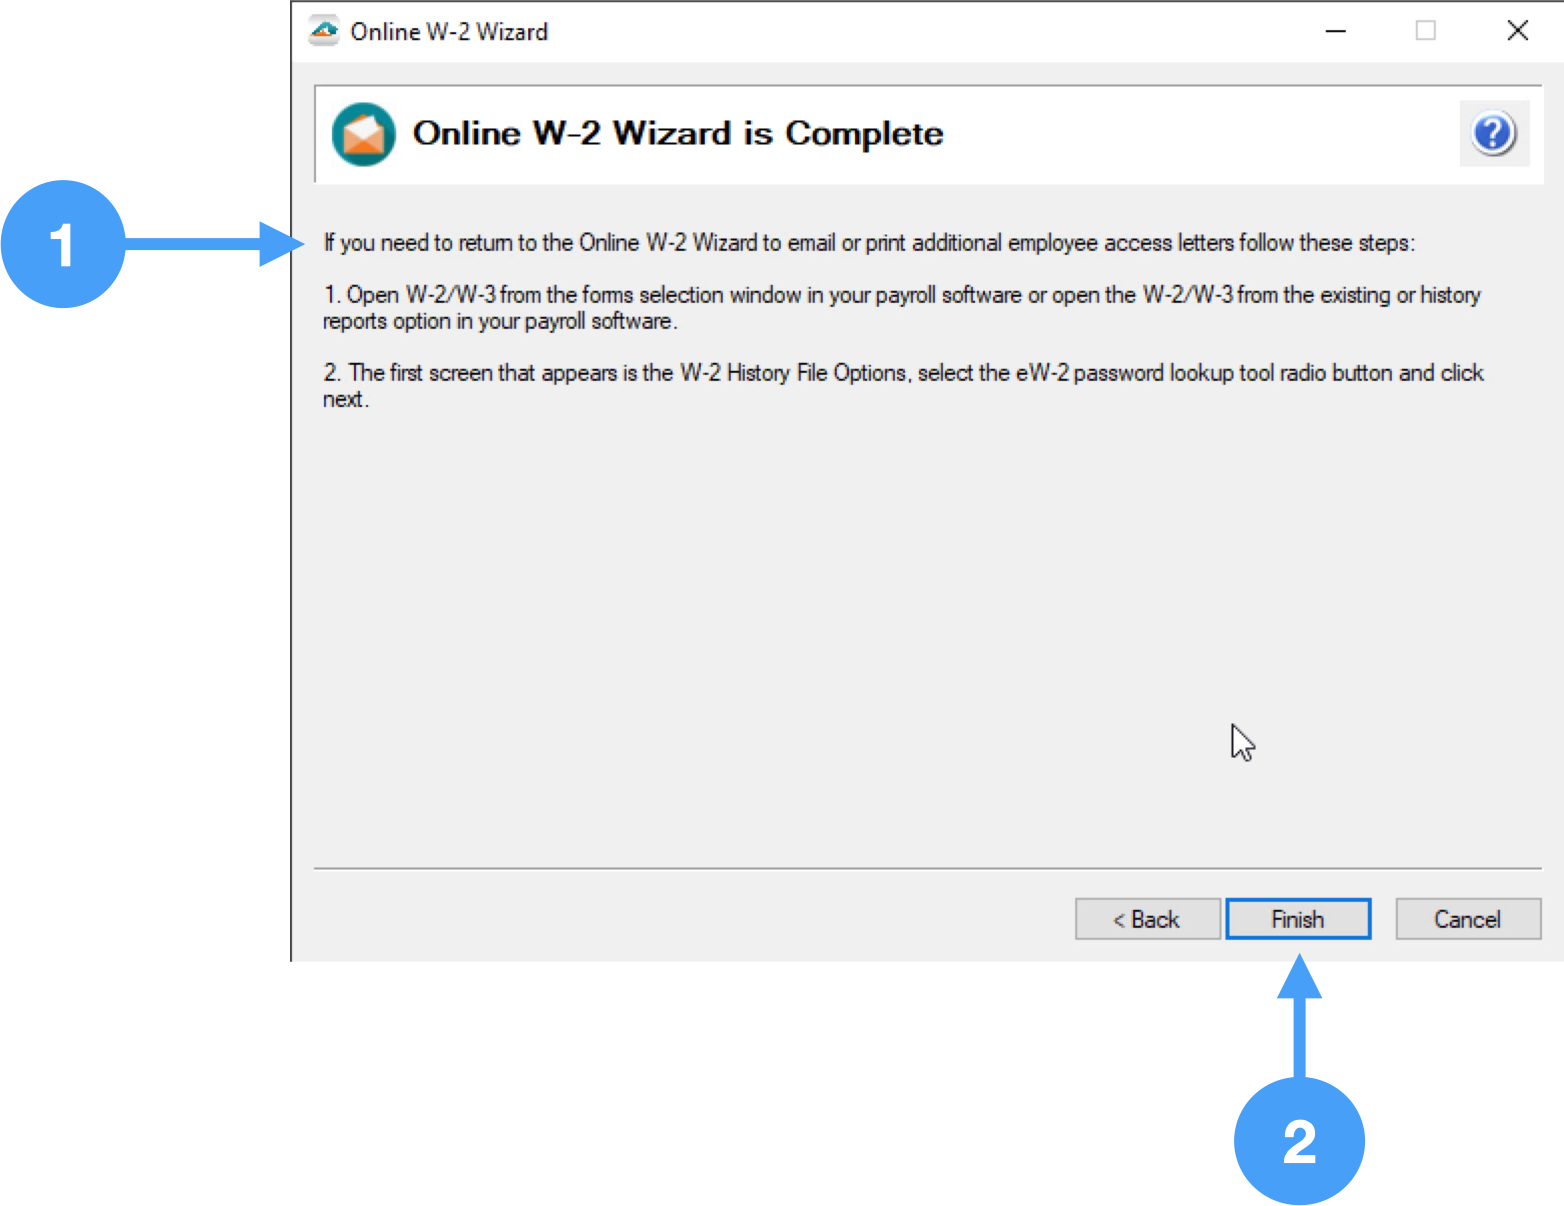
Instructions on Returning to the Online W-2 Wizard
- Read carefully and make any notes so you will know how to return to the Online W-2 Wizard.
- Click Finish.
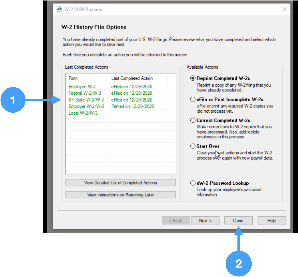
W-2 History File Options
- The History File window opens. This signifies you're done with the eFile process and the data has been saved to the Aatrix history file on your computer.
- You can now click the Close button. You are done!
| Warning |
|---|
The Aatrix history data is saved directly to the hard drive of your computer. This data is NOT saved in the CDM+ database. If you need to move this data to another computer running the same Operating System (Windows → Windows), then please contact CDM+ Support for instructions on retrieving your Aatrix history data. |
Video of eFile Process
| Widget Connector | ||||||
|---|---|---|---|---|---|---|
|