Before we begin processing W-2's, we need to ensure that specific areas in CDM+ Payroll are properly set up. These areas include:
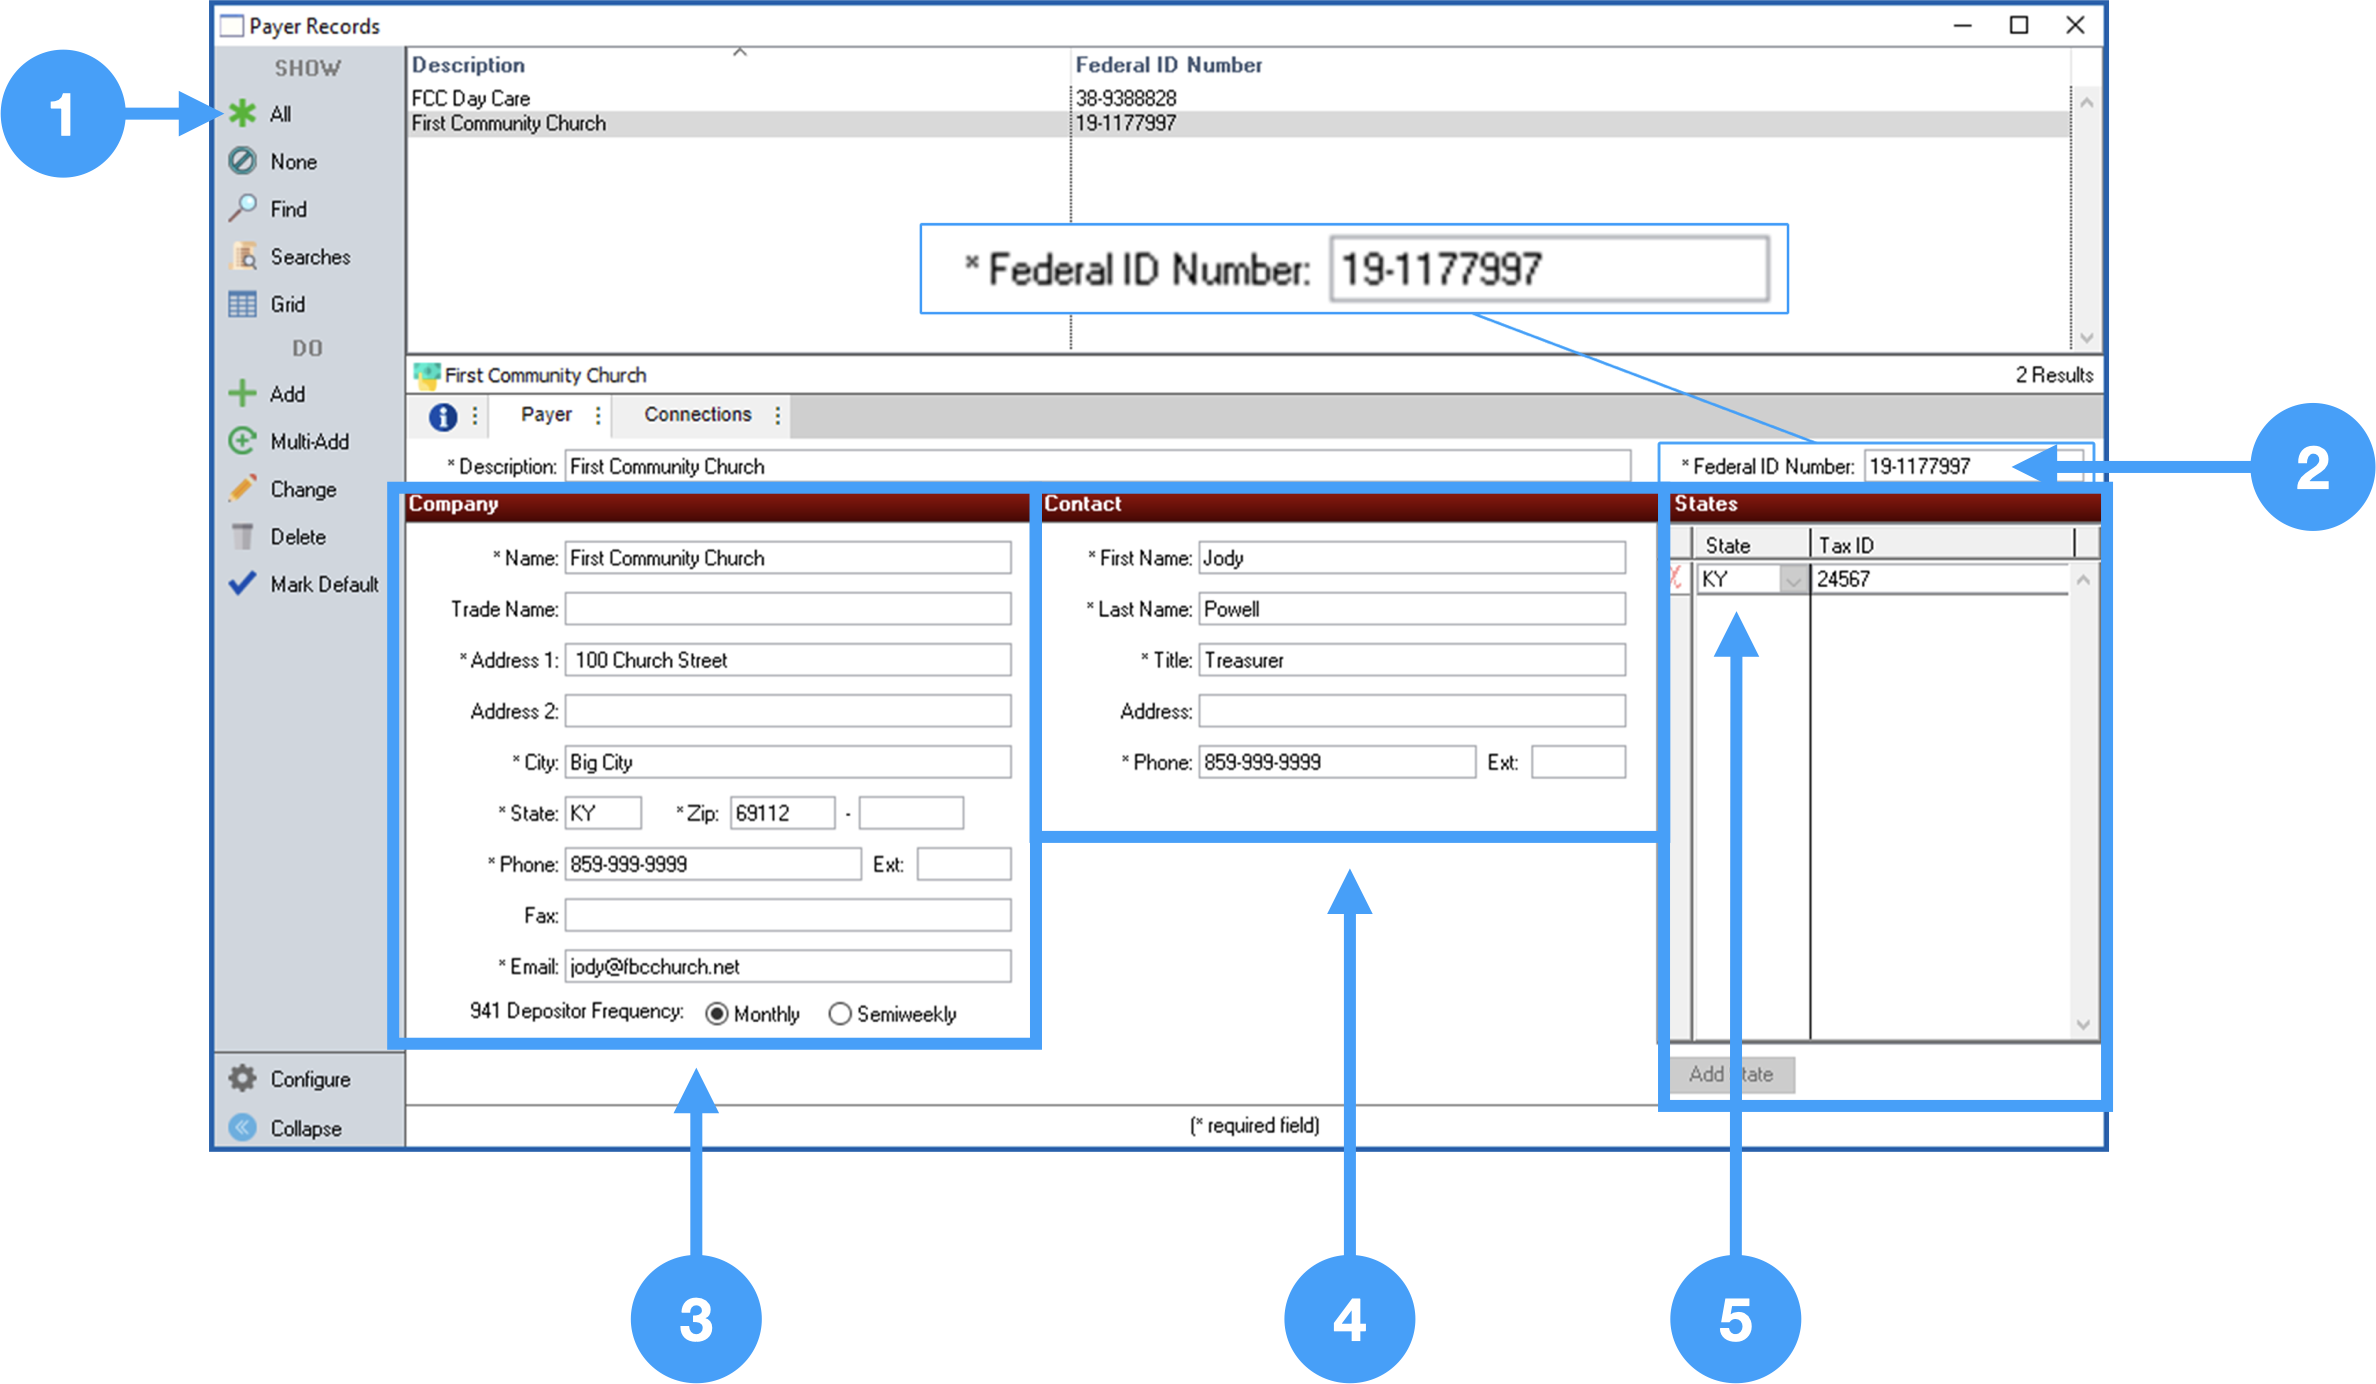
Program → Payroll → Payer Records
Review Company information and make sure it is correct.
This information can be updated in the Aatrix Forms Viewer, however, this does not update the information in CDM+. |
Also, ensure that the proper 941 Depository Frequency is selected. If you file a Schedule B form, then select 'Semiweekly'. In our example, the church does not file a Schedule B so 'Monthly' is selected. |

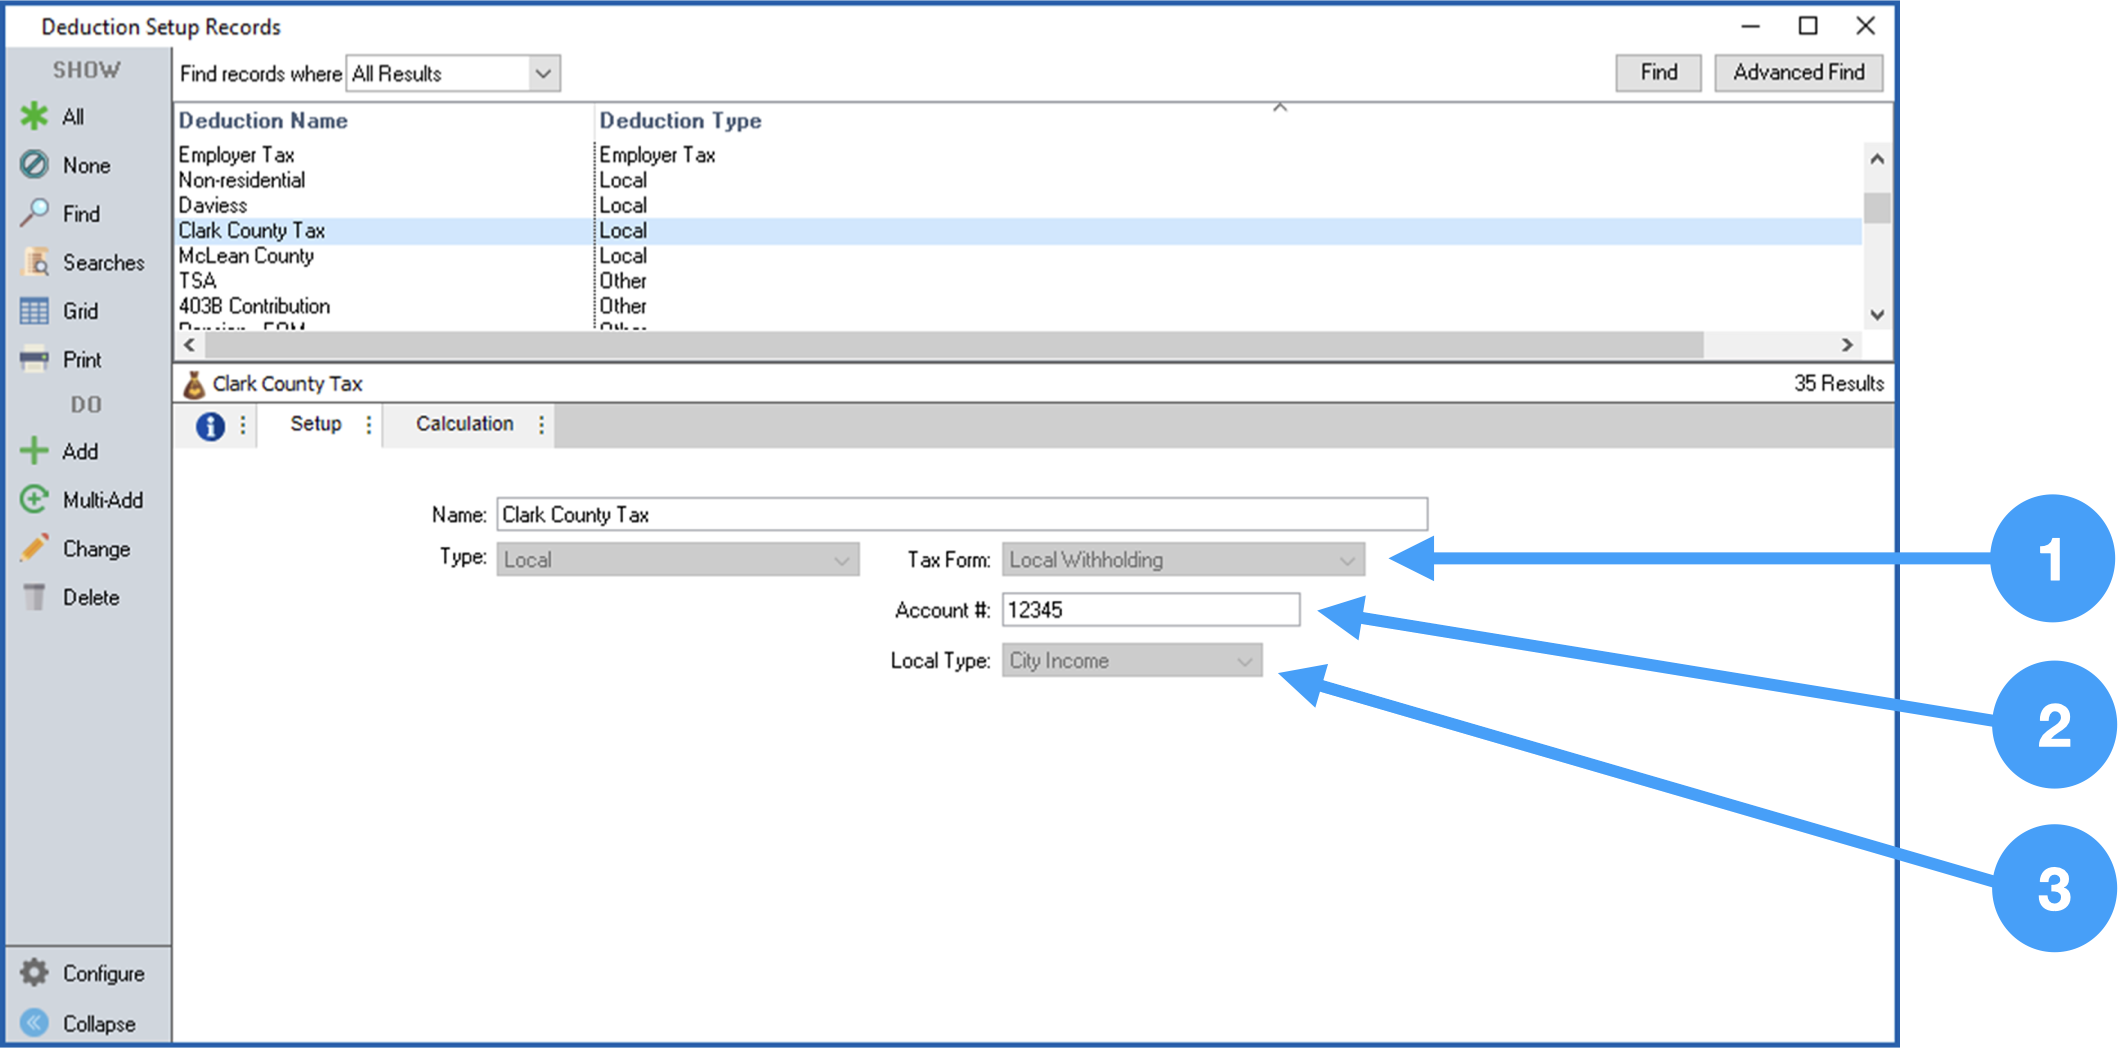
Program → Payroll → Deduction Setup Records
Select the 403-B deduction in the Results list.
Ensure the W-2 Field is correct for any deductions that will show on W-2s.
You can perform a simple search to find a specific deduction, by clicking on the Find option in the lefthand sidebar. |

Select the Local Tax deduction in the Results list.

Review all deductions that will be reported on your W-2's to ensure that the W-2 field has the appropriate option selected. Contact a Tax Professional if you are unsure of the appropriate selection. |
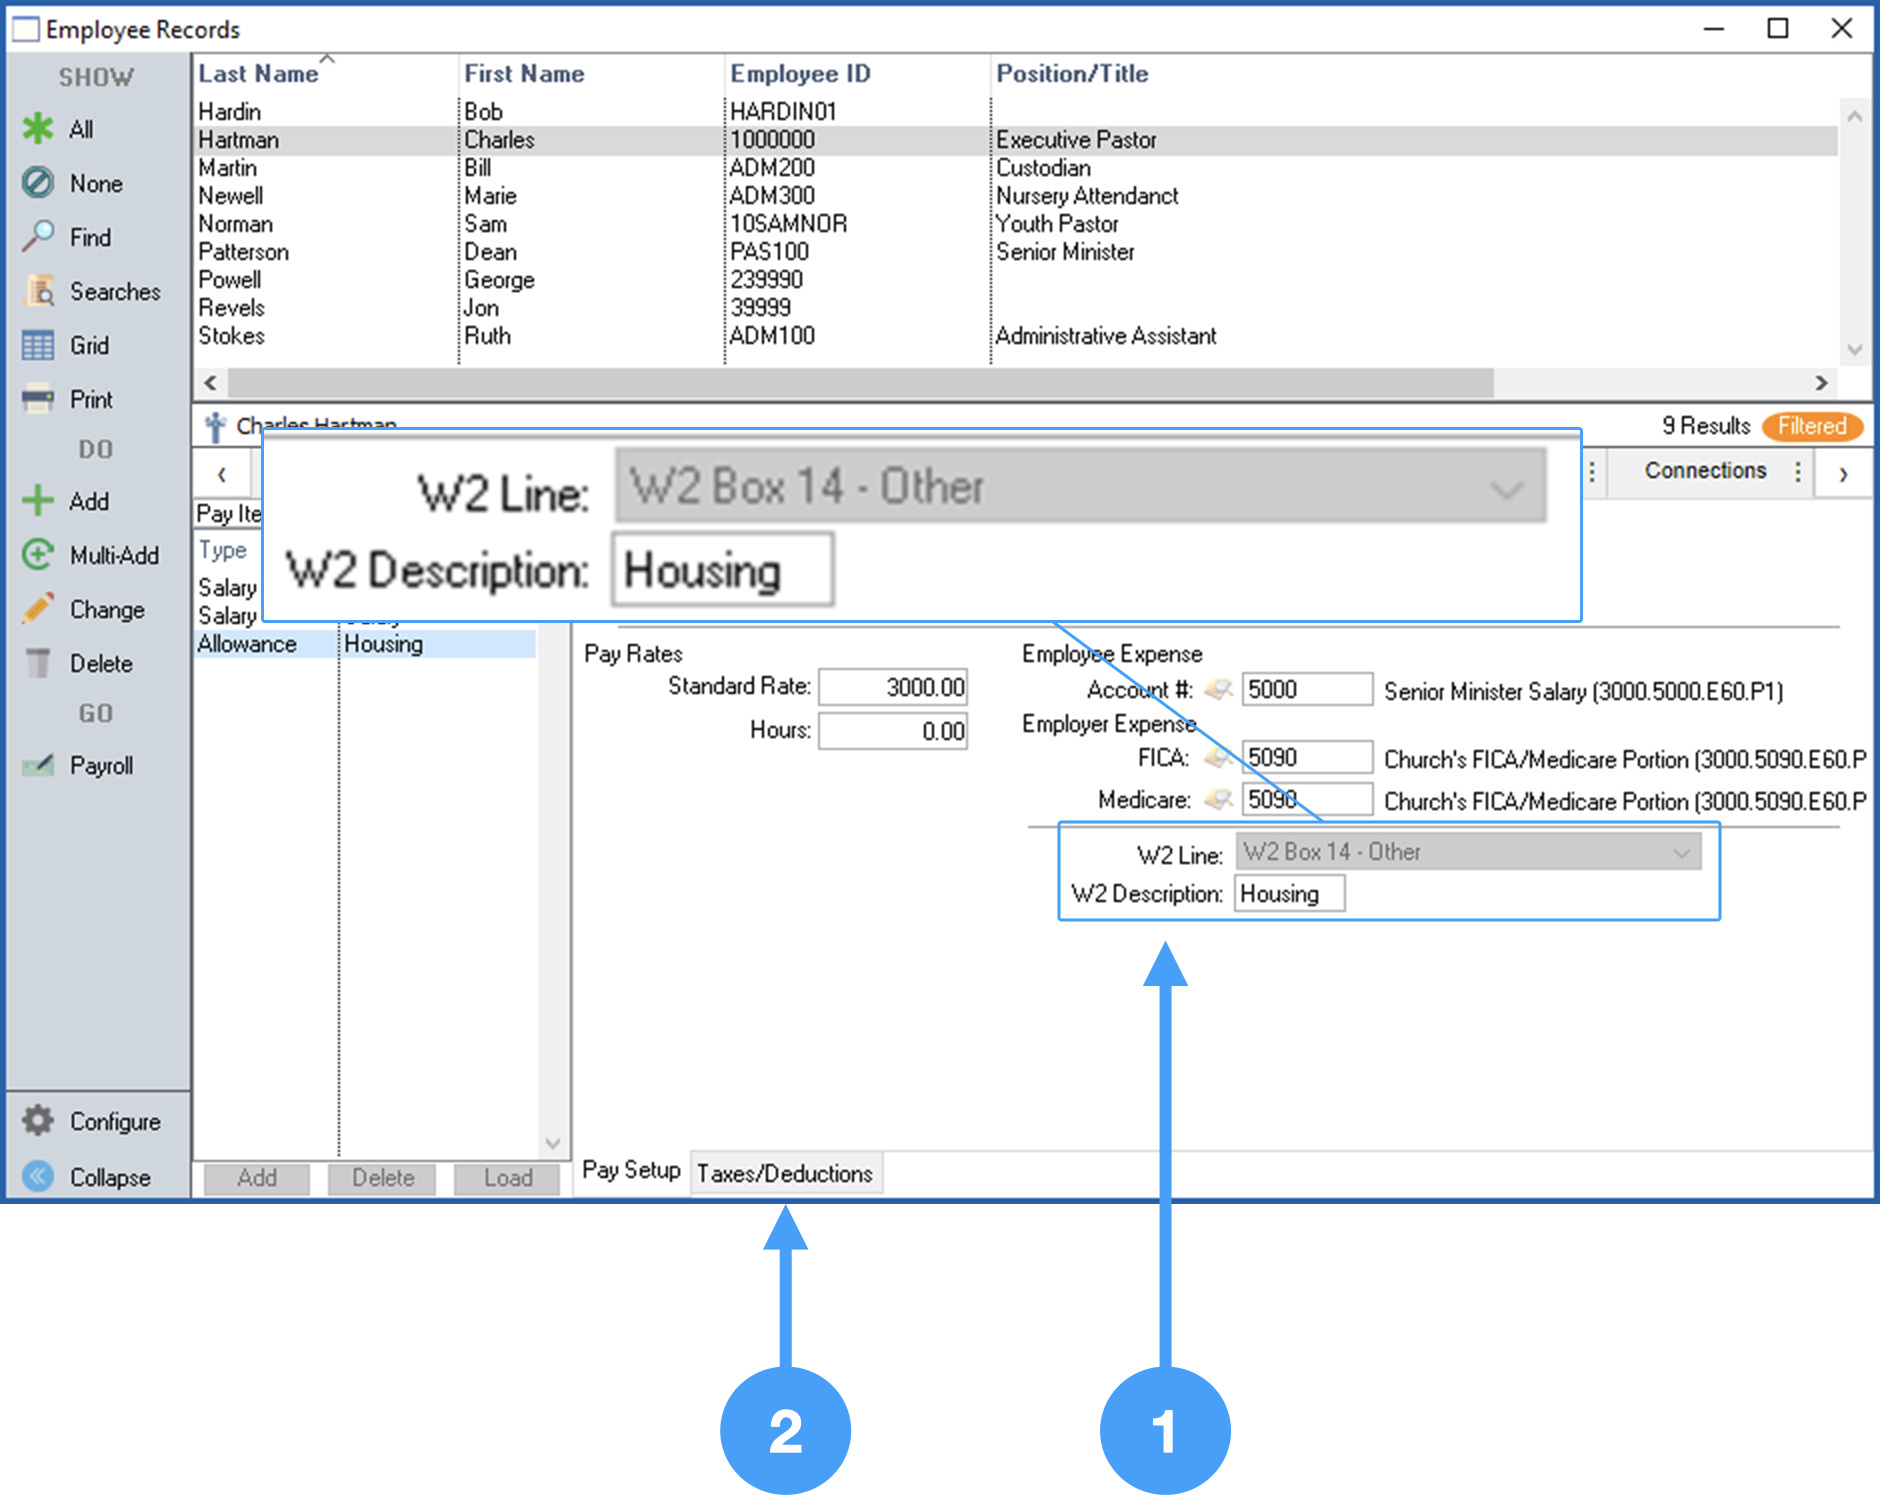
Program → Payroll → Employee Records
Review the information under the W-2 section of the Employee Records Setup tab. For example, if an employee is contributing to a retirement plan, then the checkbox labeled 'Retirement Plan' must be checked. Also, if there are employees who have elected to receive electronic W-2's, then the checkbox labeled 'Electronic W2 Only' must be checked. 
The Electronic W2 Only option requires that you have signed authorization forms for each employee electing to receive electronic W-2's only. NOTE: NO paper W-2's are generated when this is selected. |


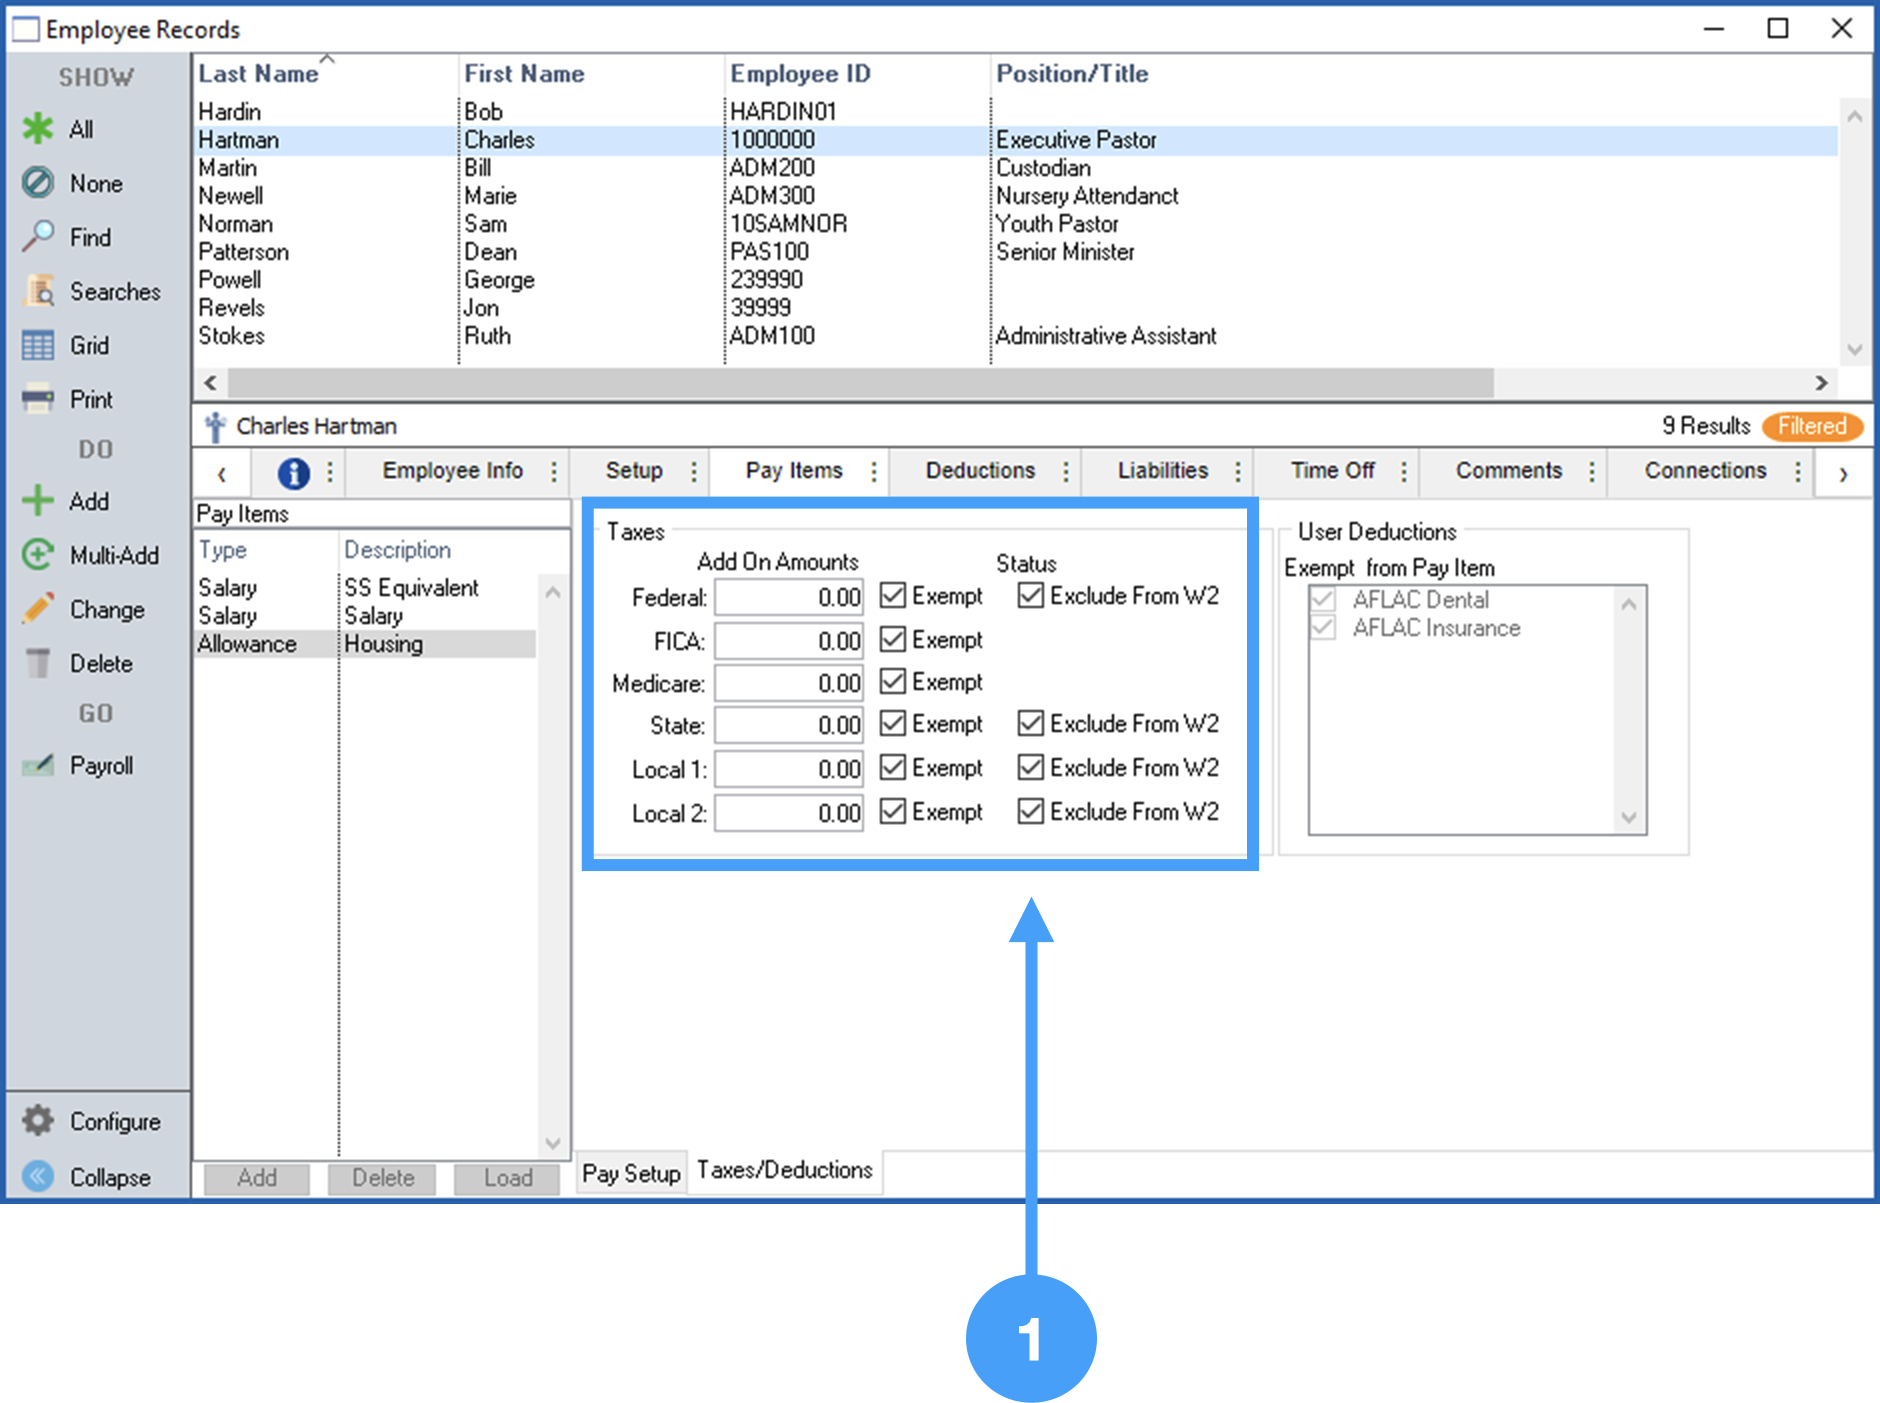
Ensure all Tax Items are set to 'Exempt' and all of the checkboxes for 'Exclude from W-2' under Status are checked.
Ensuring that the checkboxes under Status are checked is critical. If these checkboxes are not checked, then the Housing Allowance will be included in Box 1 of the W-2 and Box 14 which will overstate your income in Box 1. |

With the above items reviewed, we are ready to begin the processing of this year's W-2's.
Reports → Payroll Reports → Payroll Tax Forms
