Start the Setup Process
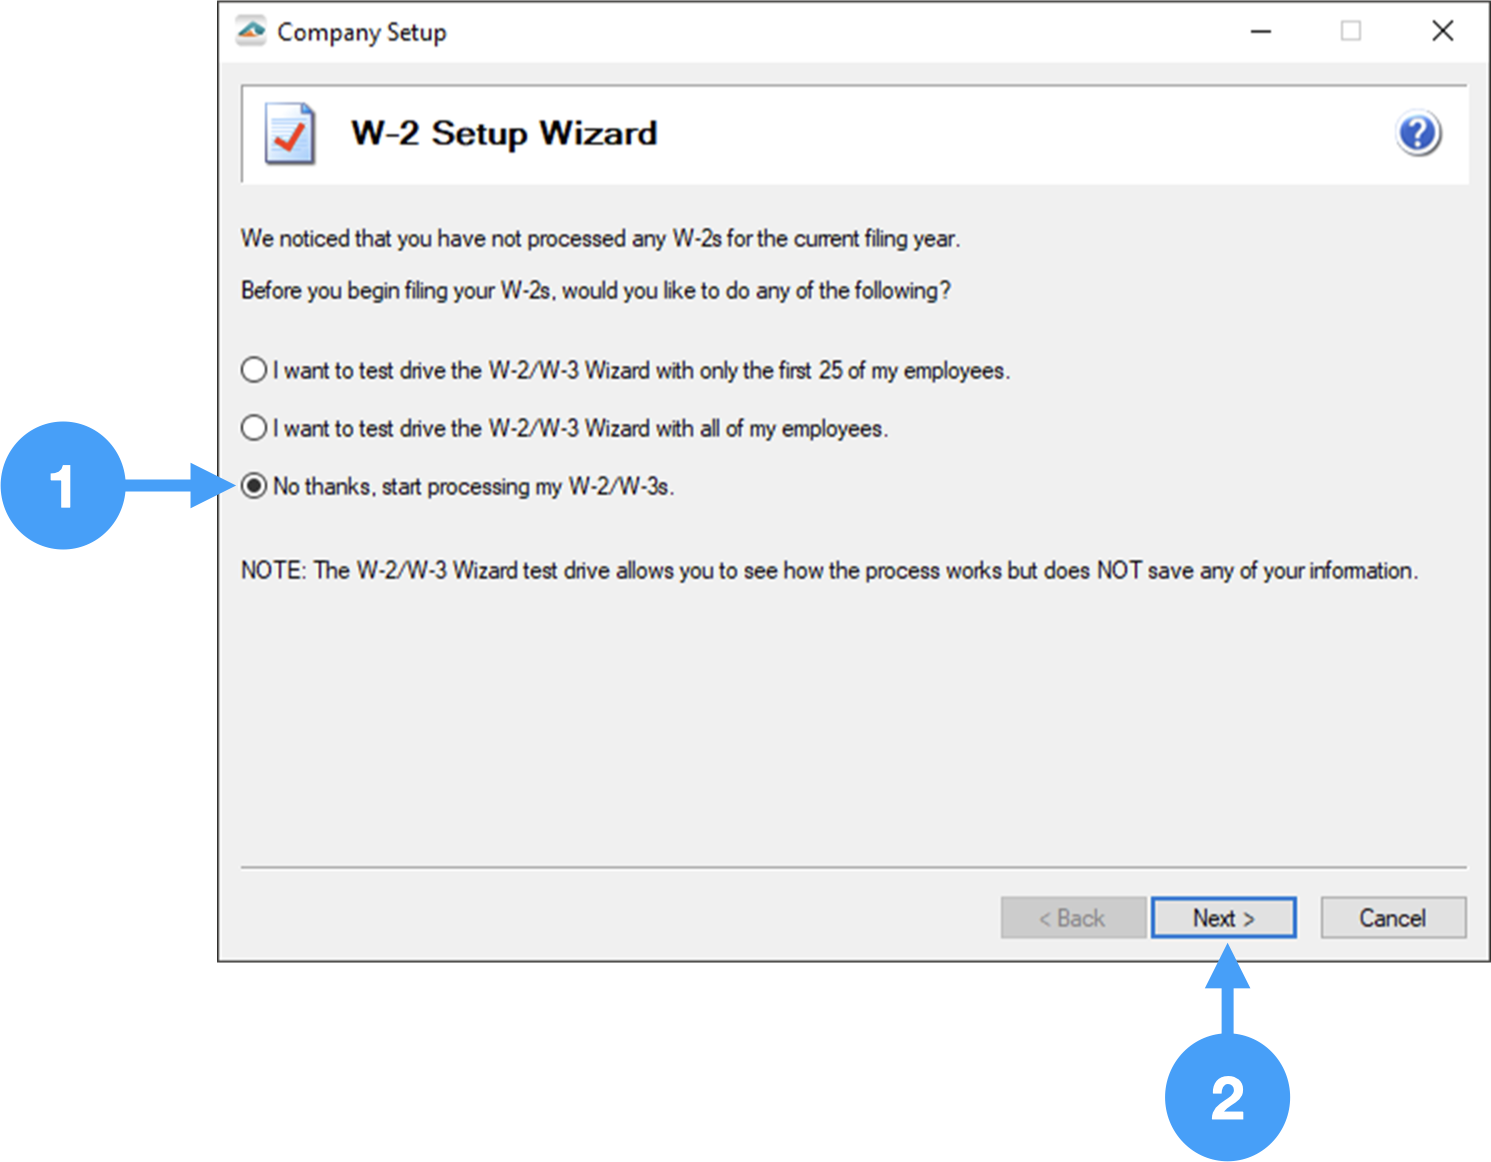
- The first window gives you the option to test drive the W-2/W-3 process with all of your employees or the first 25. There is an option to just begin processing the W-2/W-3s. We are going to select that choice.
- Click Next to move to the next window.
Company Federal Employer Identification Number (FEIN)
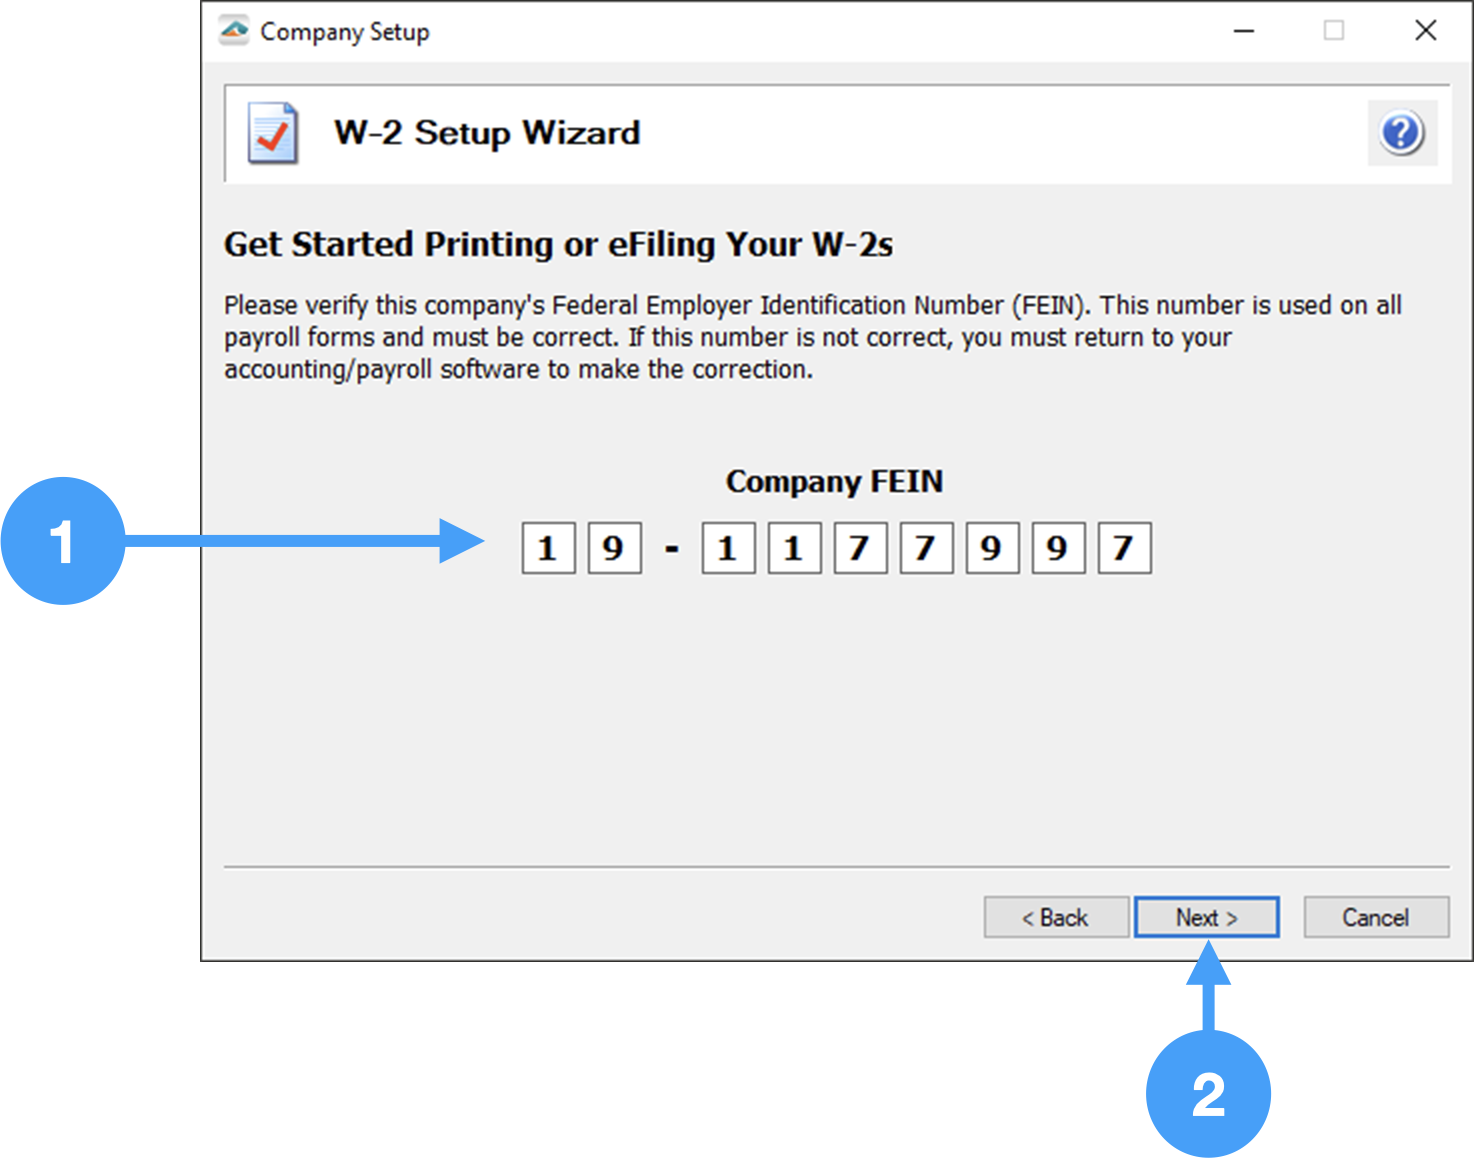
- Verify the Company FEIN is correct. If it isn't, you can correct it here.
- Click Next to move to the next window.
Multiple or Single Data Files
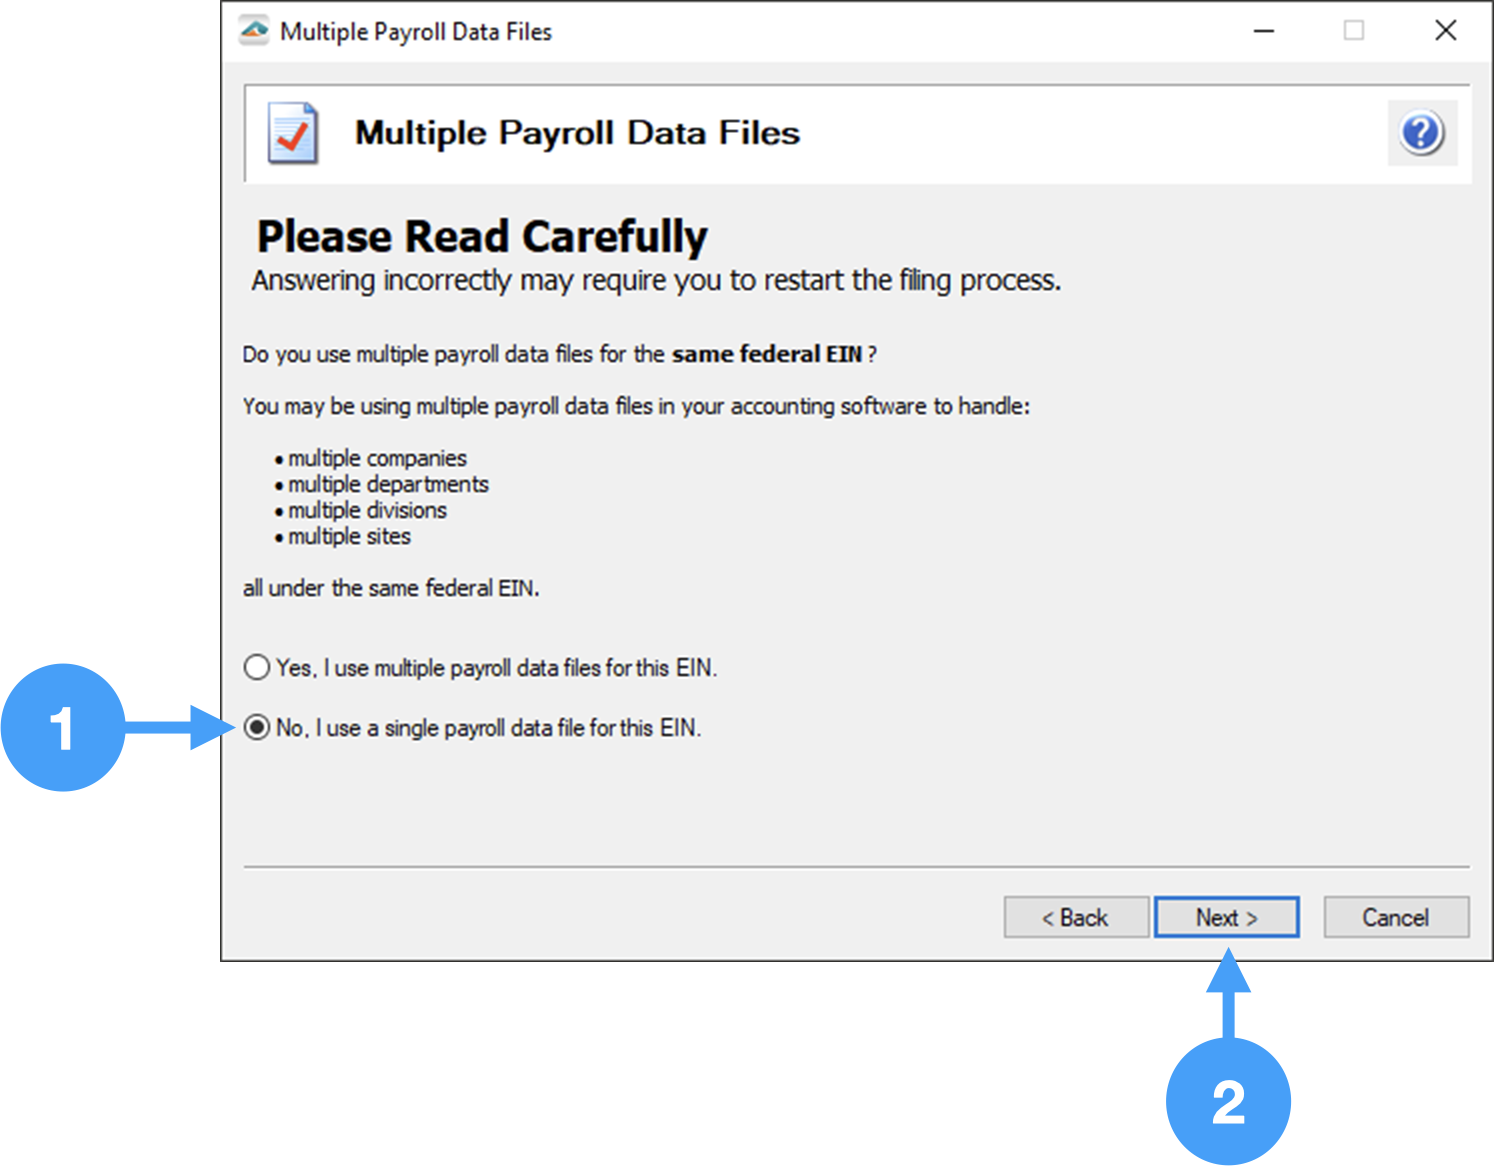
- There are situations where an organization may have two or more databases for the same FEIN number. In those cases, you need to select 'Yes, I use multiple payroll data files from the EIN.' However, in our case, we use one database so we will select 'No, I use a single payroll data file for the EIN.'
- Click Next to move to the next window.
Review Company Information
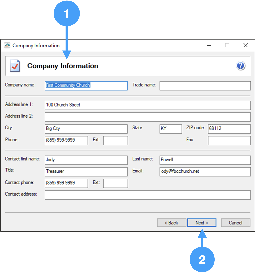
- Review all of the information on this screen. This information is included on the W-2/W-3s so it must be accurate and complete. You can make changes in this window, but these changes will not be reflected in CDM+. To update your payroll information in CDM+, you need to go to Payer Records.
- When you are satisfied that the information is correct, click Next to move to the next window.
Identify Tax Payer Type
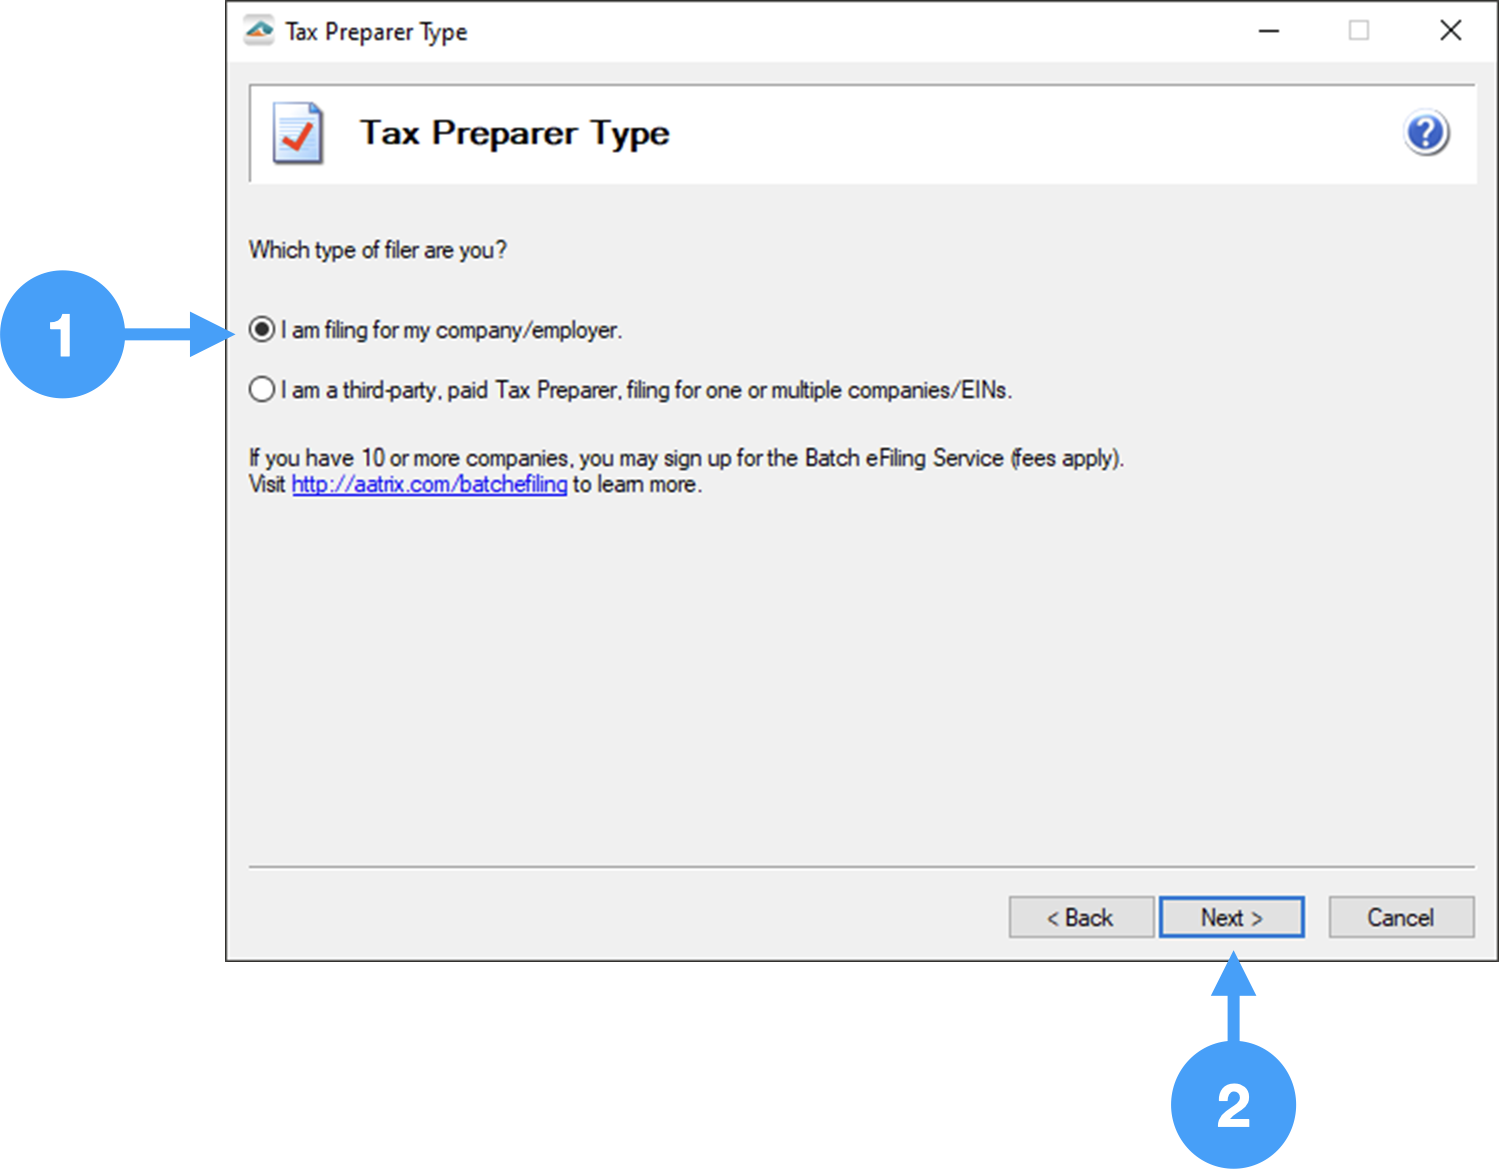
- If you are filing the W-2 for your church or organization, select the first radio button.
- Click Next to continue to the next window.
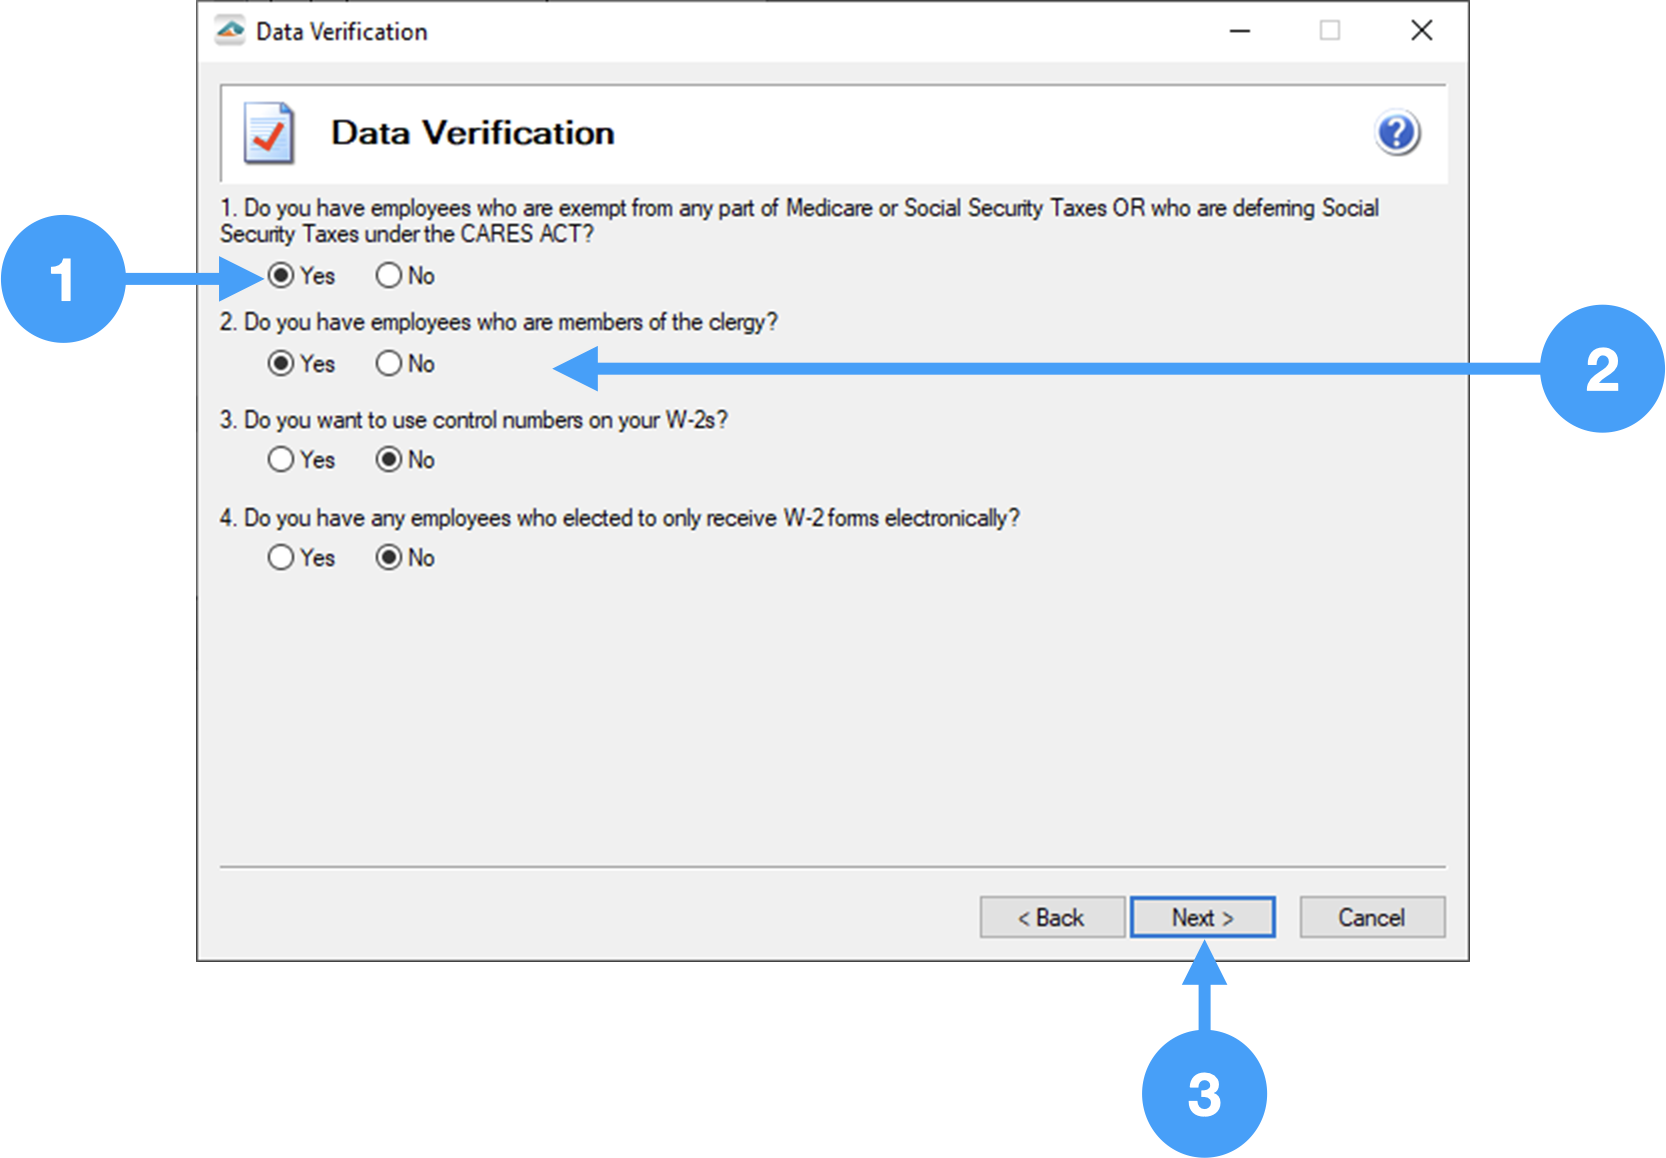
Data Verification Setup
It is important that this window is set up correctly. If not, then you will not be able to continue the Data Verification process due to what the Forms Viewer perceives as an error.
- The first item MUST be set to 'Yes'. Marking this item as 'No' will keep you from completing the Data Verification process.
- The second item MUST also be set to 'Yes' to ensure that you can complete the Data Verification process.
- Click Next to continue to the next window.
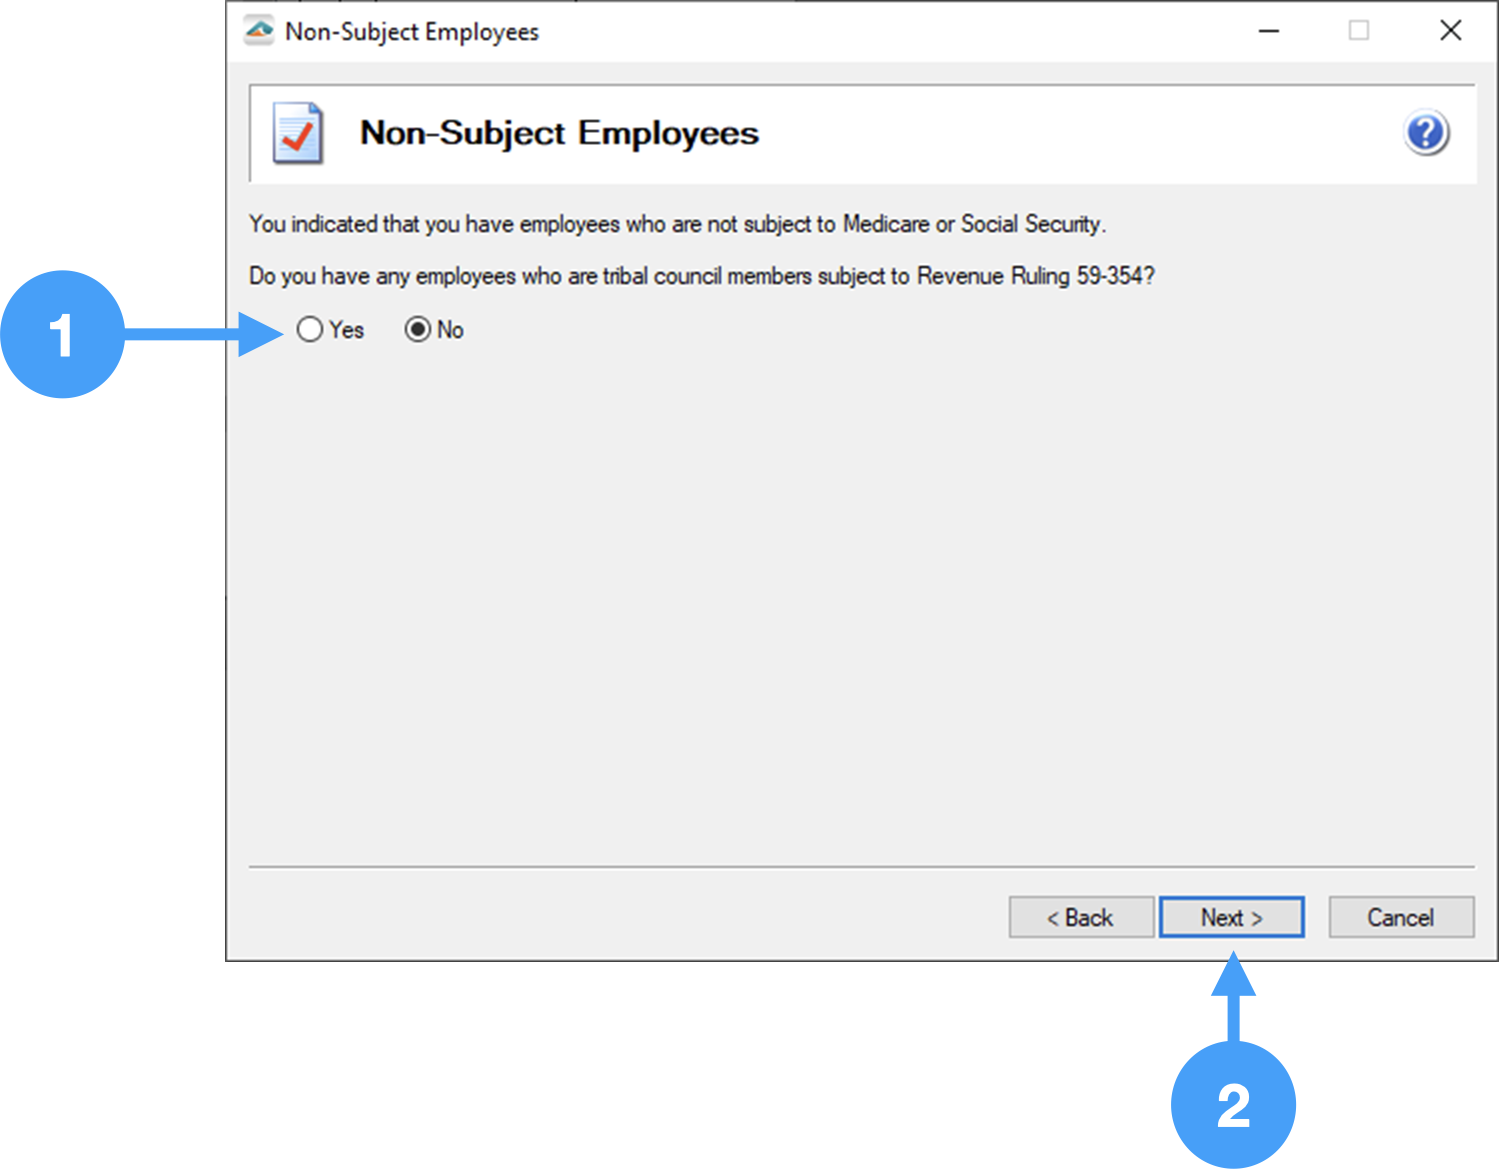
Non-Subject Employees
- Select 'No' for this item if you do not have any employees who are tribal council members.
- Click Next to continue to the next window.
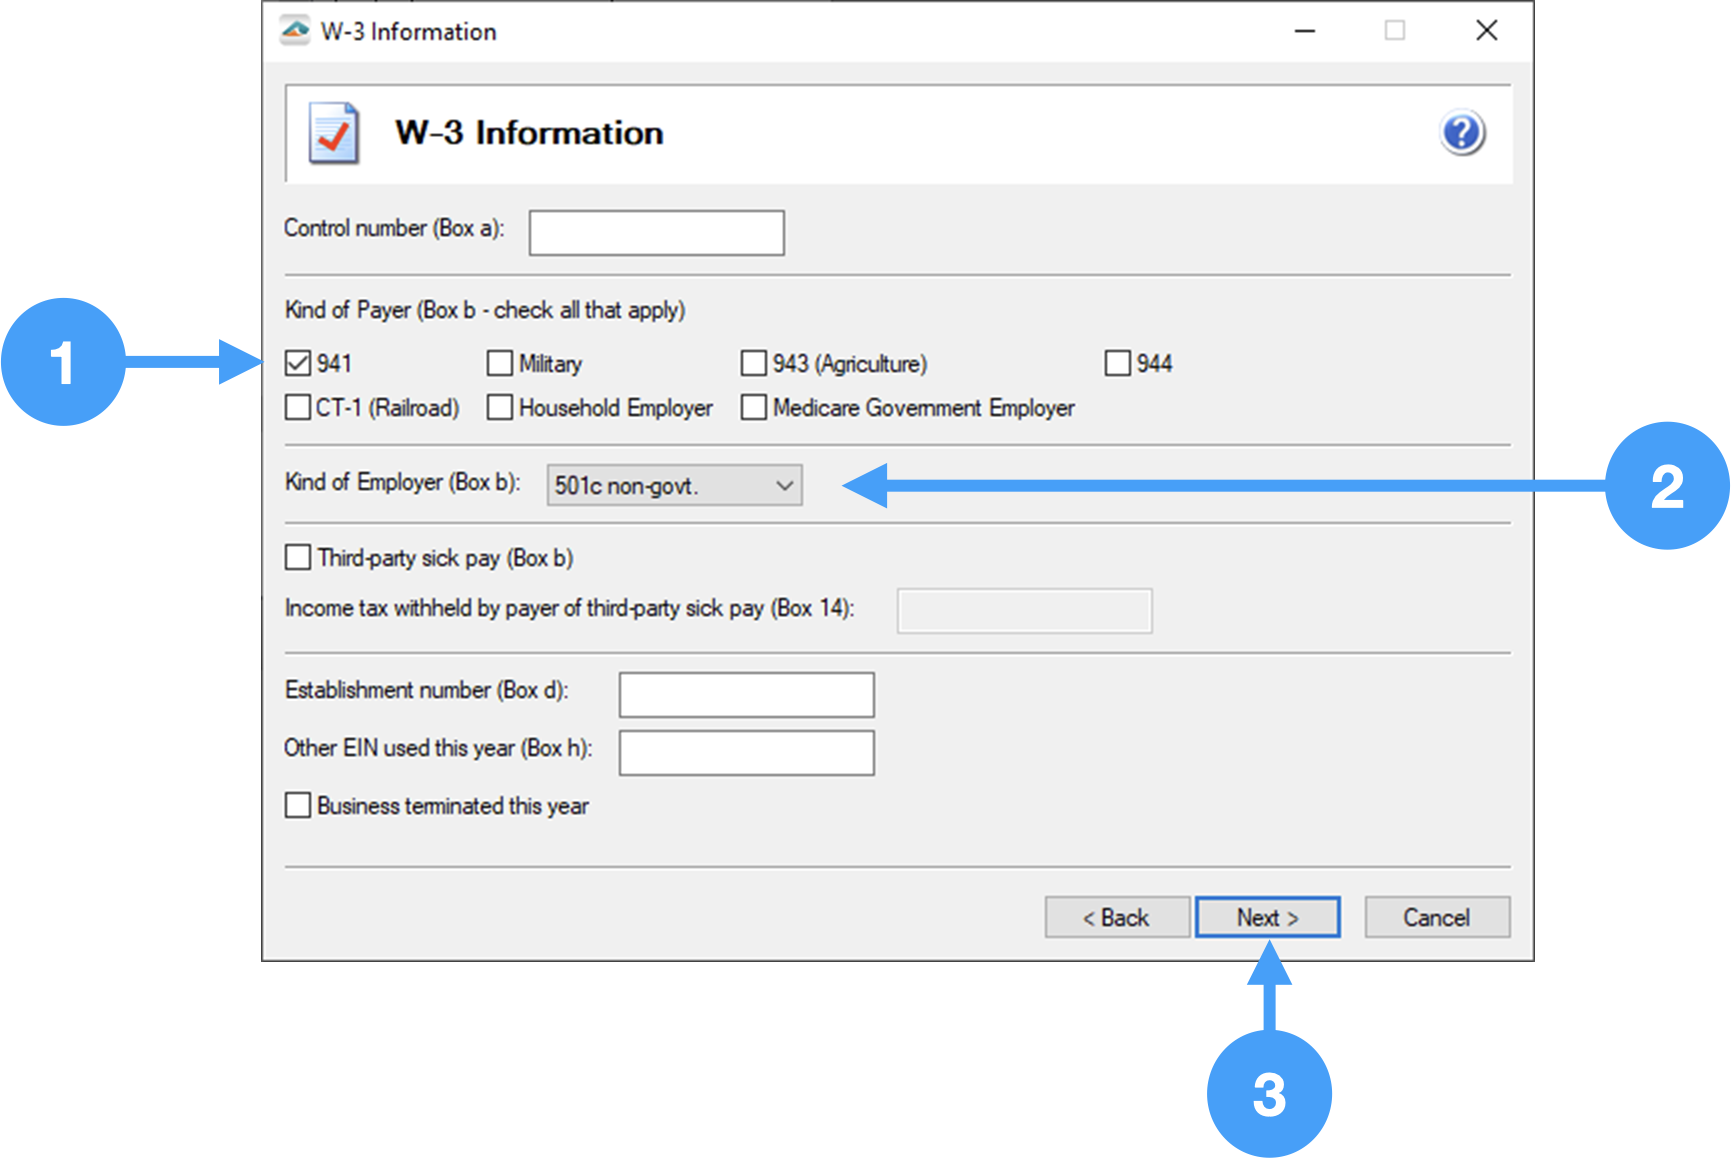
W-3 Setup
- Under the Kind of Payer section of the window, select the '941' checkbox.
- Under the Kiind of Employer section, select '501c non-govt.'
- Click Next to continue to the next window.
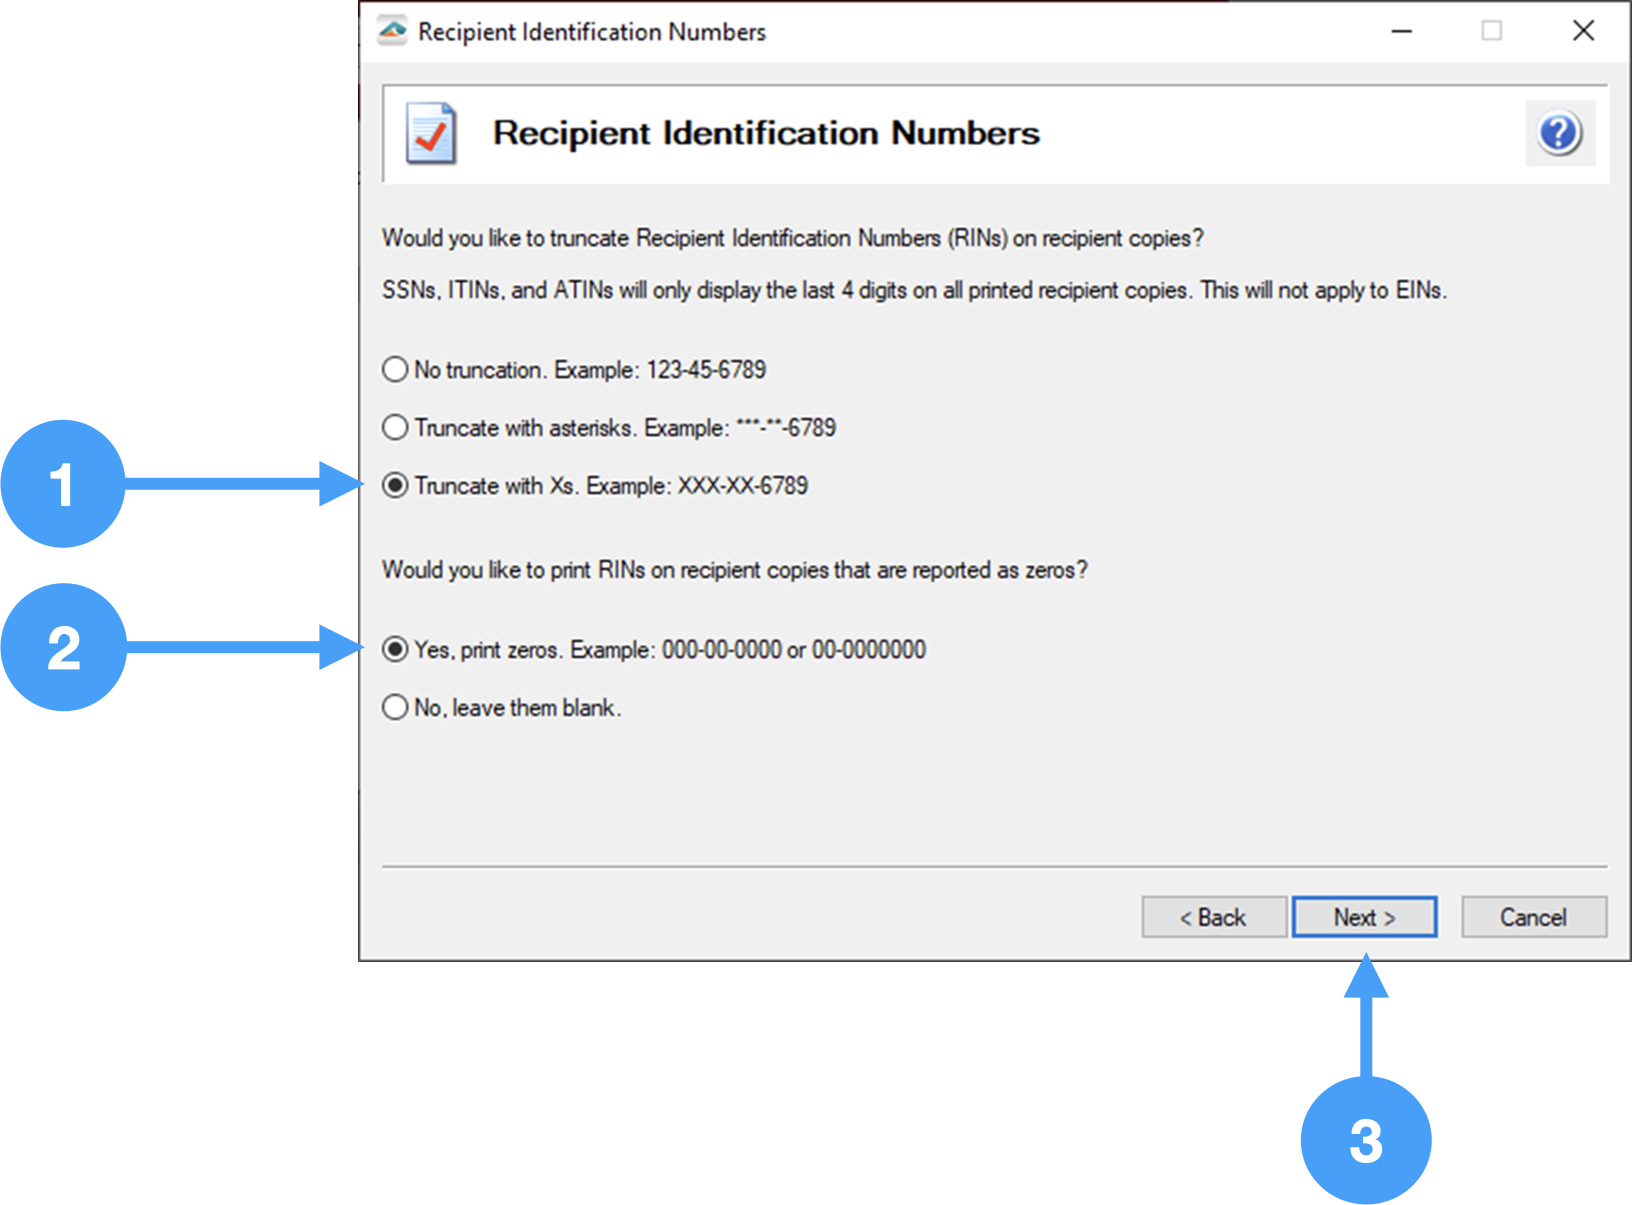
Recipient Identification Numbers Setup
- In the first section, you can set how the employee's Social Security Numbers will print on the W-2 forms. There is the option of truncating the numbers or printing them as entered. In our example, we are going truncate using 'X's.
- In the second section, the Recipient Identification Number can be printed as zeroes or it can be left blank. It is your choice. Our example prints them as zeroes.
Video of the Process


