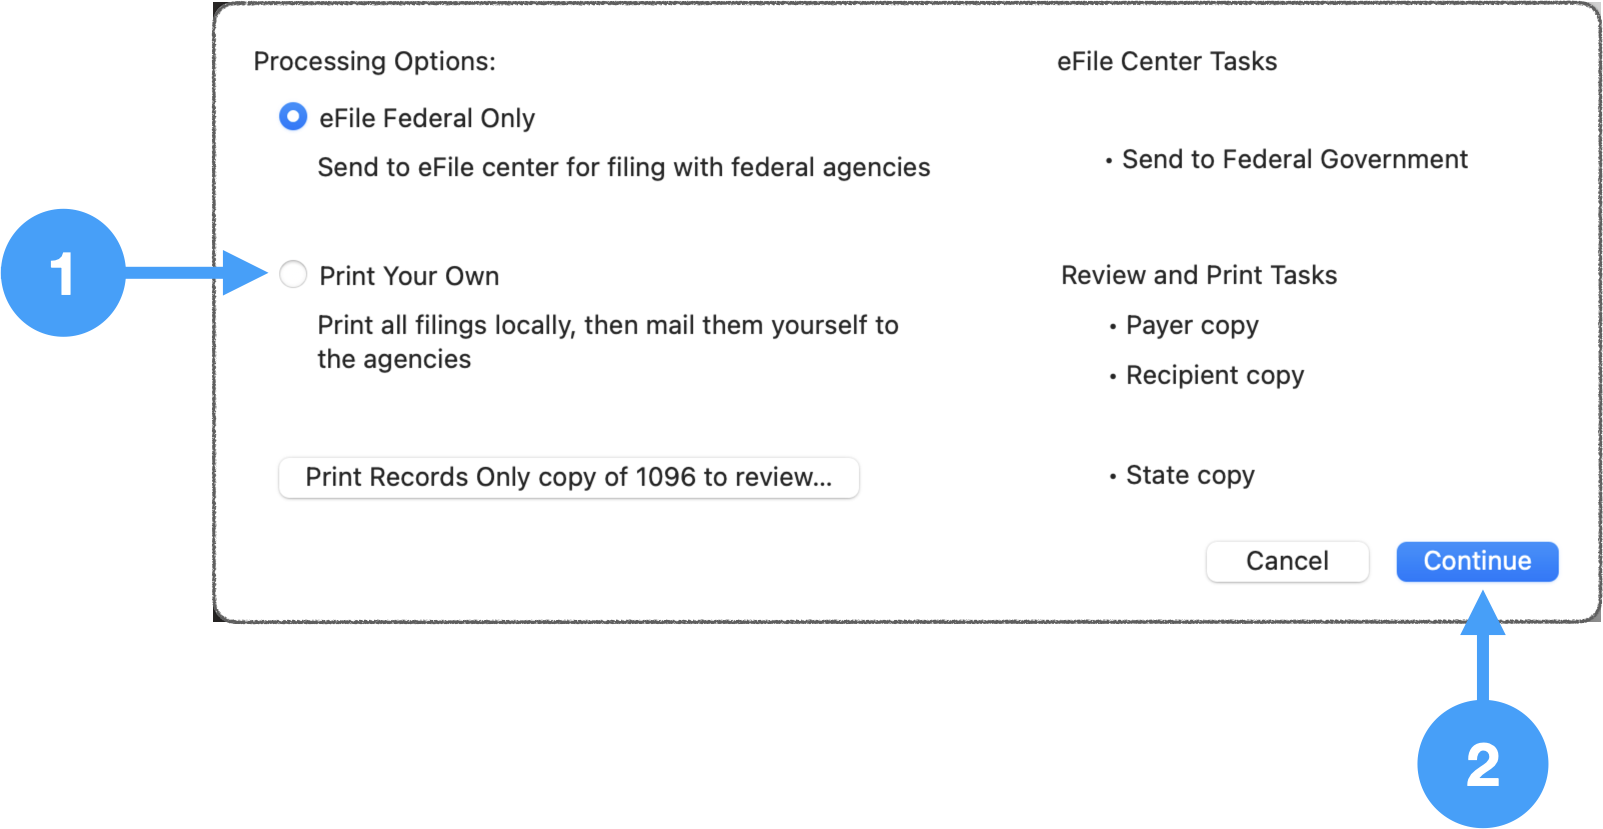
The Processing Options window opens.
- Select Print Your Own radio button
- Click Continue
Printing 1099-NEC Forms
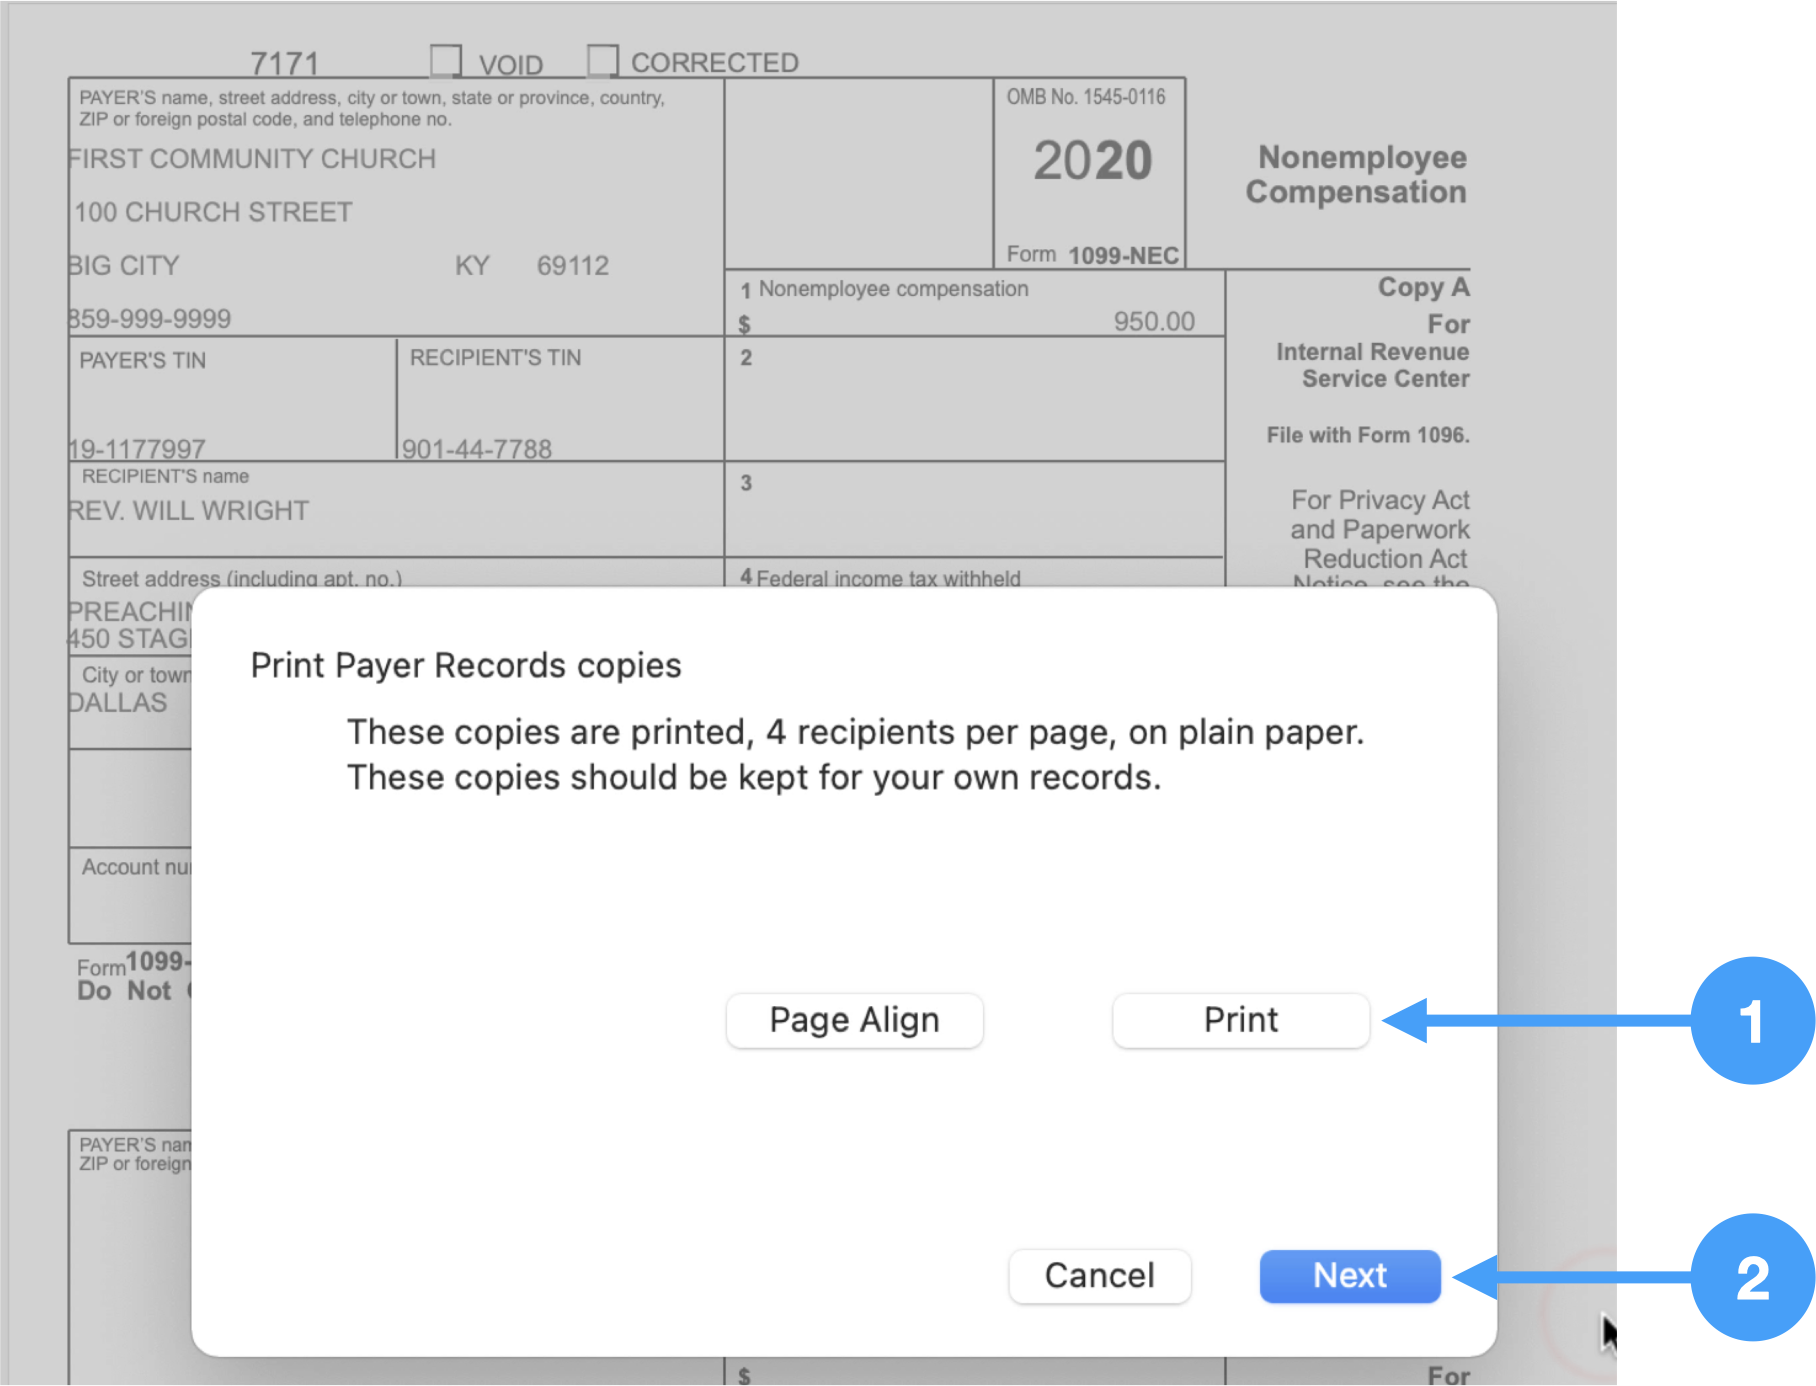
The first part of the filing process is to print the 1099 Payer Records, State copies and Recipient copies. The print window opens.
- Click Print and follow the steps in the Printer dialog window.
- Click Next.
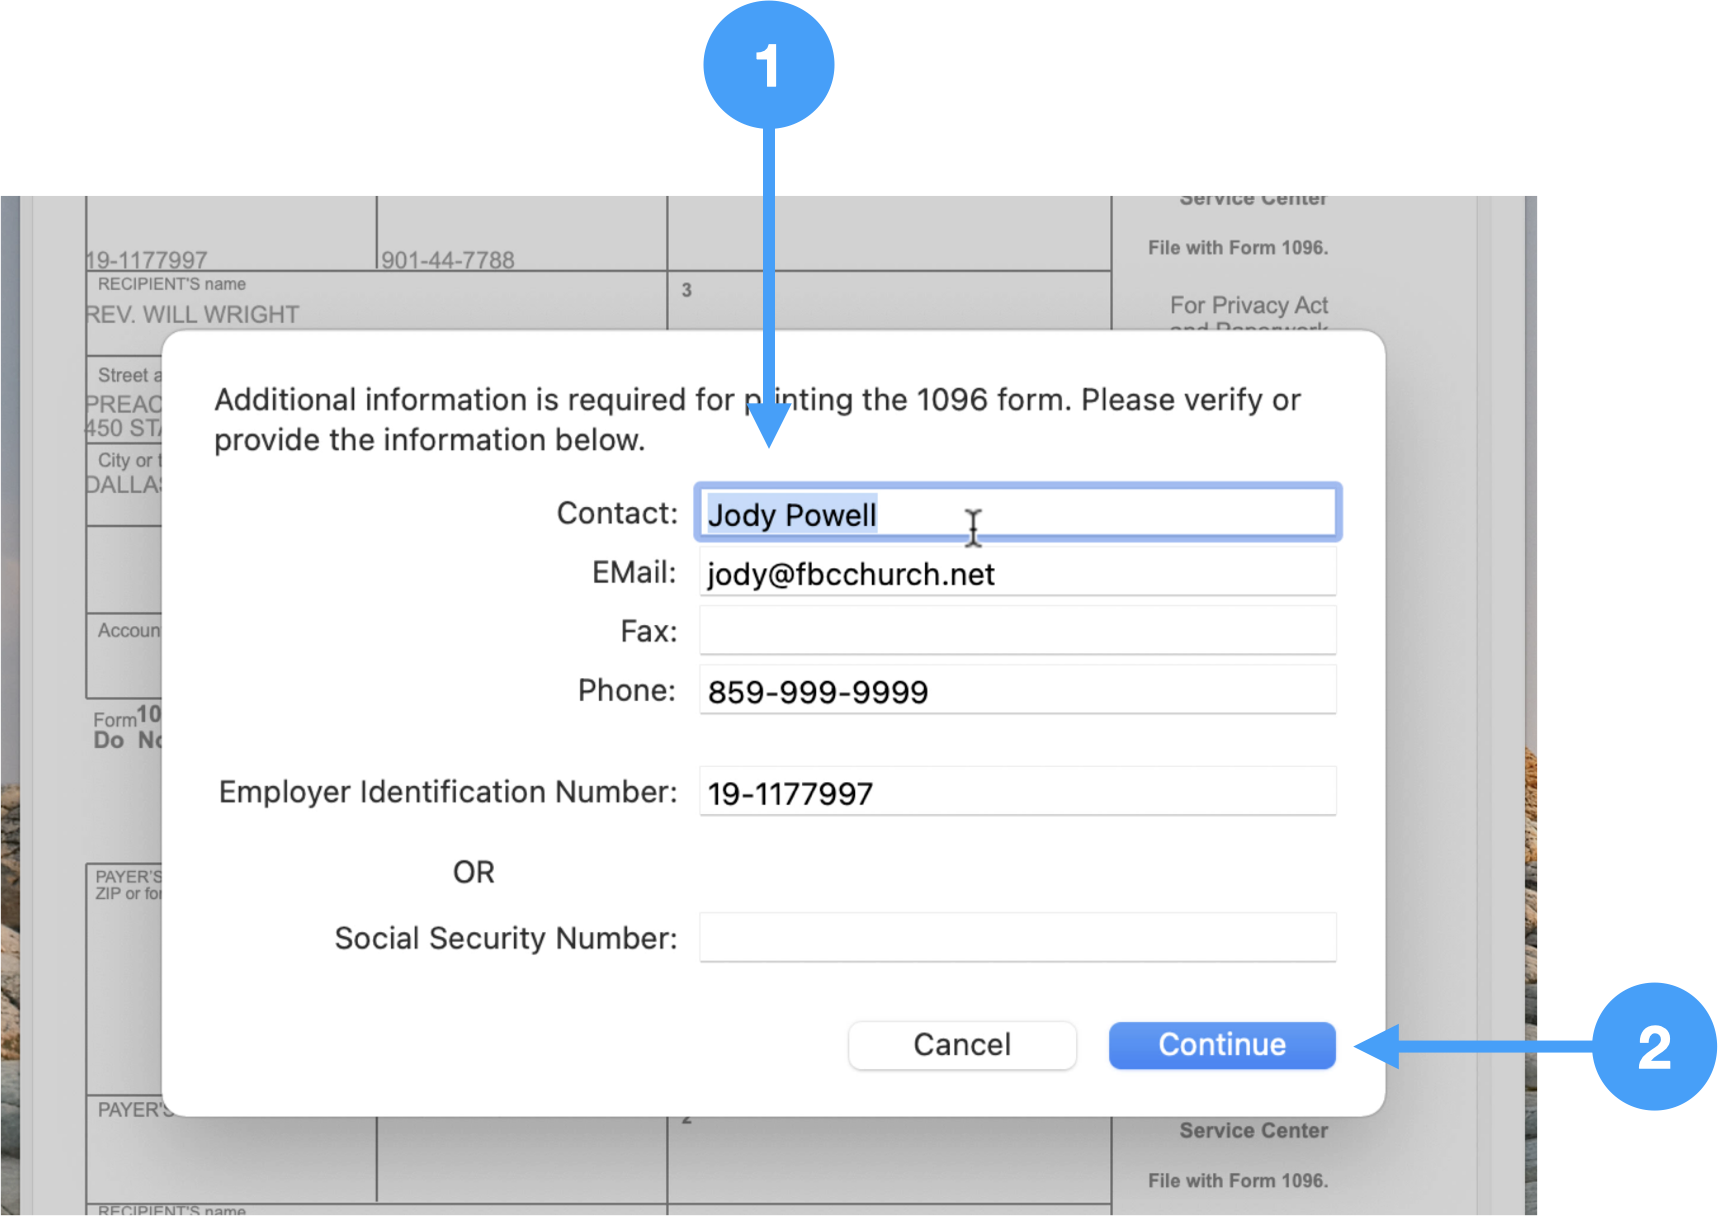
Continue these steps until you get to the window that displays information for the 1096 form.
1096 Information Window
- Review the information in this window and make any necessary changes. Be aware that any updates to the data in this window will NOT be reflected in CDM+.
- Click Continue
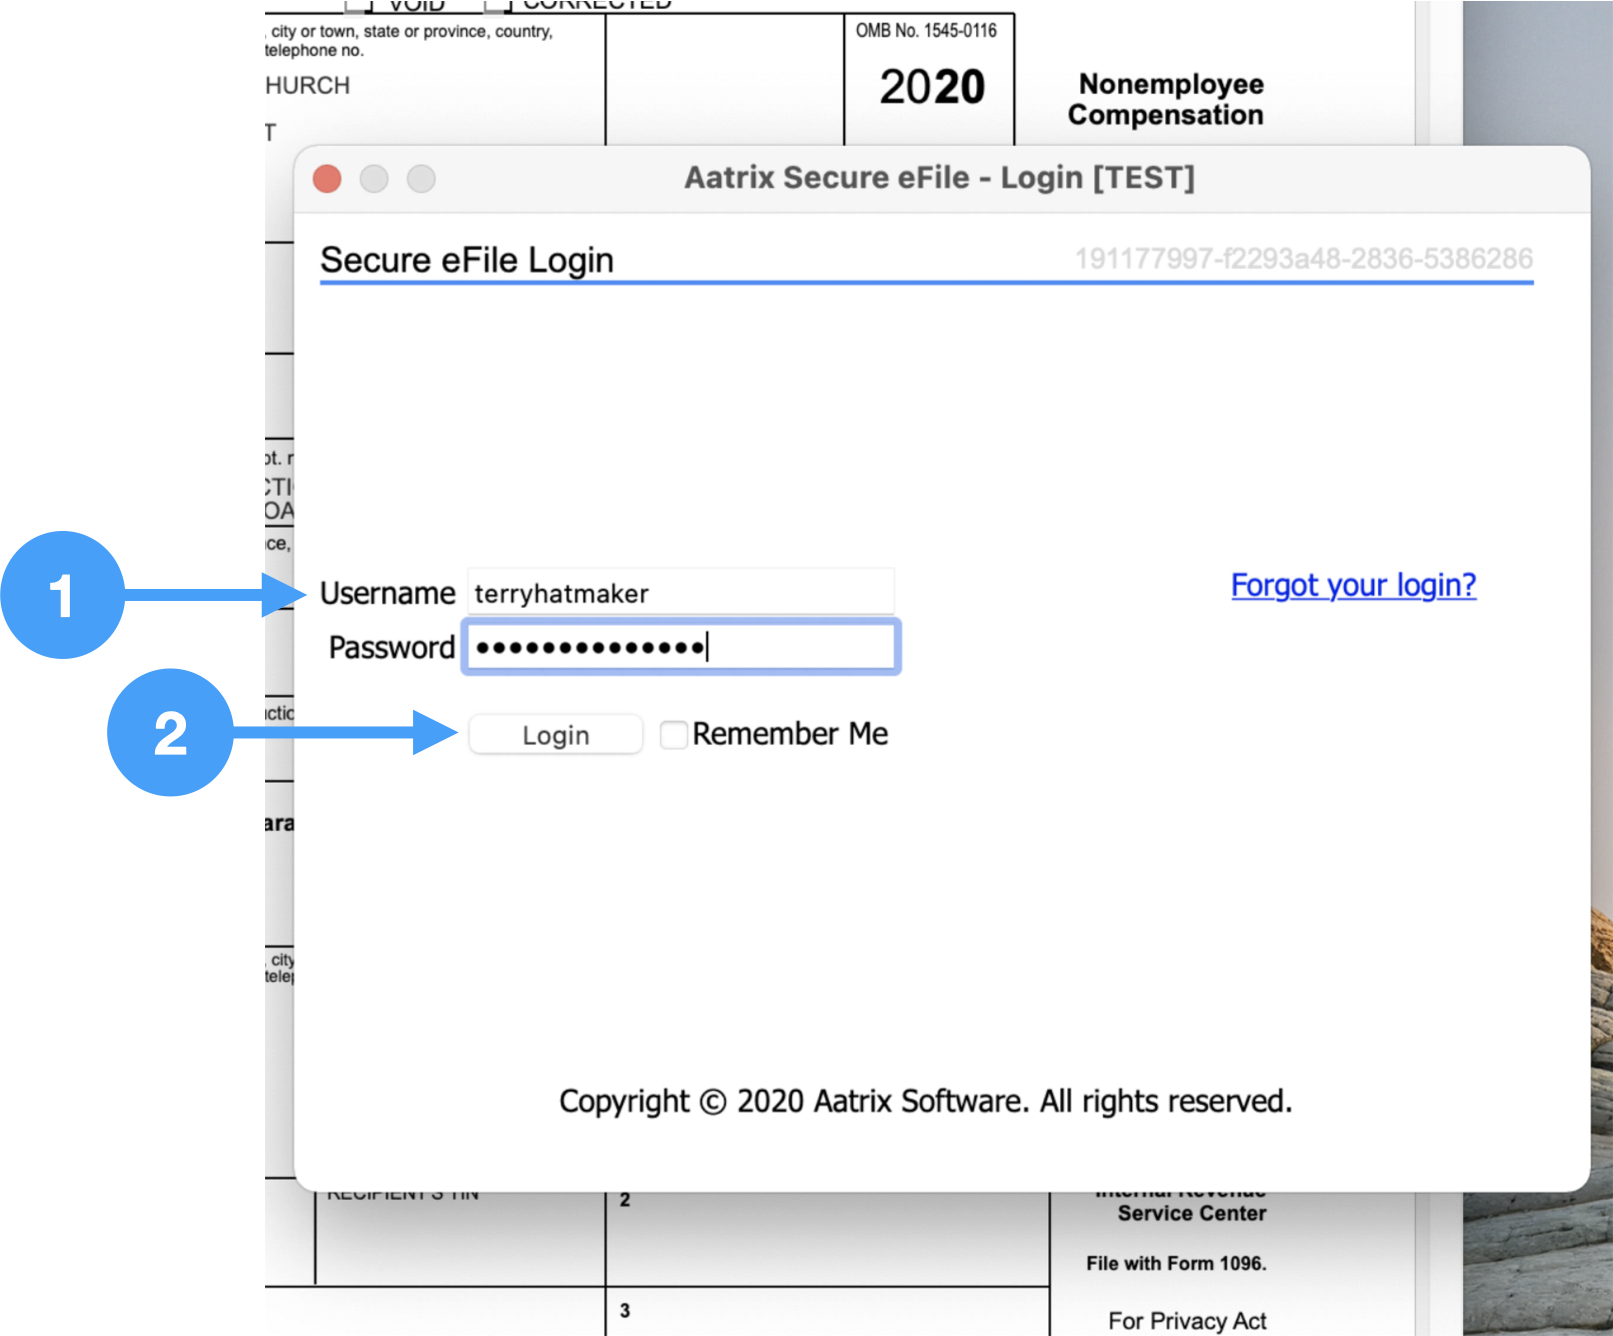
Aatrix Login Window
- Enter username and password
- Click Login
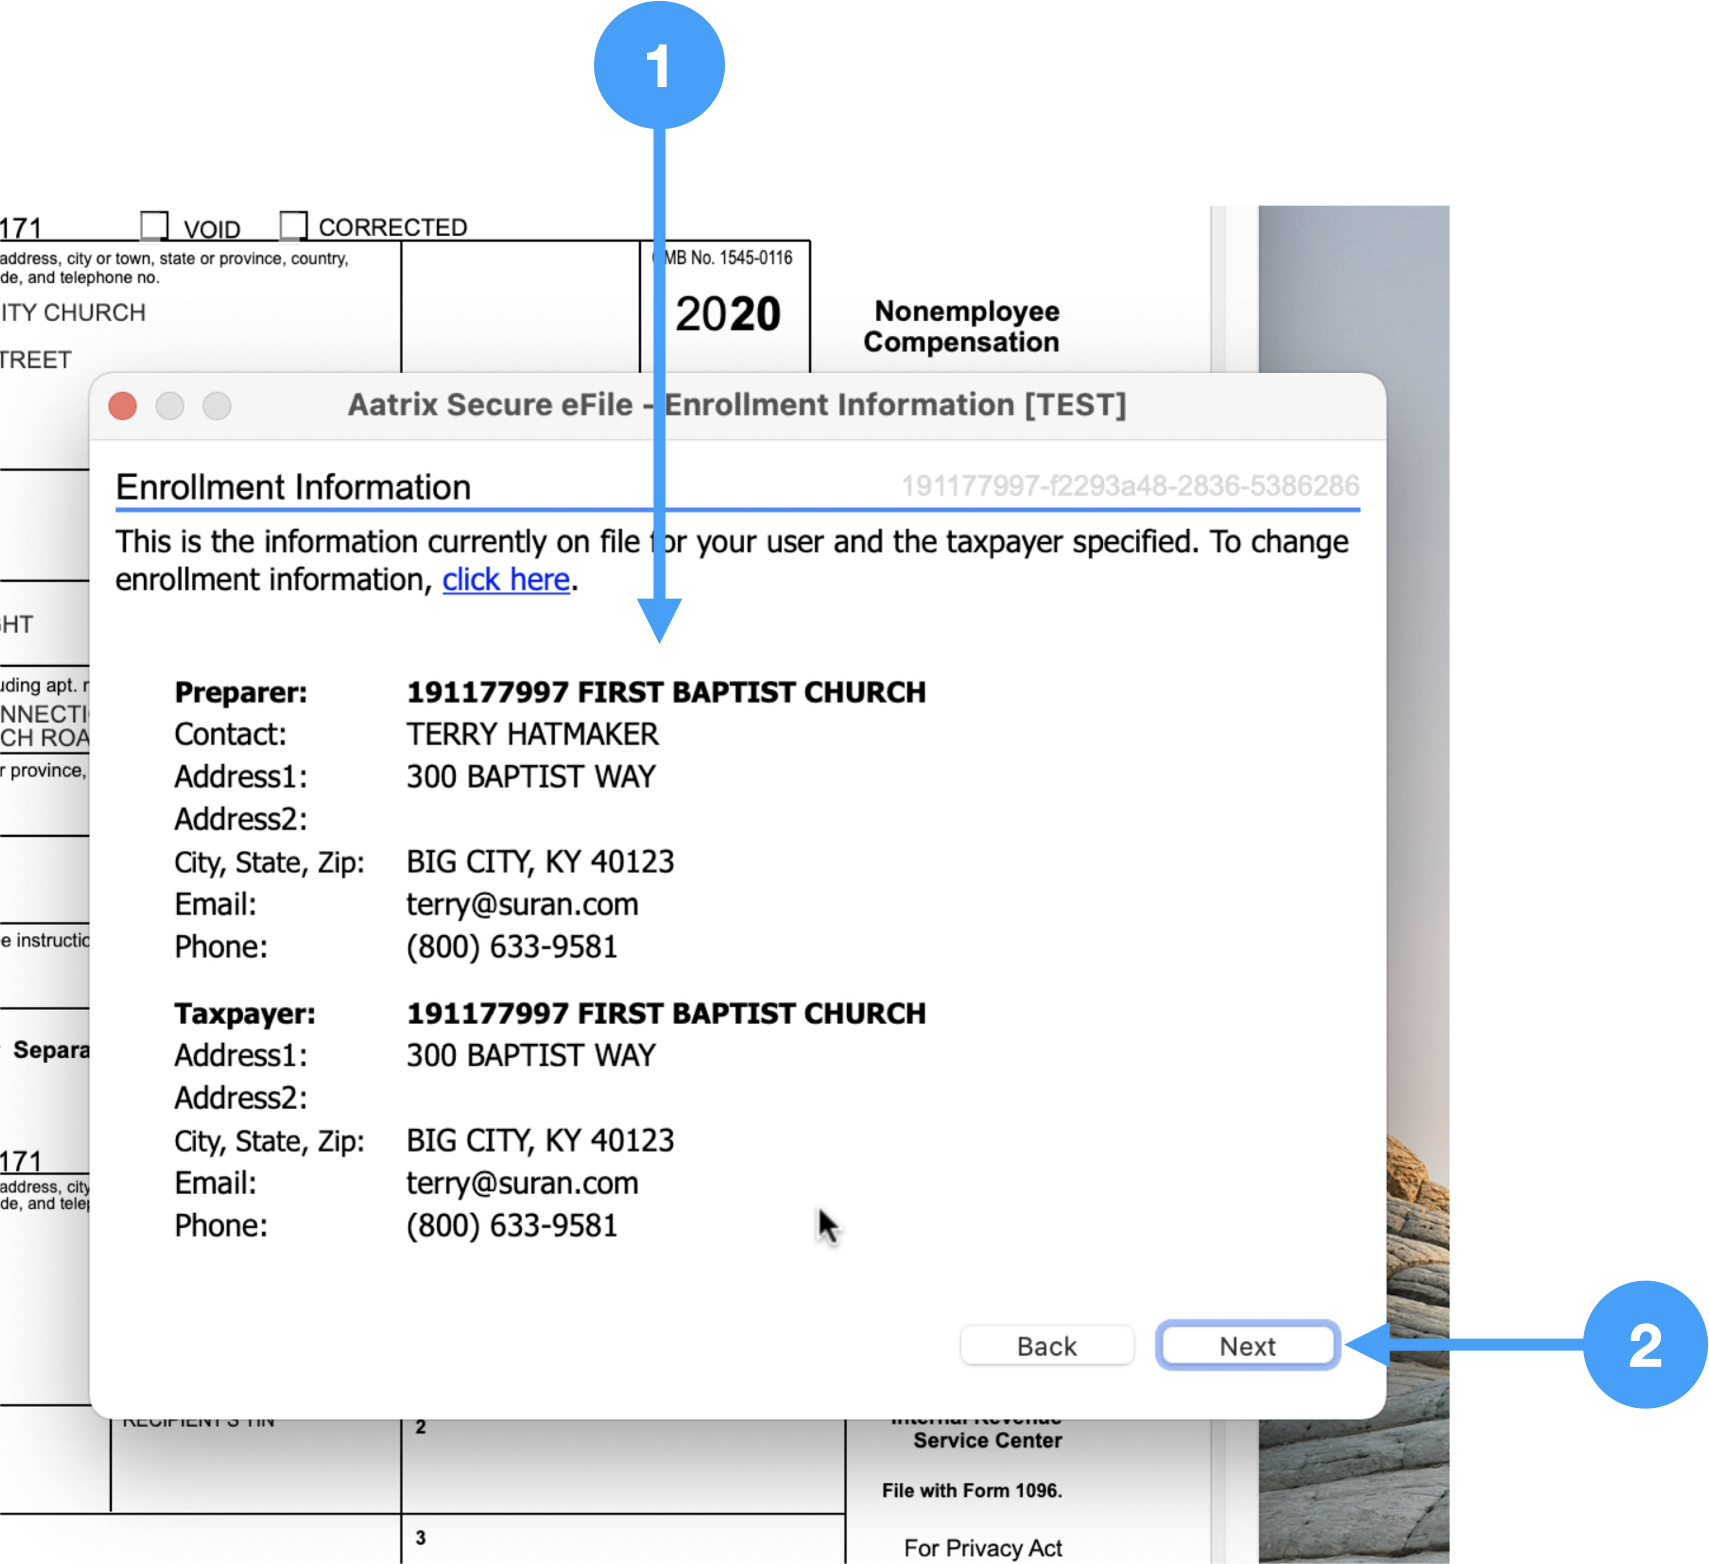
Aatrix Enrollment Information
This window displays information provided during the enrollment process. If any of this information is incorrect, you will need to go into a browser and log into Aatrix eFile service and make the changes. Then you will be able to start the printing process again.
- Review the information to ensure accuracy.
- Click Next if information is correct.
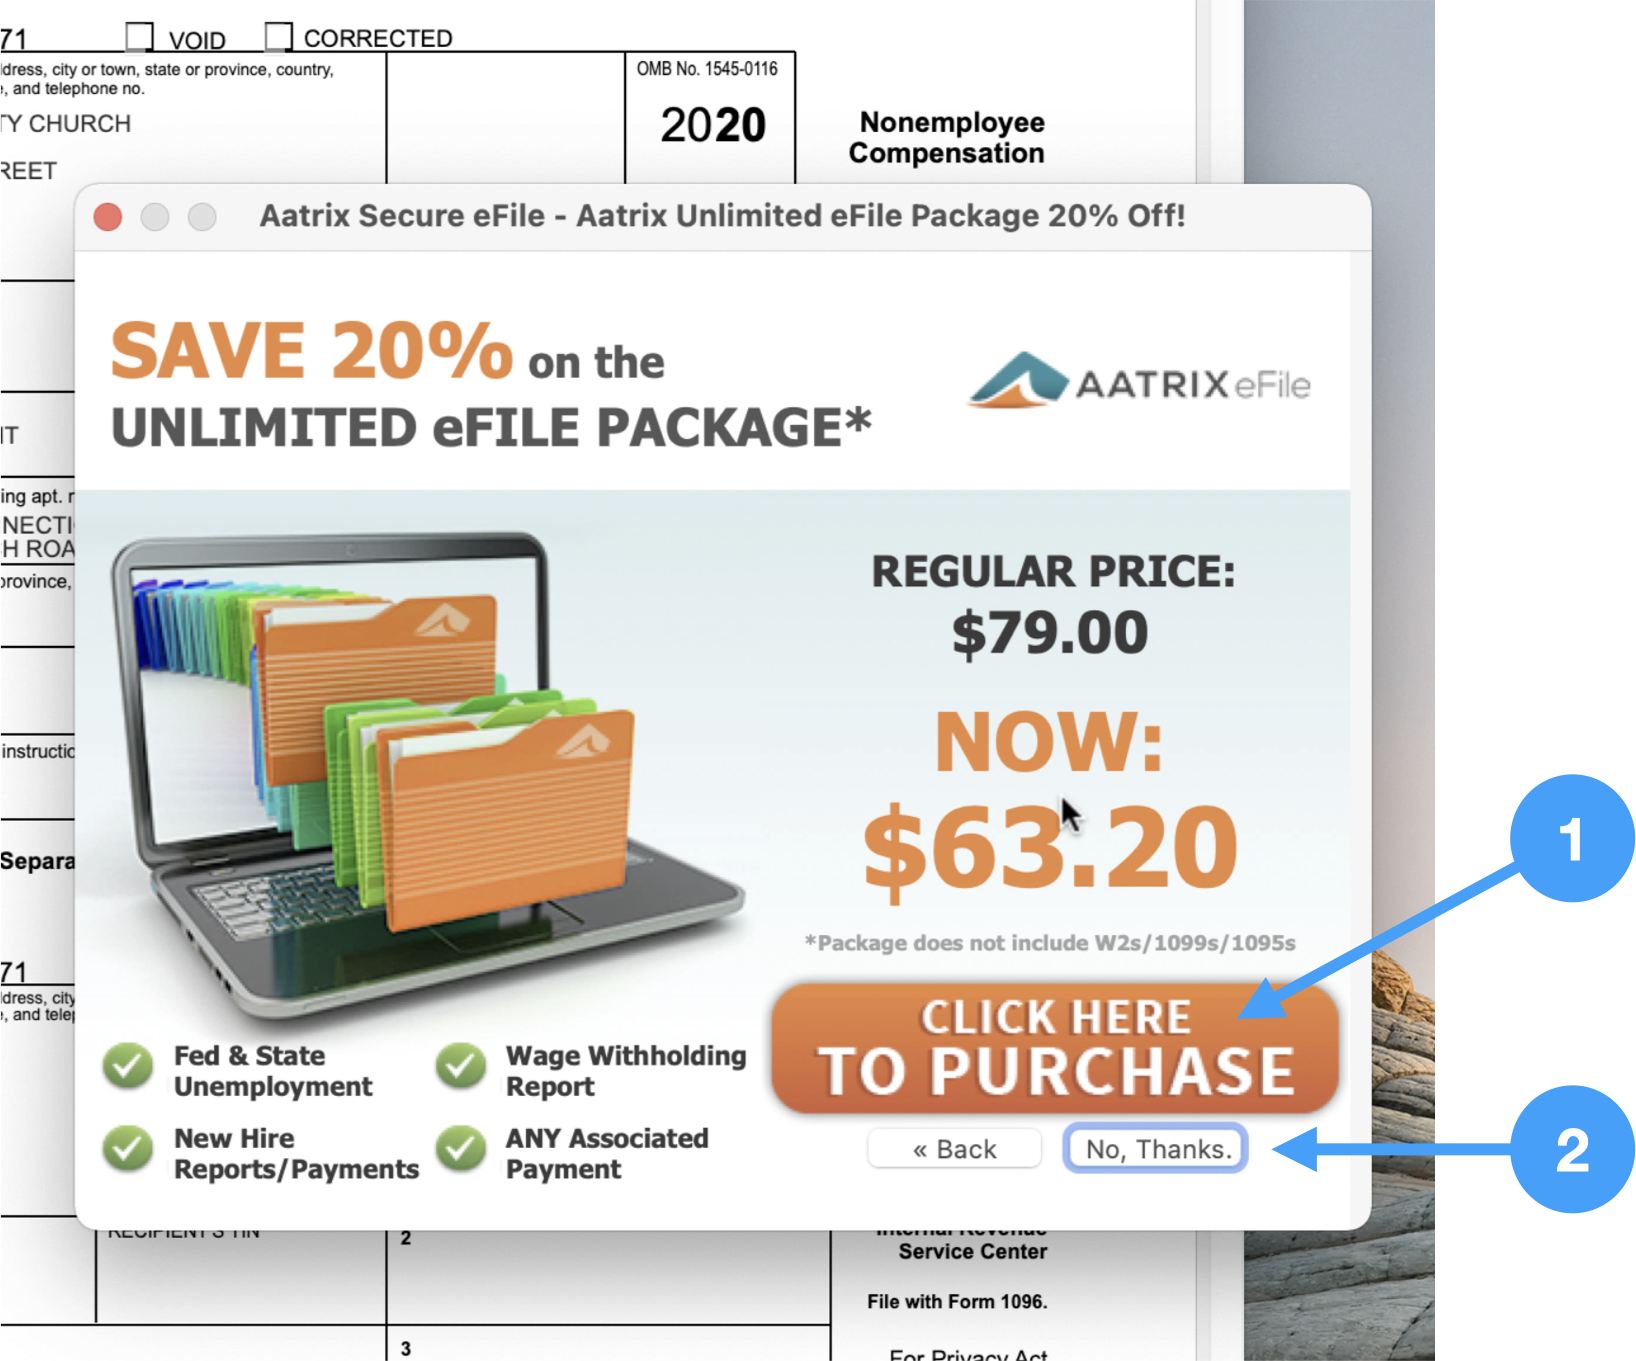
Aatrix Advertisement Window
- If you want to purchase Aatrix's unlimited eFile package, then click the button 'Click Here to Purchase.'
- Otherwise, click No Thanks.
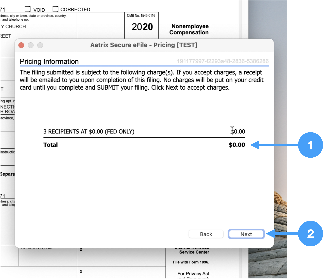
Pricing Window
This window lists the pricing for your 1099-NEC eFiling.
- Review the pricing.
- Click Next if it is correct.
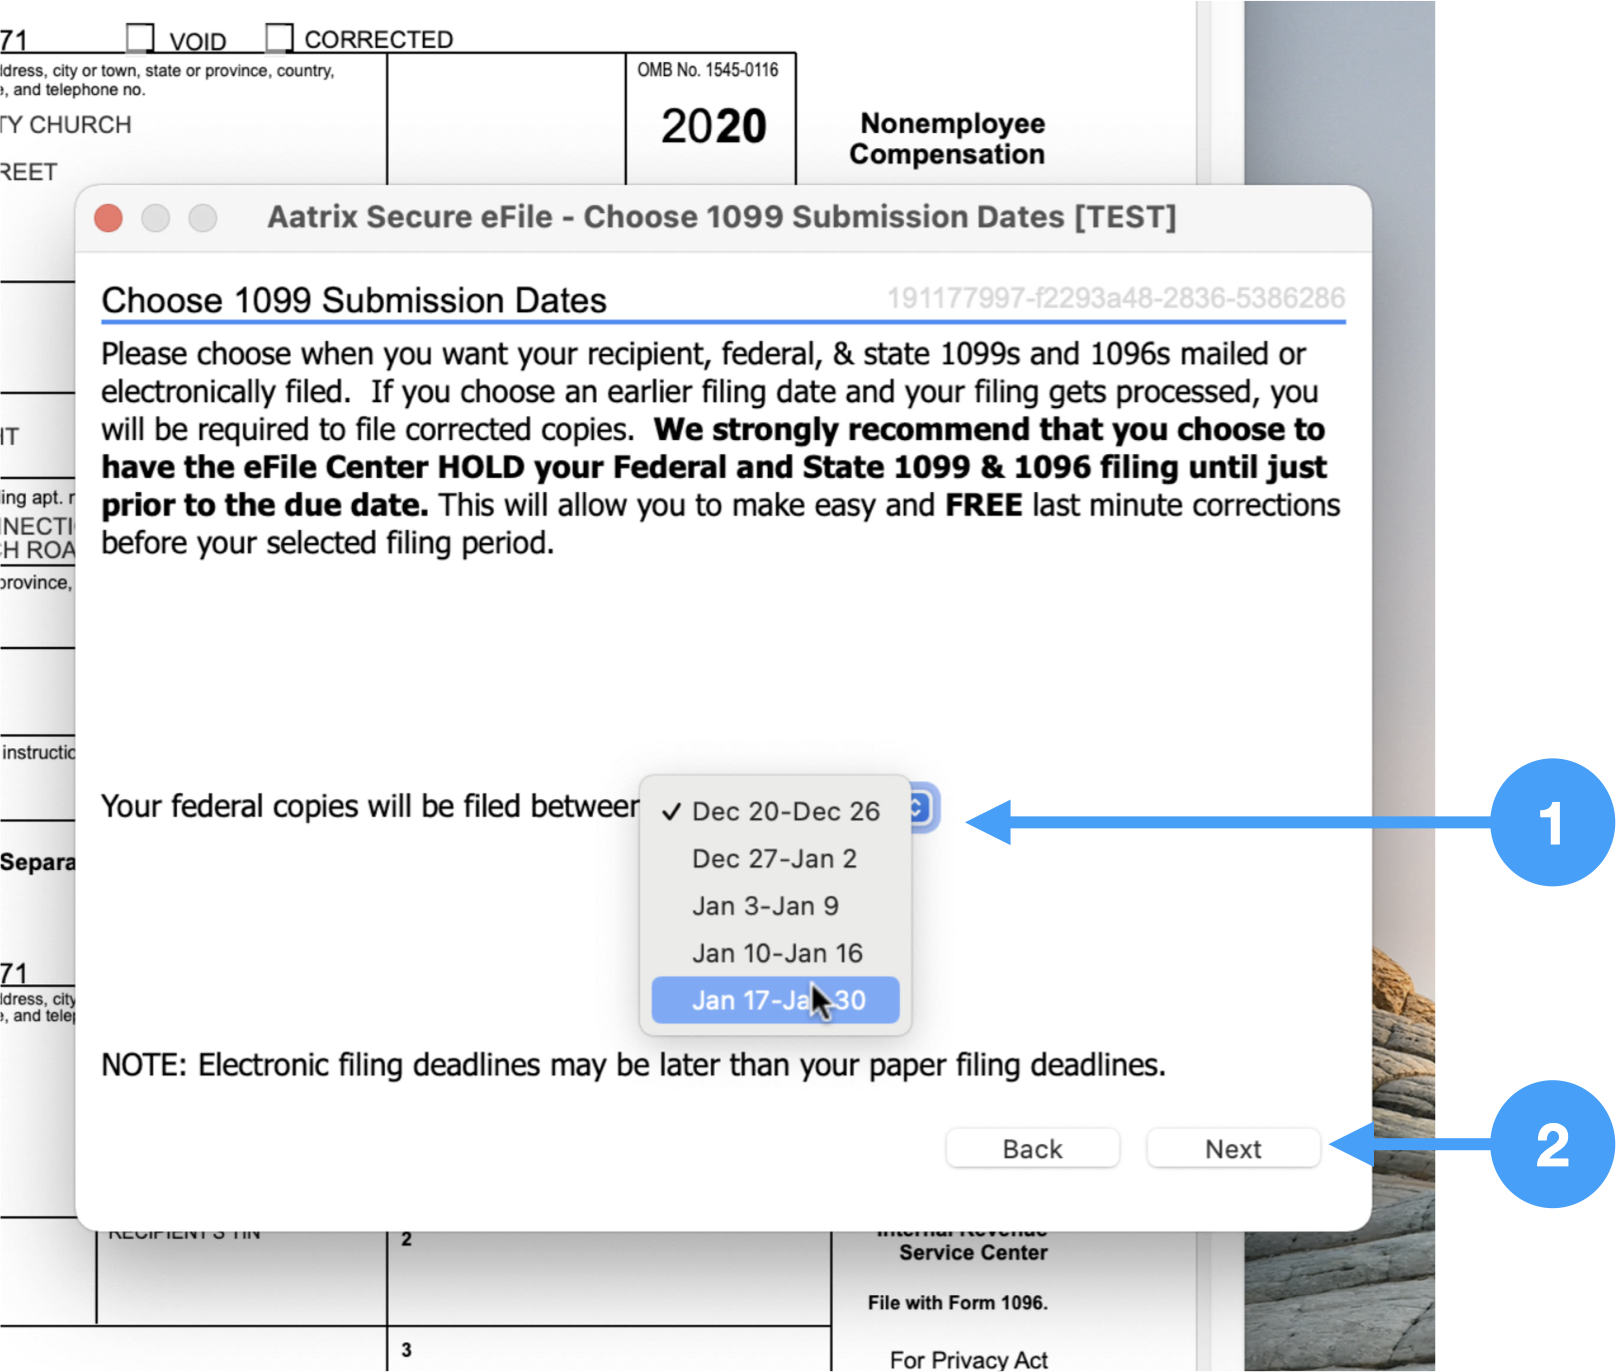
Choose 1099 Submission Dates
- Click the drop down and select the dates you want to submit your 1099-NEC forms.
- Click Next.
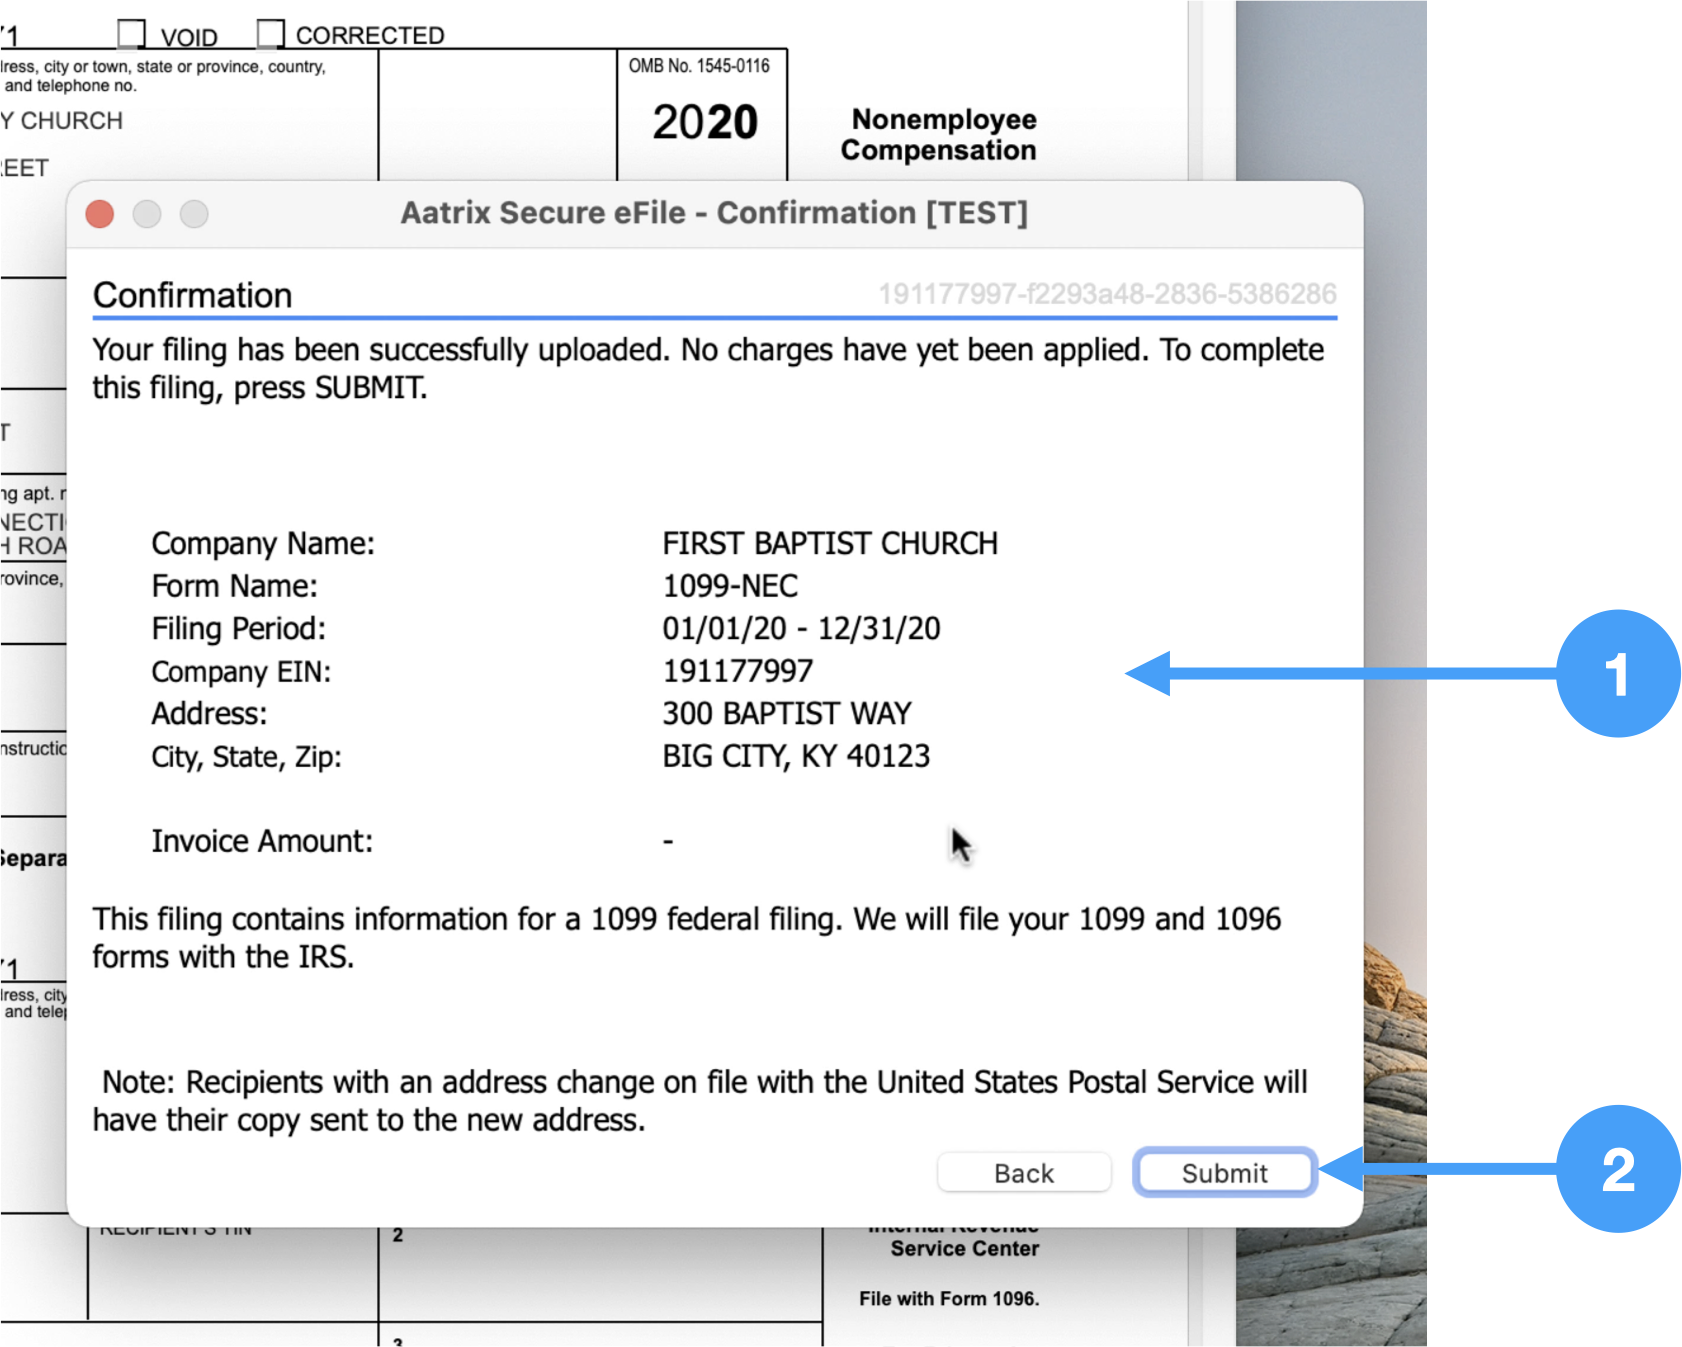
Confirmation Window
- Review information in the window.
- Click Submit.
Completion Window
- Make note of the AFID for your records.
- Click Close.
This completes the printing and eFiling of 1099-NEC forms on macOS. For a walkthrough of the above process, watch the video below.
Video of Printing and eFiling 1099-NEC Forms