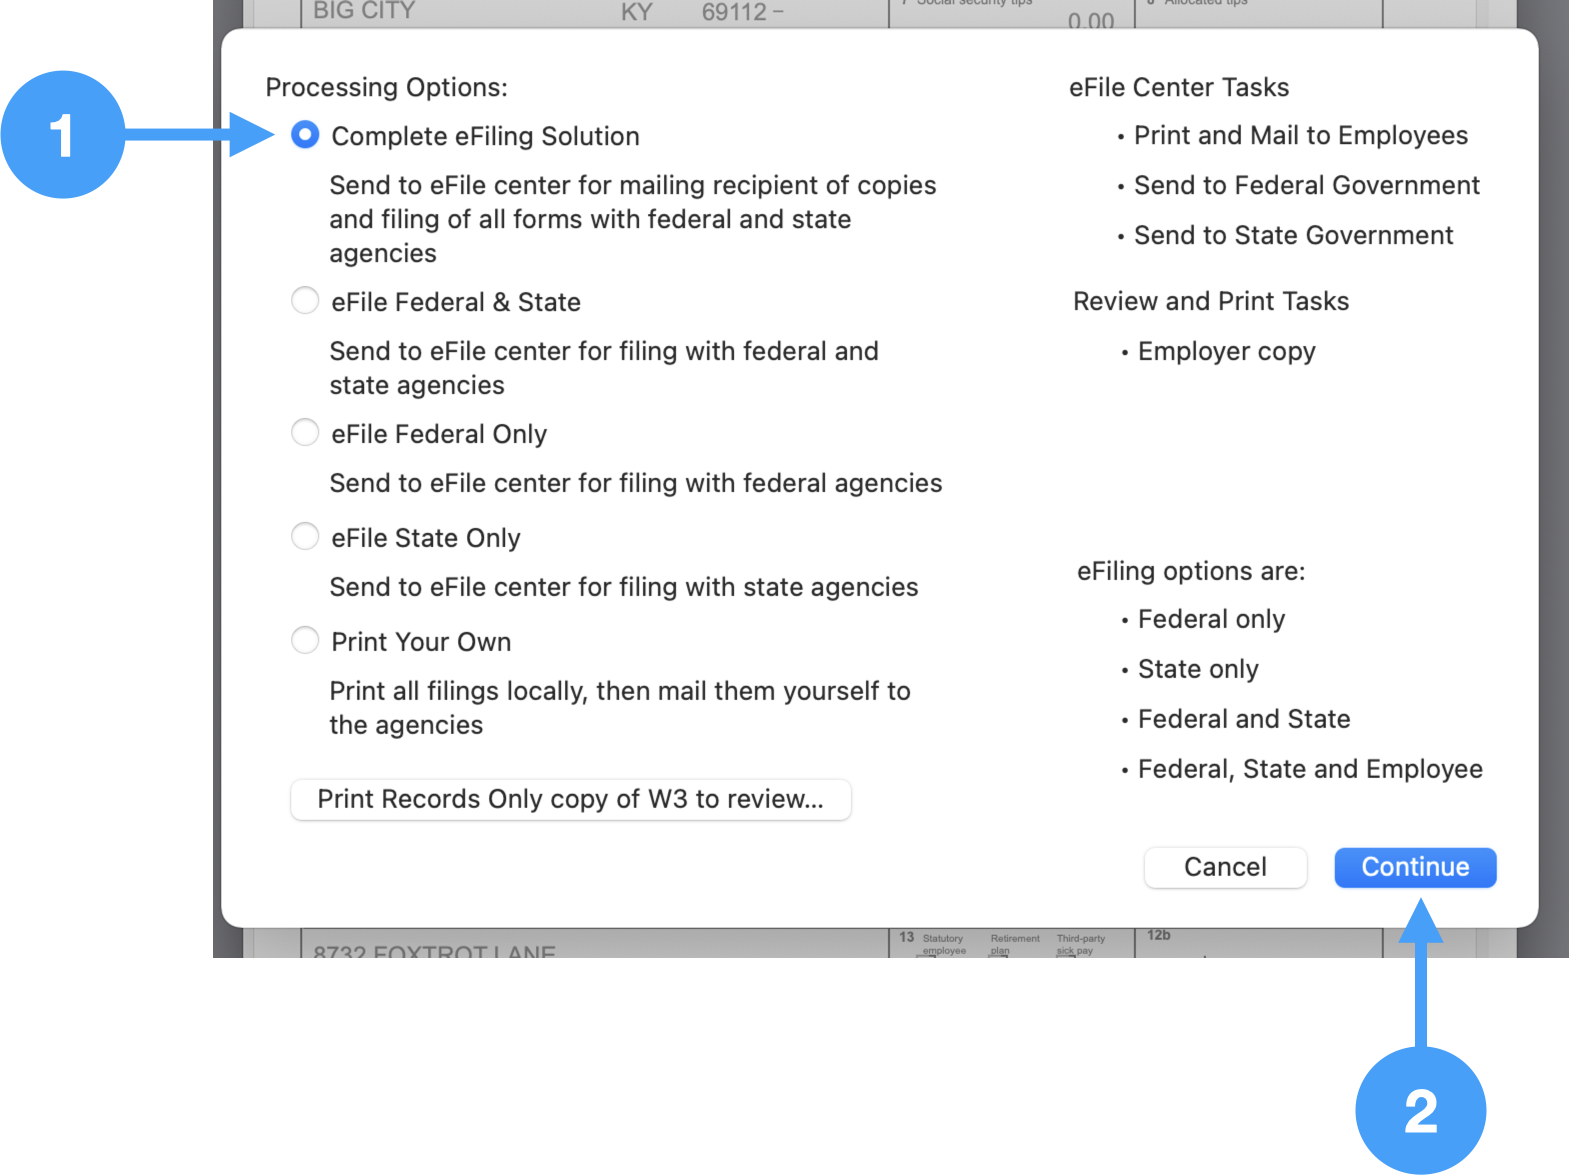
Processing Options
- In order to eFile your W-2/W-3's, select the first radio button under Processing Options, 'Complete eFiling Solution.'
- Click Continue to move to the next window.
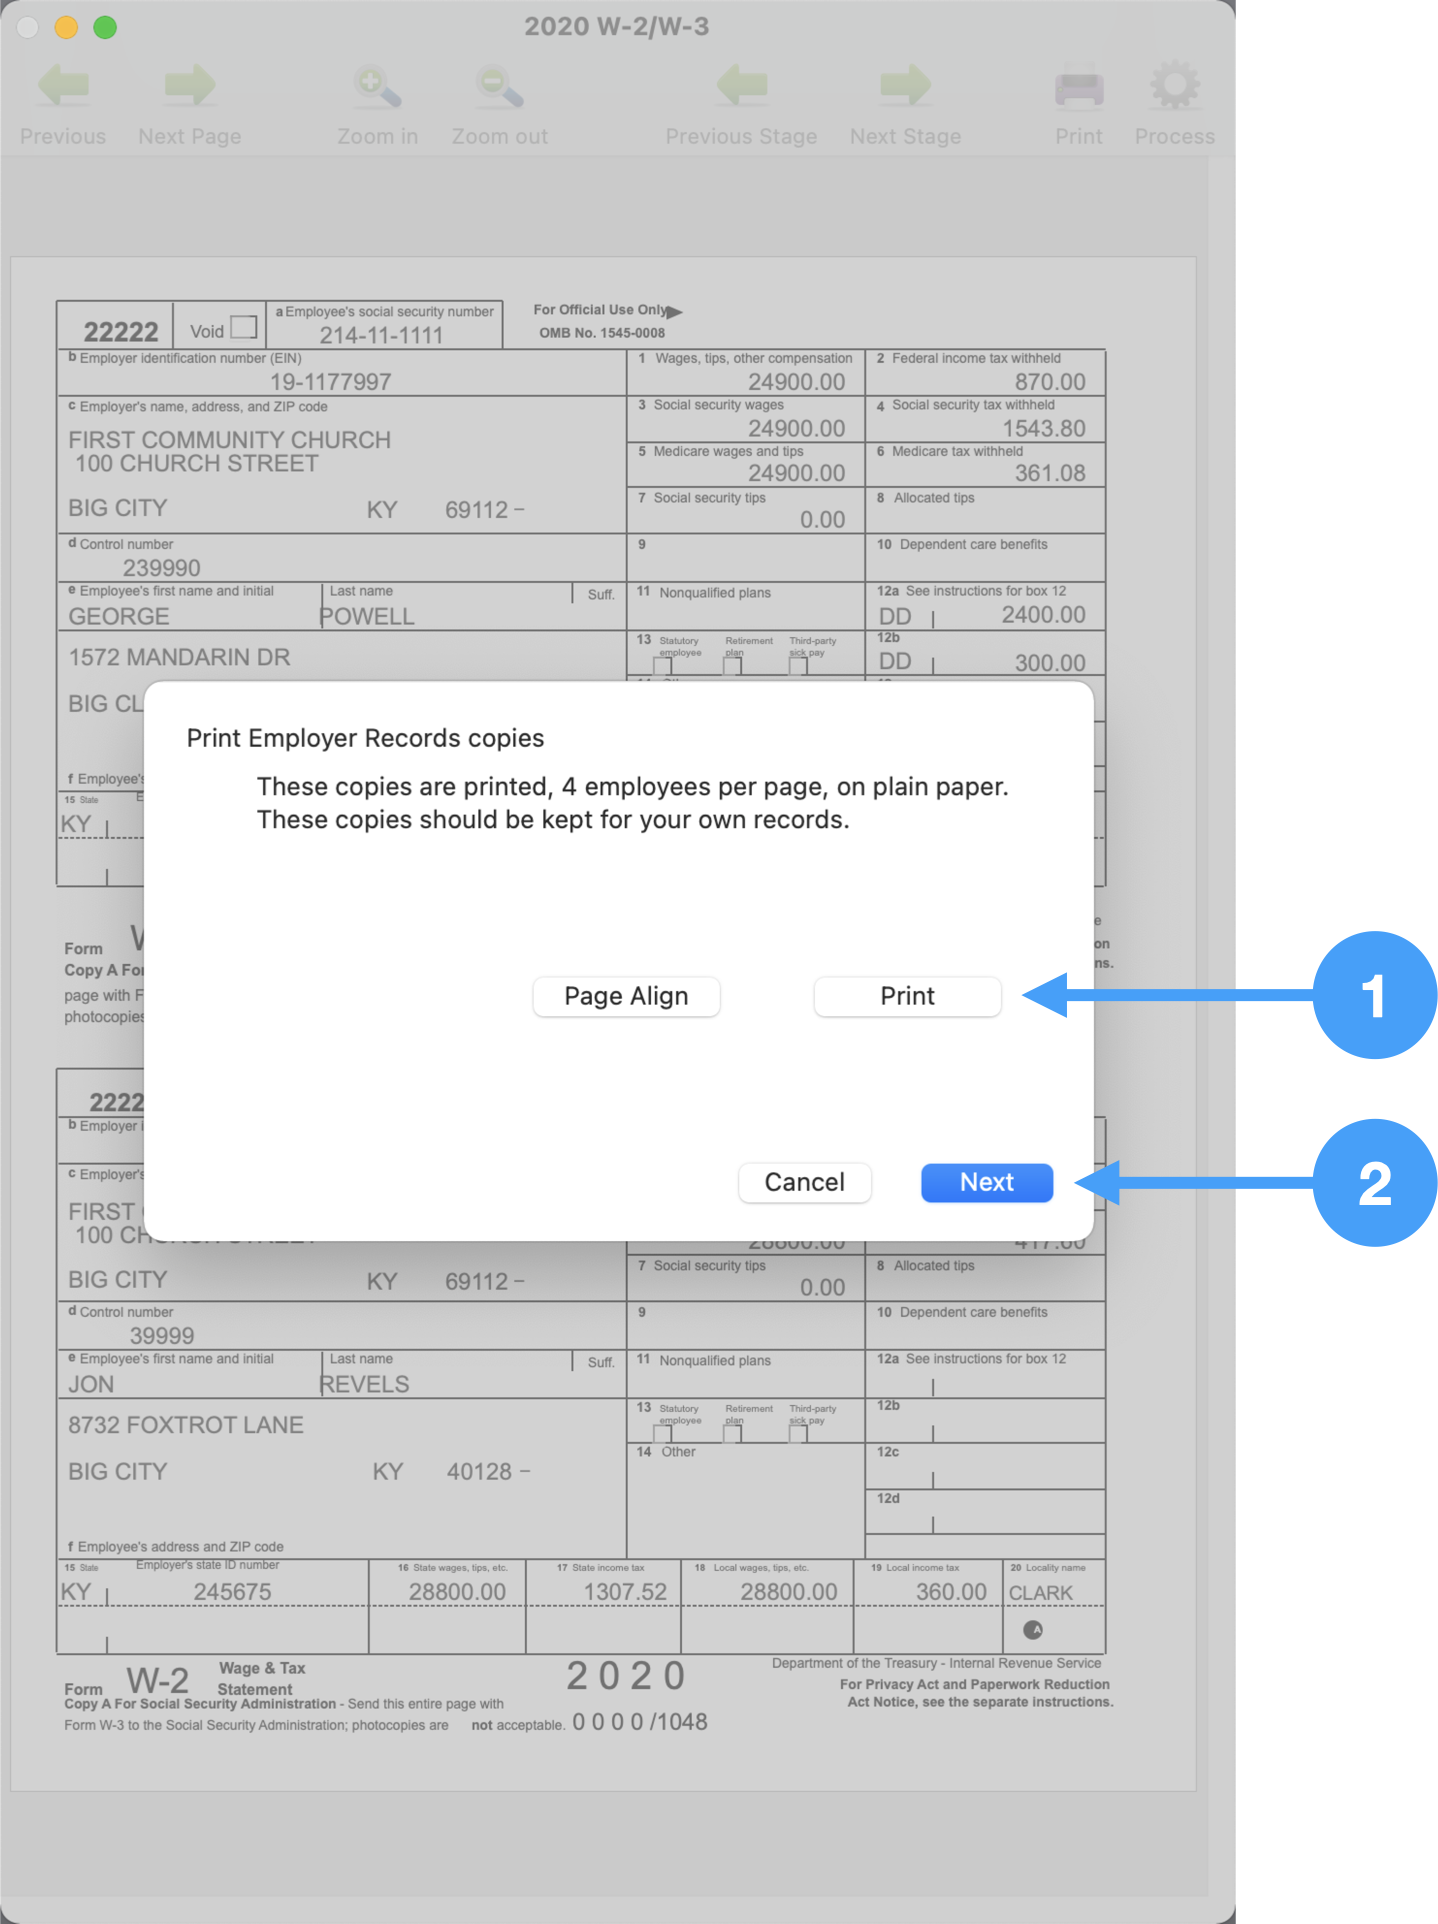
Printing of W-2 Forms
During the eFile process, the Employer Record form will be printed.
- Click Print
- Click Next to go to the step.
Setup Information for printing W-3 Form
- Select the Kind of Payer. In our case, it is 941 payer.
- Select the Kind of Employer. In this example, it is '501c Non-government.'
- Click Continue

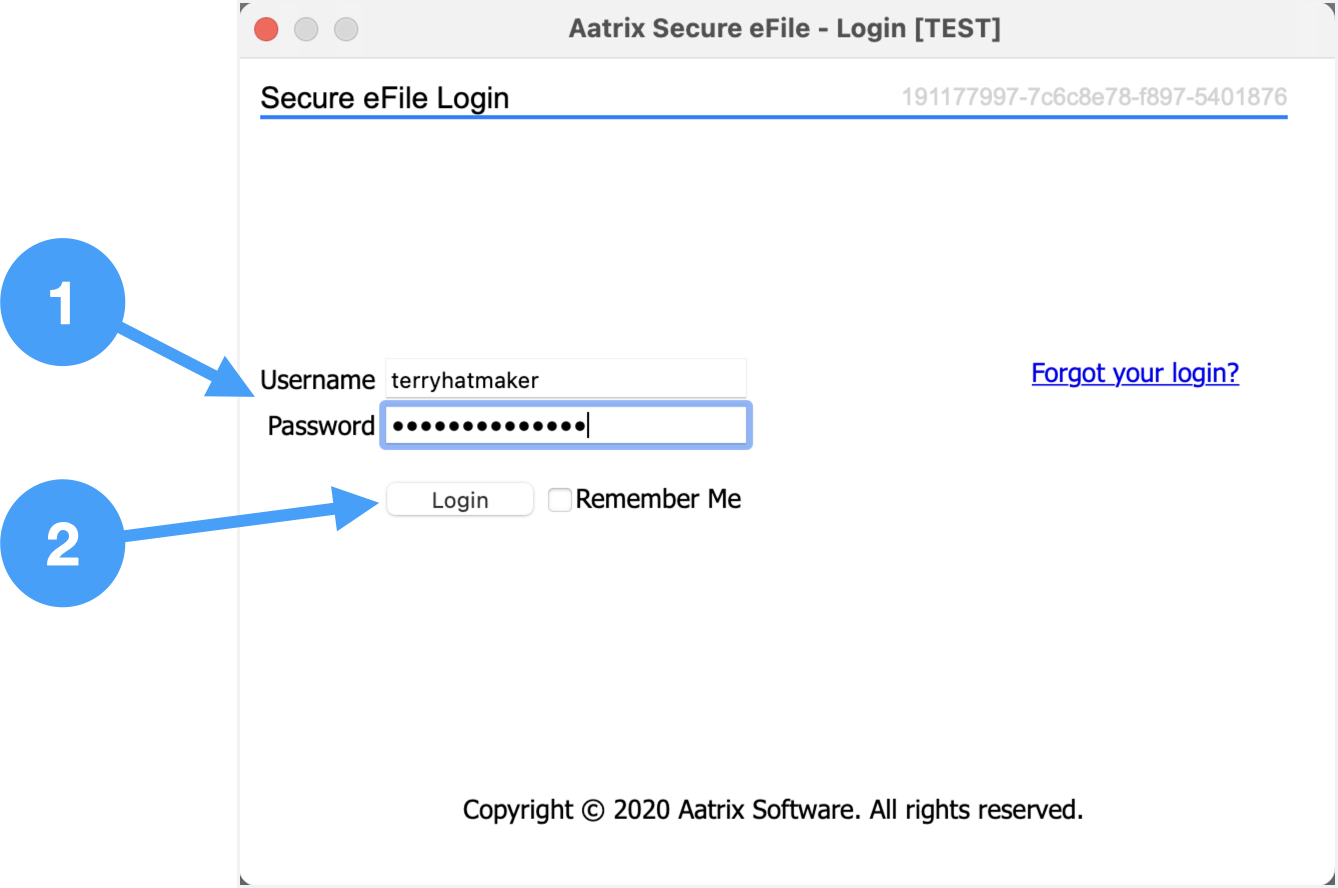
Sign into Aatrix eFile System
| Note |
|---|
An Aatrix eFile account is needed for this step. An account can be created at the Aatrix eFile site. |
- Enter Username and Password
- Click Login
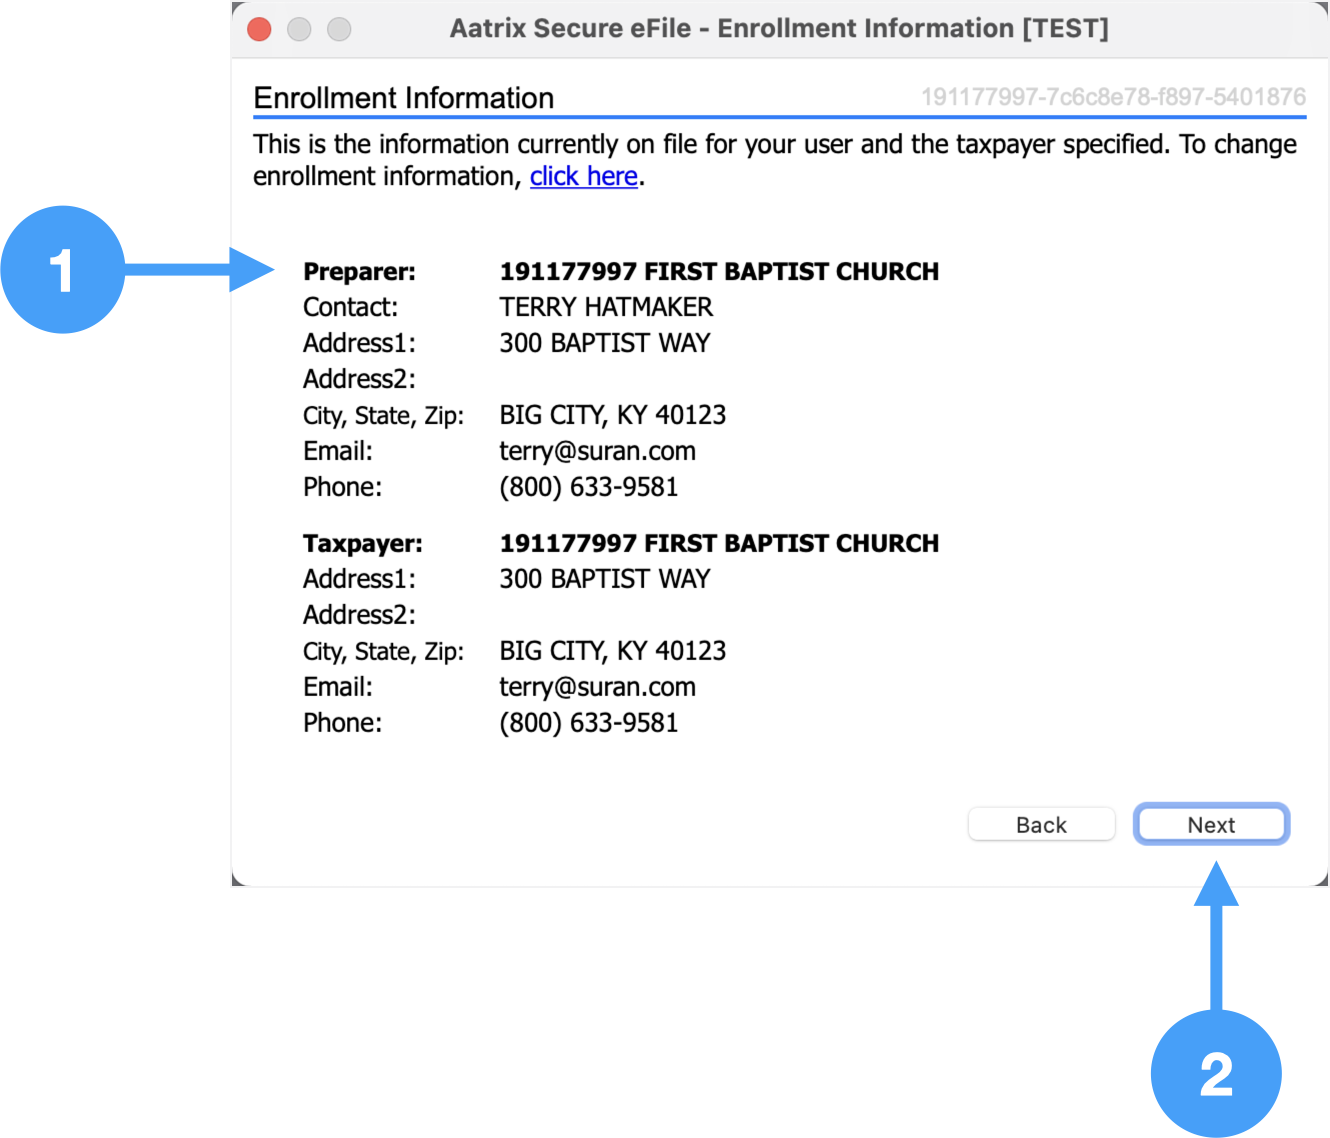
Review Enrollment Information
- Review the information on file and if any changes are needed, click on the link in the window.
- Click Next to move to the next window.
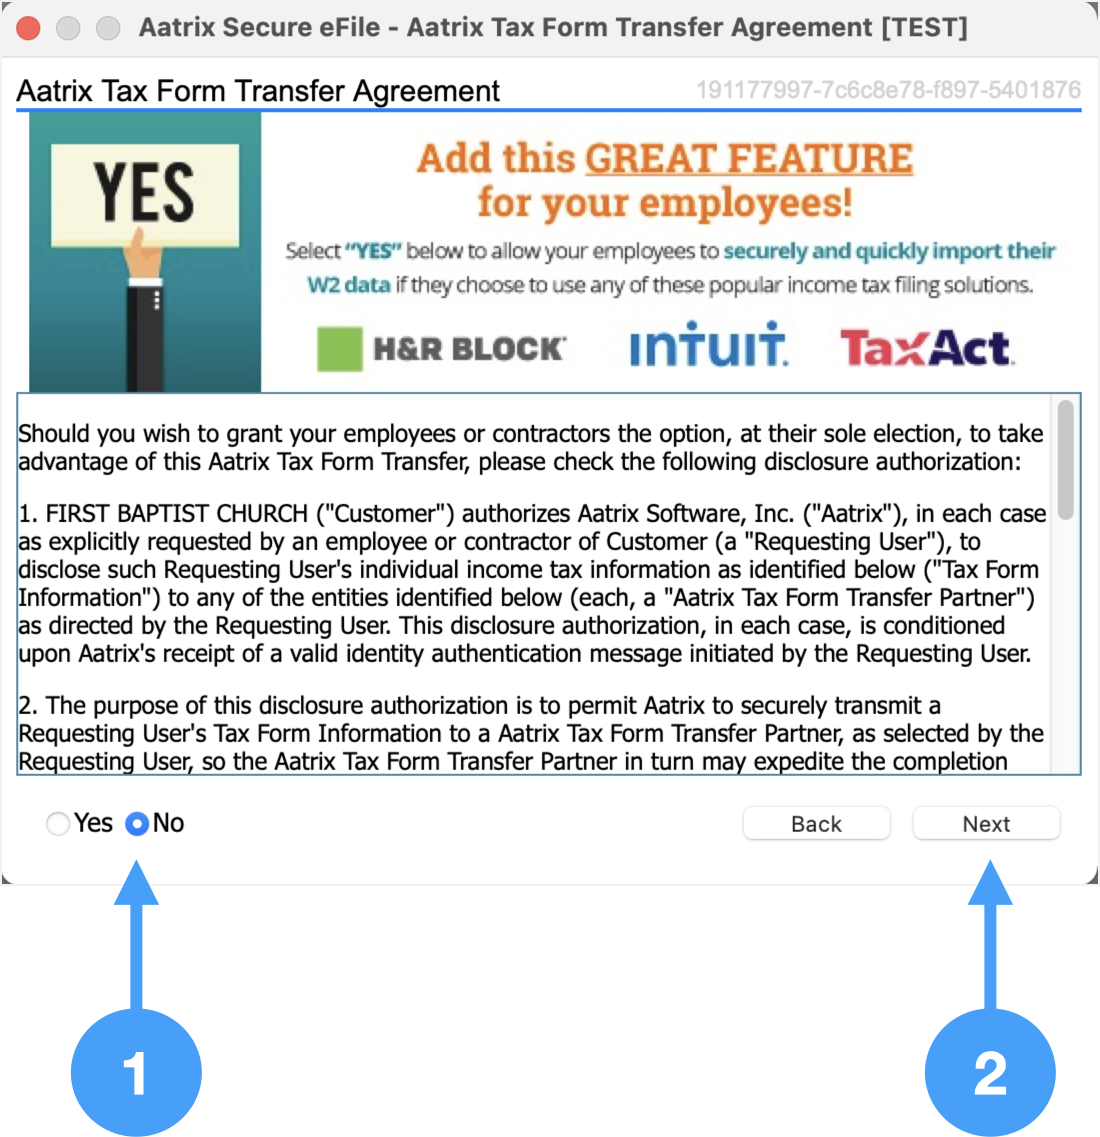
Aatrix Tax Form Transfer Agreement
- Read the information in this window and determine whether you wish for your employees to securely import their W-2 data into their income tax filing solution. In our example, we are selecting No.
- Click Next
Information about an Aatrix eFile Package
- Click No Thanks moving to the next step in the eFile process.

Pricing Information
- Review the pricing.
- Click Next to continue.

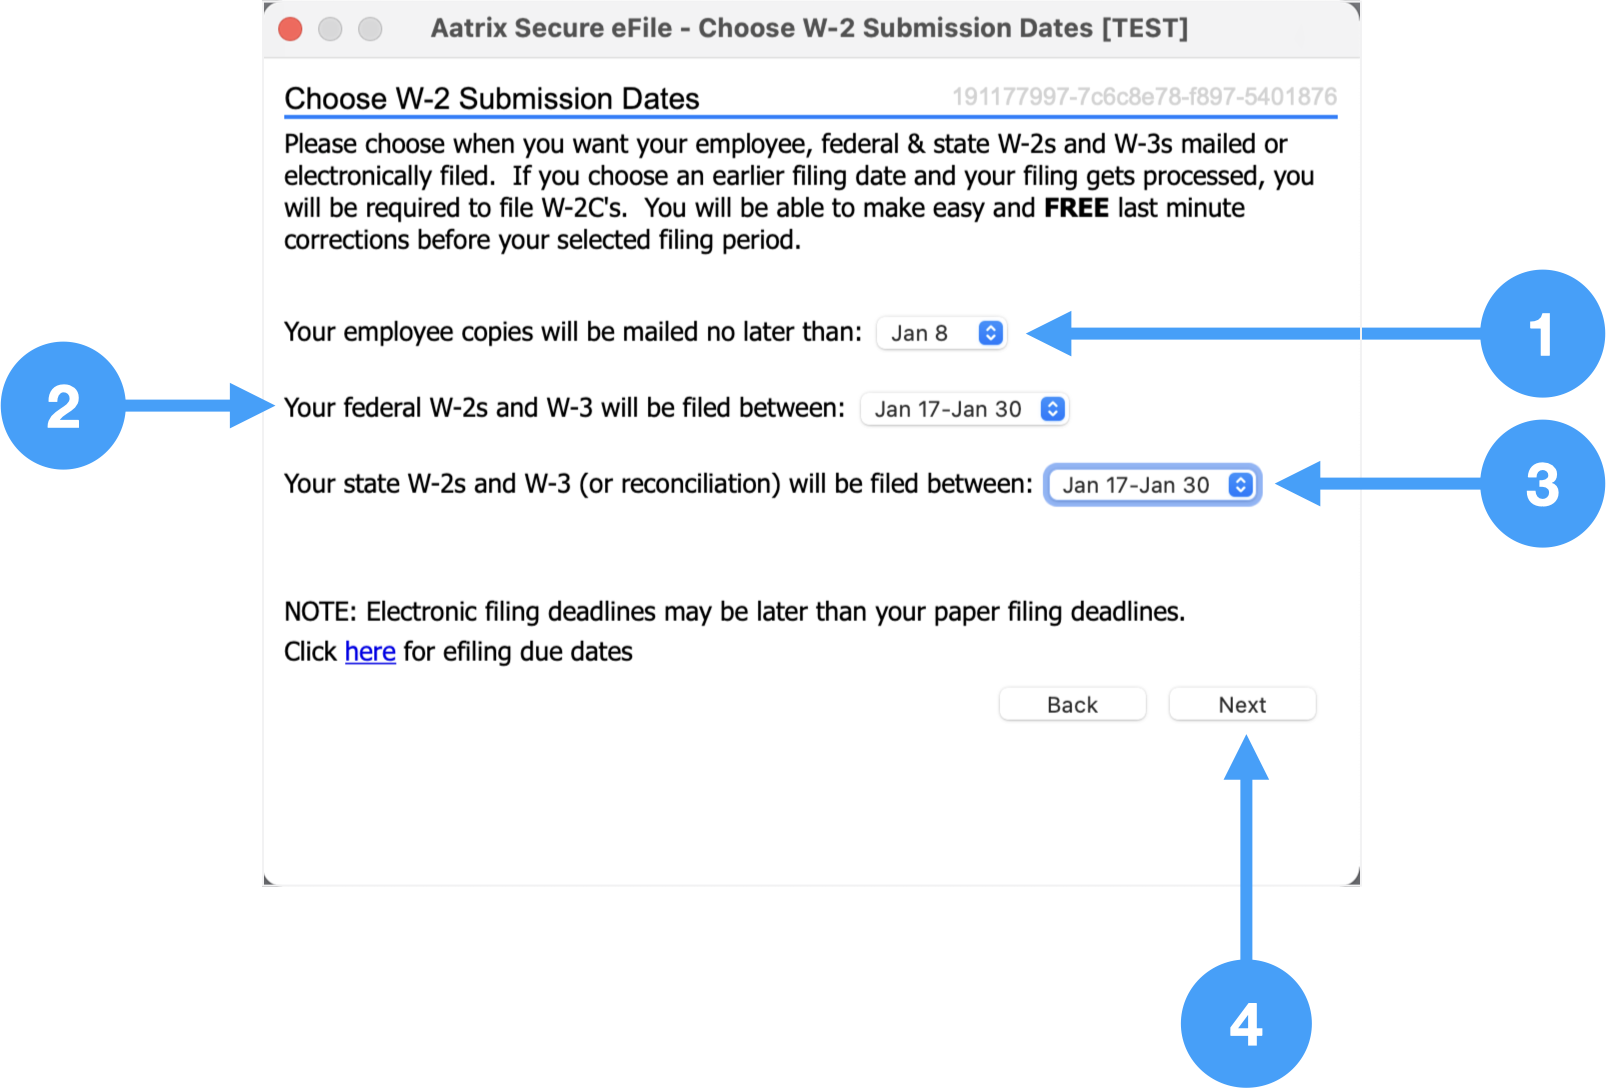
Choose W-2 Submission Dates
- Select the date for employee copies to be mailed.
- Select the date range you want your federal W-2's and W-3 to be filed.
- Select the date range you want your state W-2's and W-3 (or reconciliation) to be filed.
- Click Next to move to the next step.
Enter Credit Card Information
- Enter all of the information for the required fields (fields with *).
- Click Next

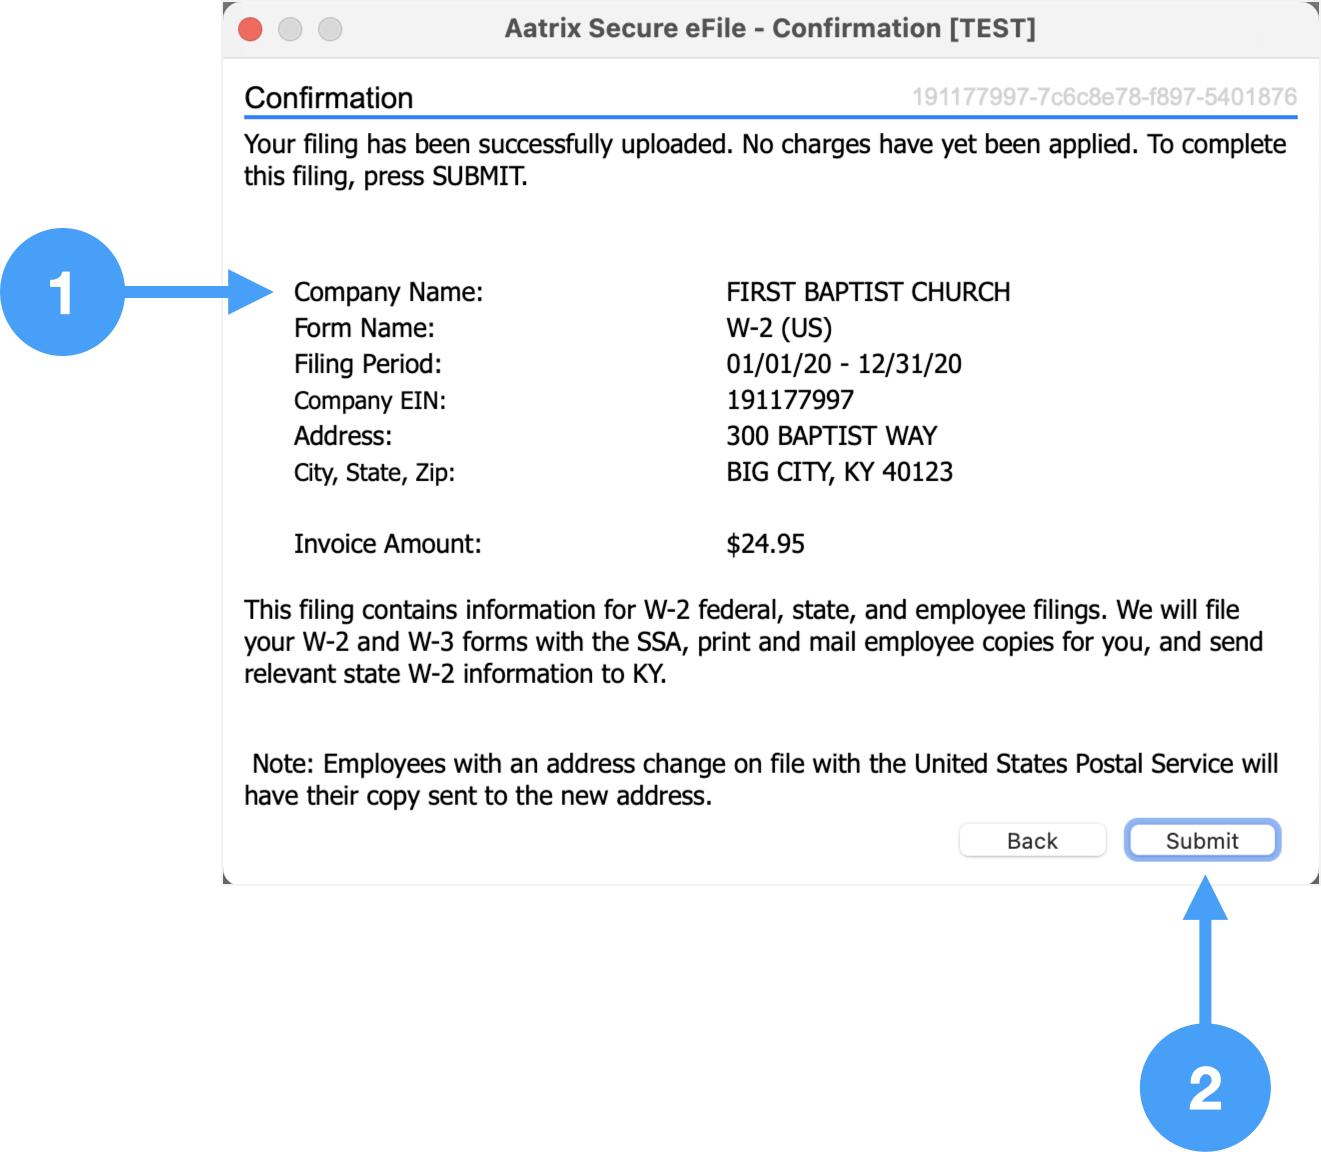
Confirmation
- Review information in this window.
- Click Submit to submit your W-2's and W-3 data.
Video of eFiling Process
| Widget Connector | ||
|---|---|---|
|